Tired of having to find the dog food to feed the dog? Tired of having to get up early so your dog doesn’t attack you for his food? Are just plain lazy? If you answered yes to any of these questions, this instructable is for you. Powered by the intelligent Arduino, this gadget will automatically dispense measured amounts of dog food at user designated times. No longer the days of manually feeding your dog. Join the Revolution! Build this so you will never have to bust out the measuring cup or manually feed your dog again!
This instructable is part of the Sparkfun and Epilog challenge so if you like it, vote for it. Also you can leave a comment or rate or subscribe!
Also a video of this in action will come in a little bit
Step 1: Bill of Supplies
Materials
1 x Bucket
1 x Standard 3 pin servo (This is the one I am using)
1 x Blank or unwanted CD
1 x Arduino or ATmega328 (I am using the Arduino Uno)
1 x 10K Ohm Resistor
1x Proto/Maker Shield or breadboard (You could use a Etched board, but it would be a lot easier to use aThe Makers Shield or Protoshield)
1 x Push button (This will be a override button)
1 x Sharpie Marker
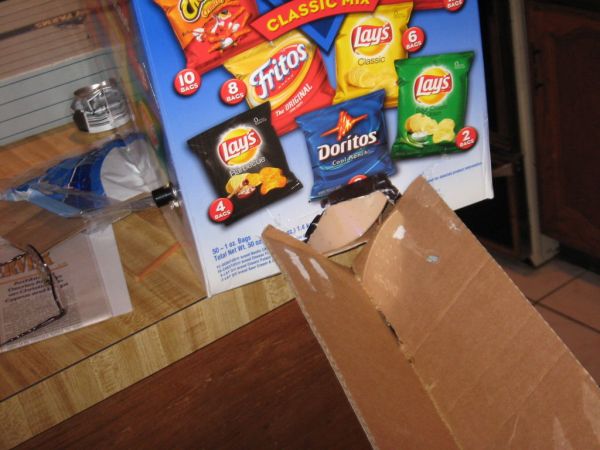
1 x Large Cardboard Container (I used a Chips box from Costco)
Extra cardboard
1 x 9V arduino Battery pack or Wall Adapter
Hardwood Strips
Tools
1 x Hot Glue Gun
1 x Dremel w/cutting wheel
1 x Soldering Iron
1 x Scissors
Step 2: Cutting the CD
Before we do anything, we must cut the opening in the CD for the food to go through. This will be slightly difficult, as we want a straight line. You may want an extra CD in case you make an error
Step 3: Affixing the CD to the Servo HeadStep
This step is kind of self explanatory, All you need to do is glue the servo head to the inner rim of the cut CD
Step 4: The Circuit
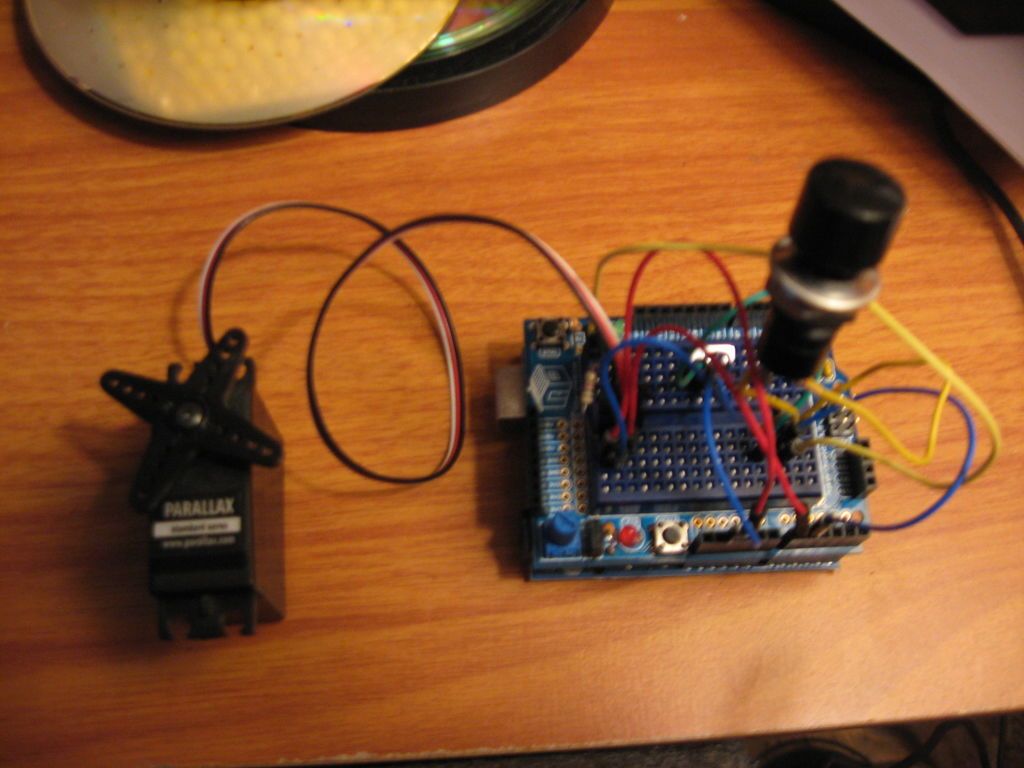
Make the circuit from the schematic in the second picture. You can use a breadboard or Proto/MakerShield for the circuit
Step 5: Making a bracket for the servo
We don’t want the servo turning around, so we have to make something to hold it in place.
Make one of the things in picture 2 with hardwood, make sure the servo fits in it. Then cut two long pieces of wood and glue them on the side. Lastly, glue two more pieces on the pieces you just glued. Use picture one as a reference
Step 6: Preparing the container
For this step, you will cut the extra cardboard up, so the box will funnel toward the opening at the front. Make sure you cut the pieces of cardboard so the length is 8 inches and the height is around the height of the container. Hot glue it so the side that is eight inches long is parallel to the bottom of the box.
[box color=”#985D00″ bg=”#FFF8CB” font=”verdana” fontsize=”14 ” radius=”20 ” border=”#985D12″ float=”right” head=”Major Components in Project” headbg=”#FFEB70″ headcolor=”#985D00″]1 x Bucket
1 x Standard 3 pin servo (This is the one I am using)
1 x Blank or unwanted CD
1 x Arduino or ATmega328 (I am using the Arduino Uno)
1 x 10K Ohm Resistor[/box]
For more detail: Dogduino:The Automatic Dog Feeder using Arduino