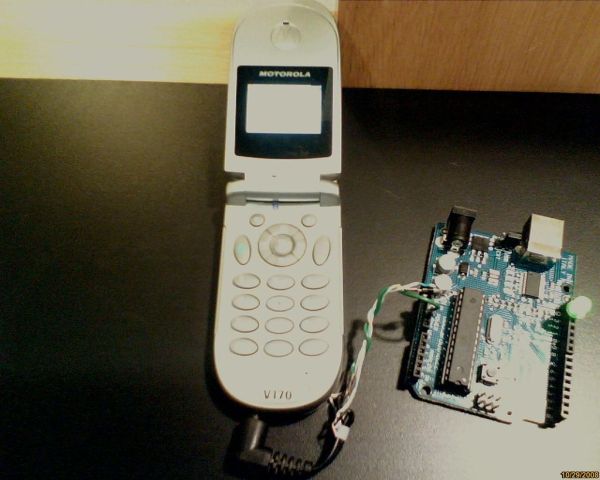
Old cellphones are easy to acquire and they have built in lithium charging circuitry. What a wonderful base for a power supply for small mobile things. I hooked up a cellphone to the arduino with the ability to charge the cellphone when you plug the arduino into the usb port. Please note that this was just a quick rig and as i did not have the correct screwdrivers, does not involve taking apart the cellphone. I’m sure if you have access to the correct screwdriver you wouldn’t have to cut the cellphone charging connector and could just solder wires directly to the charging terminals. Sorry about the image quality I made it in between college classes and so i took pictures with my laptop’s webcam.
You will need:
an arduino
an old cellphone (must use 5volts as its wall wart charging voltage)
some cellphone batteries (optional, minimum one)
wires and a diode
the cellphones wall wart charger
a connector of some sort to plug into the arduino (i cut a chip socket in half for mine.) Minimum of 3 pins.
Step 1: Connecting wires to the battery
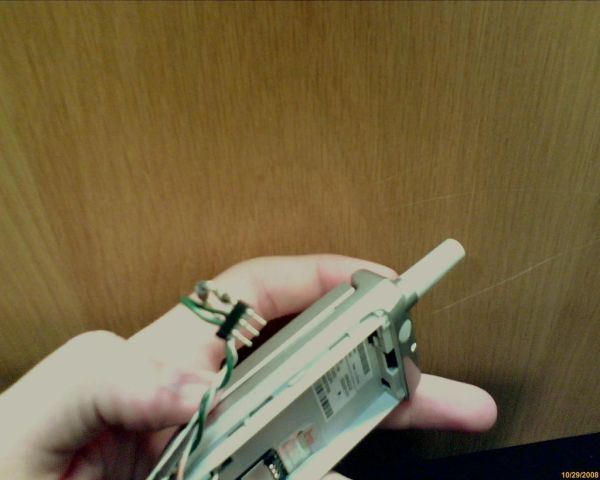
Open up the cellphone and remove the battery to reveal the battery connectors. I also removed the SIM card. Examine the battery to figure out what terminal connectors on the cellphone go to the positive and negative terminals on the battery. Solder wires to these terminals. Don’t worry about any third terminal, this is just a temperature sensor or something and is for the cellphone to worry about.
Step 2: Connect the cellphone to the arduino
Get your socket to plug into your arduino and situate it on the power area of the arduino so that it has connectors going from gnd, 5v, and 3v3. These are the only pins you will need to connect to. Solder the ground wire from your cell phone to the terminal of the connector that goes into gnd.(remove it from the arduino first!!) Then solder the +battery wire from the cellphone to a diode and then to the connector terminal going to 3v3 on the arduino so that the diodes stripe is on the arduino side. This diode prevents the arduino from trying to charge the battery when its plugged in. Now there should be an open terminal on your connector between the connected ones that goes to 5v on the arduino. We will need that later to charge the cellphone. If you want, you can stop here and it will work fine. You just won’t be able to charge the cellphone by plugging in the arduino, you’ll have to charge it with its own separate charger.
Step 3: Connect the charger
Cut of the connector off the wall wart. Check which wires are positive and negative by plugging in the wall wart and using an led to test. For me the wire with the white bad was positive and the other was negative. strip the connectors wires. Now you can either solder the negative wire to the gnd terminal on the connector or strip some insulation off the middle of the negative battery wire and solder it to that. I did the second choice. Then solder the positive wire to the empty terminal on the connector in between the 2 other wires. This one goes to 5v on the arduino.
[box color=”#985D00″ bg=”#FFF8CB” font=”verdana” fontsize=”14 ” radius=”20 ” border=”#985D12″ float=”right” head=”Major Components in Project” headbg=”#FFEB70″ headcolor=”#985D00″]an arduino
an old cellphone (must use 5volts as its wall wart charging voltage)
some cellphone batteries (optional, minimum one)
wires and a diode
the cellphones wall wart charger
a connector of some sort to plug into the arduino (i cut a chip socket in half for mine.) Minimum of 3 pins.[/box]
For More Detail: Power Arduino with a cellphone