Summary of Open Bitcoin ATM using arduino
This article details the construction of the world's first open-source Bitcoin ATM designed for education and experimentation. The project involves fabricating an aluminum enclosure, installing a bill acceptor and printer, and programming an Arduino Uno with specific software. Key steps include cutting sheet metal, drilling holes, soldering electrical components like resistors and leads to an SD shield, and assembling all parts using velcro and screws.
Parts used in the Open Source Bitcoin ATM:
- 12"x12" aluminum sheet metal
- Aluminum angle (cut into two 11 1/2" lengths)
- Rivets
- Bill acceptor
- Printer with bracket
- Screws, washers, and nuts
- Arduino Uno
- SD shield
- Resistor
- J2 connectors
- Barrel plug
- 5V power supply
- Insulating tape
- High strength velcro
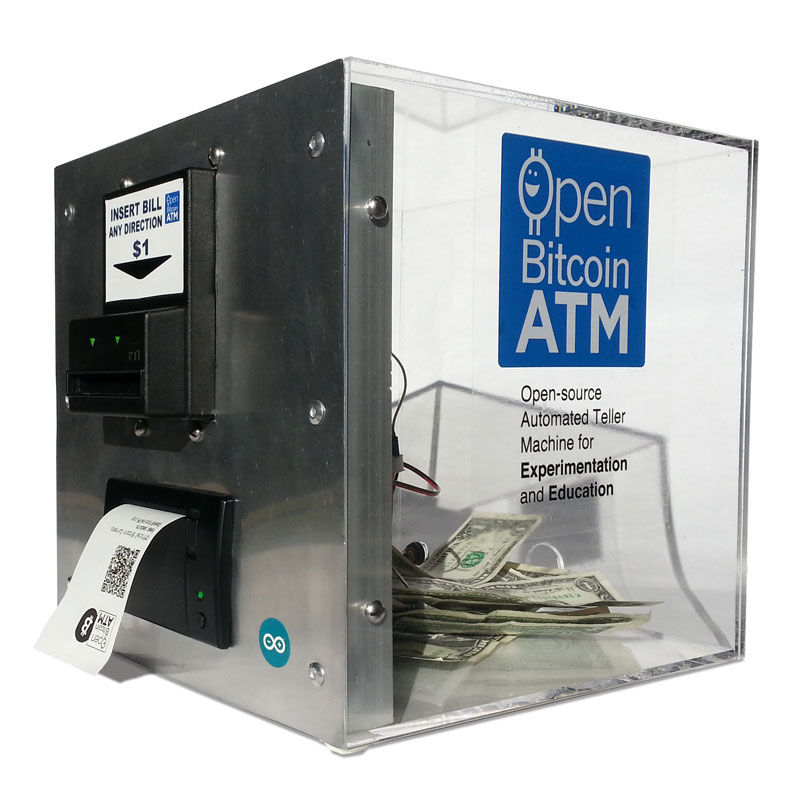
The world’s first completely open-source Bitcoin ATM for Education and Experimentation.
http://openbitcoinatm.org for more information.
Step 1: Fabricate Box and Faceplate
Cut aluminum angle into two 11 1/2″ lengths.
For each aluminum angle, drill and tap two holes; drill three faceplate rivet holes.
Rivet the two aluminum angles to each side of the faceplate. Allow room (about 1/8″) to overlap with the front of the box to create flush surface; make sure aluminum angles are positioned to lie flush on the inside of box.
Drill four holes through the box that exactly align with tapped holes in aluminum angle. (tip: if using acrylic, set drill to reverse, and gently apply pressure to prevent cracking).
Measure 16″ leads, solder one end to barrel plug and other end to J2 connectors. Attach barrel plug to back of box. Tape leads to base of box.
Step 2: Attach Bill Acceptor and Printer
Position bill acceptor and attach using four screws, washers and nuts.
Step 3: Provision Arduino
Download openbitcoin.ino from here https://github.com/mayosmith/openbitcoinatm
Attach Arduino Uno to computer USB port.
Upload openbitcoin.ino to Arduino Uno.
http://openbitcoinatm.org for more information.
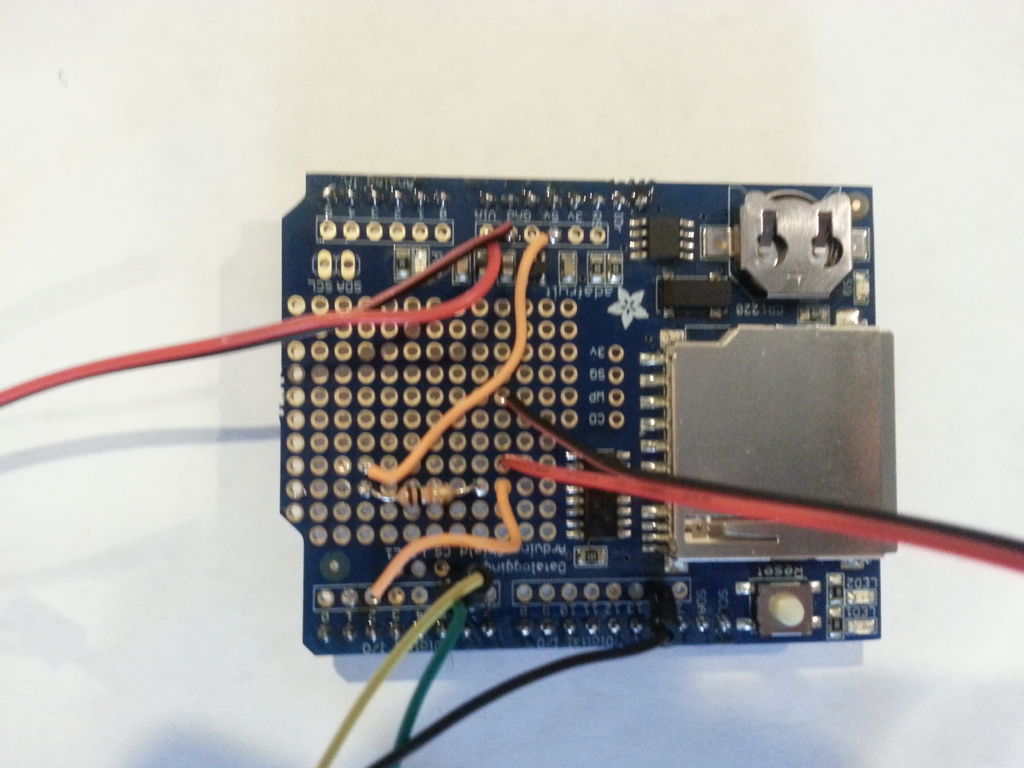
Step 4: Attach Resistor and Leads
Solder resistor and leads to SD shield as shown (note updated circuit diagram with pull up resistor)
Step 5: Attach SD Shield and Components
Attach SD shield to Arduino Uno.
Cover back of Arduino Uno with insulating tape.
Attach 5V power supply to back of faceplate (high strength velcro works well).
Attach Arduino/SD shield to back of faceplate with (high strength velcro).
Connect J2 connectors.
- What is the primary purpose of this project?
The project is designed as the world's first completely open-source Bitcoin ATM for Education and Experimentation. - How do you prepare the aluminum sheet metal for the box?
You must cut two rectangles from a 12"x12" piece and drill six rivet holes plus four holes to attach the bill acceptor. - Can I use acrylic instead of aluminum for the box?
Yes, but you should set the drill to reverse and gently apply pressure to prevent cracking. - Where can I download the necessary software for the Arduino?
You need to download the Arduino environment and the openbitcoin.ino file from the provided GitHub link. - How are the resistor and leads connected?
You must solder the resistor and leads to the SD shield following the updated circuit diagram which includes a pull up resistor. - What method is recommended for attaching the Arduino to the faceplate?
It is recommended to use high strength velcro to attach the Arduino and SD shield to the back of the faceplate. - Does the project require a specific type of power supply?
Yes, a 5V power supply must be attached to the back of the faceplate. - How do you ensure the aluminum angles sit flush on the inside of the box?
You must allow about 1/8" room to overlap with the front of the box while positioning the angles.