This here is my first Instructable project.
So you want to get started with NodeMCU? Well, I’m here to share with you.Today, I’m going to show you how to get started with NodeMCU. Let’s GO !
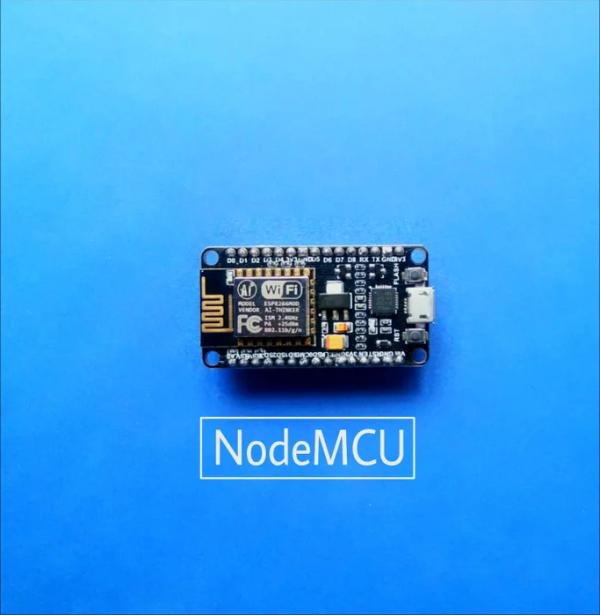
NodeMCU has on board ESP8266-12E makes the board suitable for IoT (Internet Of Things). In this Instructable I will show you how to get started with Servo using NodeMCU.
Step 1: Materials Required
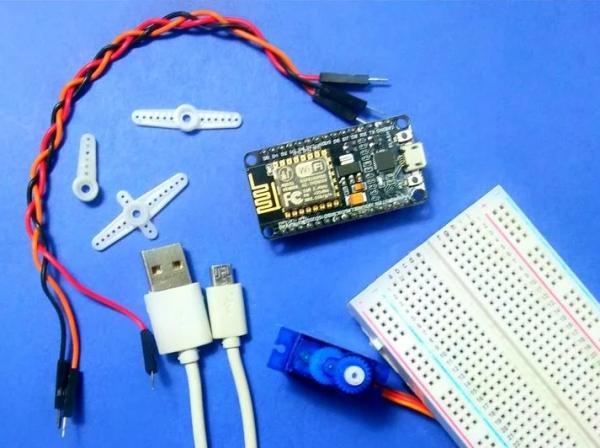
Here is the list of components required to get started with the NodeMCU,
Hardware Components
- NodeMCU
- Servo Motor
- Bread Board
- Jumper Wires
- Micro USB Cable
Software Components
- Arduino IDE
Step 2: Hardware Description
What is a Breadboard?
Its a prototyping platform, where you can plug components and remove them easily. Please refer to the photo to see how its made inside. There is usually 2 bands on each sides indicating the power rails. Its made to easily connect all of the (-) and (+) together.
What is a Servo?
Servo motors are great devices that can turn to a specified angle or called position.
Usually, they have a servo arm that can turn 180 degrees. Using the NodeMCU, we can control a servo to go to a specified position. As simple as that! Here we will see how to connect a servo motor and then how to turn it to different positions.
Connection to Servo
The next job is to connect your servo motor. There are two common types of servo:
- White – Red – Black wired servo
- Orange – Red – Brown wired servo
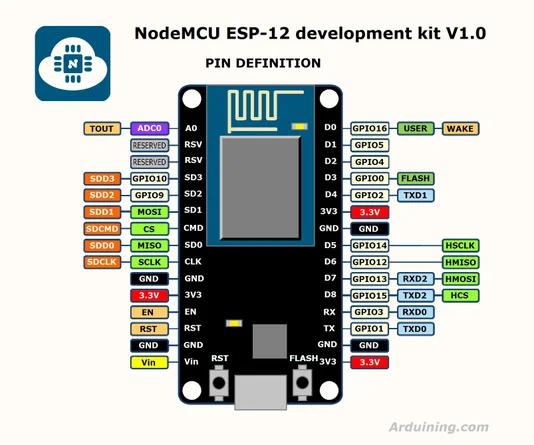
If your servo has White – Red – Black wires, then connect it as follows
- White wire connects to Digital pin D4
- Black wire connects to GND pin
- Red wire connects to 3V3 pin
If your servo has Orange – Red – Brown wires, then connect it as follows
- Orange wire connects to Digital pin D4.
- Brown wire connects to GND pin
- Red wire connects to 3V3 pin
Step 3: Download Arduino IDE
To get started we need to download the Arduino IDE (Integrated Development Environment) and some necessary drivers.
- To download the software head over to the Arduino site: https://www.arduino.cc
- Click on Software Click on either Windows, Mac or Linux based on your Operating System.
- You can donate if you want or just download.
- When this is done, you will simply need to continue the steps to download it to your computer.
- You are done!
Step 4: Preparing the Arduino IDE
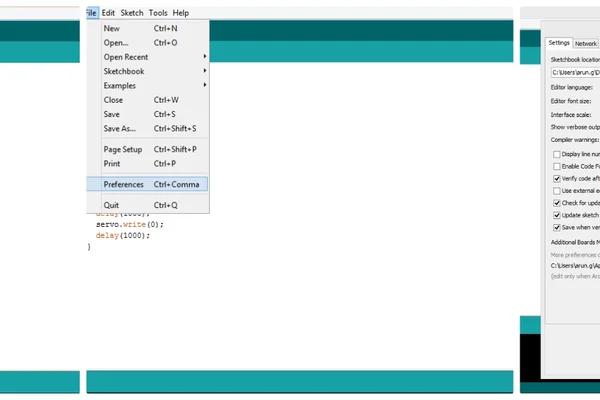
After downloading the Arduino IDE navigate to
- File tab and then click on Preferences.
- In the additional Boards Manager URLs add the following link (http://arduino.esp8266.com/stable/package_esp8266com_index.json)
- Click OK and then navigate to
- Tools – Boards – Boards Manager
In the search field type esp8266 > click the esp8266 by ESP8266 Community – Click Install
Now you have setup the Arduino IDE to work along with the NodeMCU.
Step 5: Coding Time
The next step is to write some code to control the Servo.
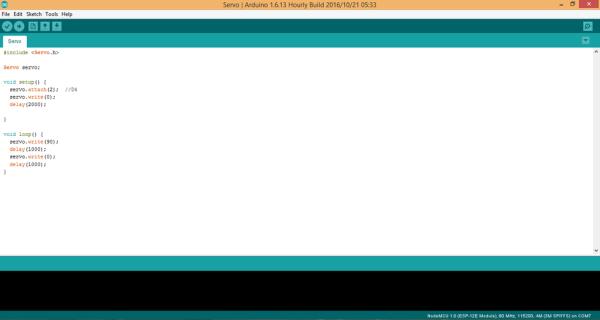
Download the “Servo.ino” file and open it up in the Arduino IDE. Then Create a new sketch and paste the code below in the arduino IDE and hit Upload.
#include <Servo.h>
Servo servo;
void setup() {
servo.attach(2); //D4
servo.write(0);
delay(2000);
}
void loop() {
servo.write(90);
delay(1000);
servo.write(0);
delay(1000);
}
The code will take a few minutes to upload and then you should see the Servo changing angle from 0° to 90° at the interval set in the code.
You can tinker with it if you like, or just use it as it is.
Step 6: Upload Your Program
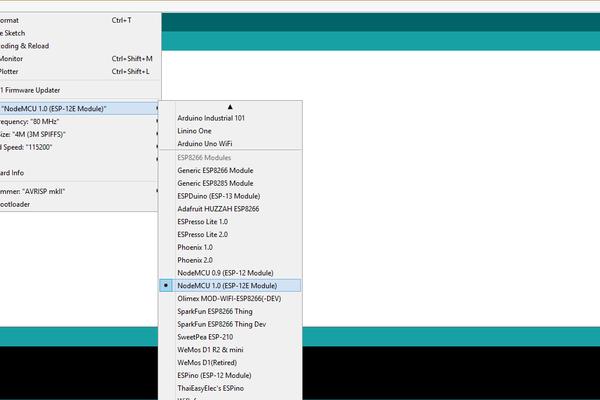
- Goto Tools
- Board > NodeMCU 1.0 (ESP – 12E Module)
- Port ( Choose the right Port )
**Make sure you have your NodeMCU model selected and the correct serial port ticked (see pics).
Then just click the Upload button**