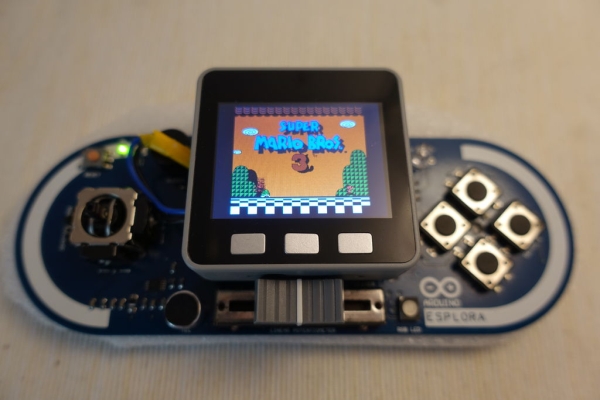
This instructables show how to combine Arduino Esplora and M5Stack to make a NES game console.
Step 1: What Is Arduino Esplora?
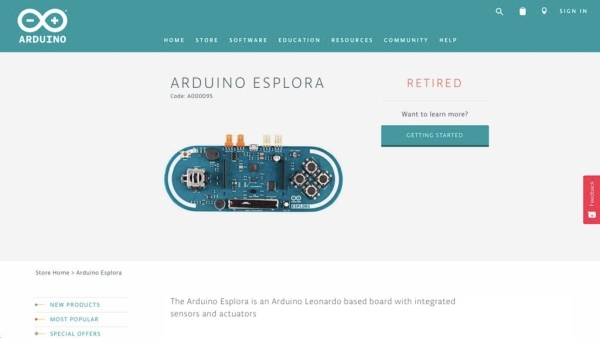
Arduino Esplora is an Atmega32U4 AVR microcontroller board.
It is unique Arduino boards, because it built-in various input sensors out-of-the-box, including a joystick, 4 push buttons, a slider, a temperature sensor, an accelerometer, a microphone, a light sensor, etc.
And also Arduino IDE provided various example for using all of it.
This time I will program Esplora as an I2C slave device to act as an I2C gamepad.
Ref.: https://store.arduino.cc/usa/arduino-esplora
Step 2: What Is M5Stack?
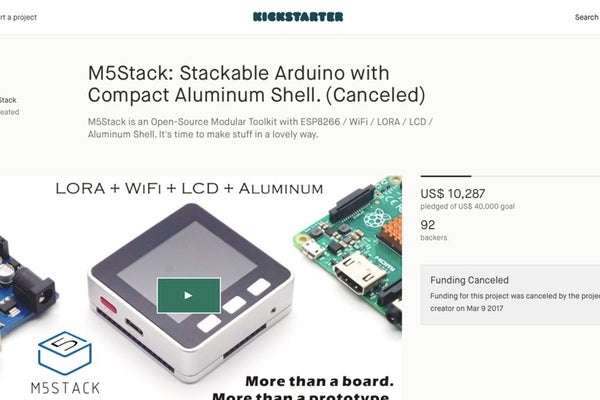
M5Stack start from a kickstarter project at 2017, ESP32 core, built-in 2.0″ color LCD, tiny 5 cm form factor, support stackable modules and grove I2C modules.
Now it already have various core models, tens of stackable modules and also support tons of I2C Grove modules.
Ref.:
https://www.kickstarter.com/projects/179167367/m5s…
Step 3: Why Play Retro Game With ESP32?
It is a very popular topic using Raspberry Pi to make a retro game console with Retropie distribution.
It do the job very well, but the most notable problem is the boot time.
I do not want to wait over half a minute to enter a retro game, a real game console no need to wait for this!
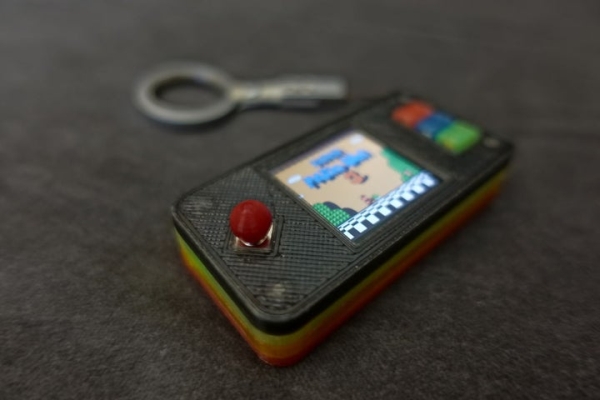
Then I found esp32-nesemu no need to wait for boot, so I try to use M5Stack to build a NES game console.
Step 4: Hardware Preparation

Arduino Esplora
The official product is obsoleted but it is still very easy to find a clone on the web.
M5Stack
Any M5Stack core with 2.0″ LCD should be ok.
Pin Headers
2 pins male-male pin header and 6 pins male-female pin header.
Grove Conversion Cable
Normal 4 pin Male Jumper to Grove 4 pin Conversion Cable preferred. I did not have this cable in hand, so I just patch 1 to connect SCL and SDA pins myself.
Step 5: Software Preparation
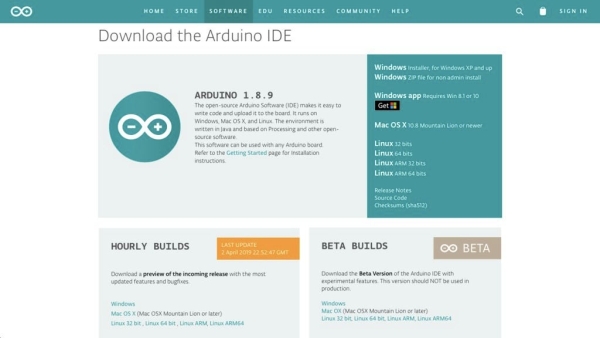
Arduino IDE
Download and install Arduino IDE if not yet:
https://www.arduino.cc/en/Main/Software
ESP-IDF
Follow the setup guide to install ESP-IDF if not yet:
https://docs.espressif.com/projects/esp-idf/en/sta…
Step 6: Program I2C Gamepad
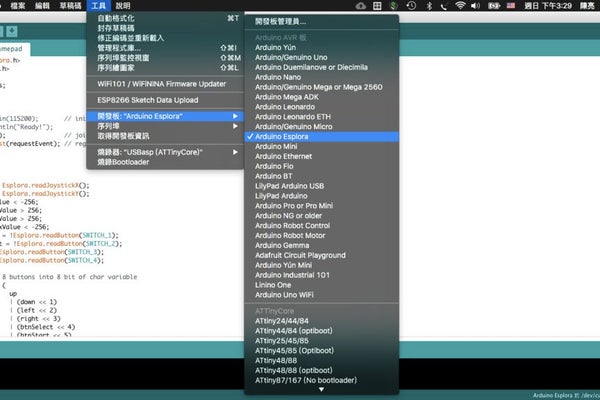
I have written a simple program to read the joystick and buttons input and translate it into I2C message.
Here is the program steps:
- Download esplora-i2c-gamepad.ino at GitHub: https://github.com/moononournation/esplora-i2c-gam…
- Connect Esplora to the computer
- Open Arduino
- Upload program
Source: Esplora X M5Stack