In this project I will show you how to create a solar tracker which like the name implies can follow the movement of the sun throughout the day. And at the end I will show you the energy harvest difference between a solar tracker mounted solar panel and a flat mounted solar panel. Let’s get started!
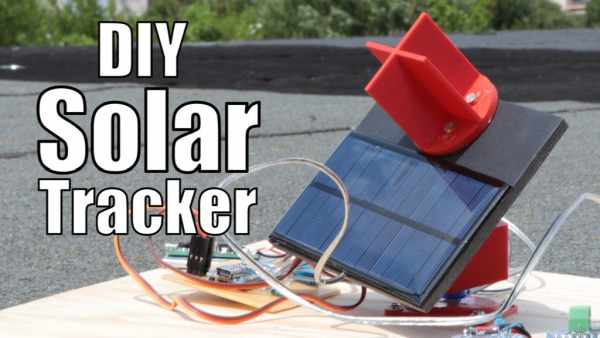
Step 1: Watch the Video!
The video gives you all mandatory information about the solar tracker. During the next steps though I will give you some additional information.
Step 2: Order Your Components!
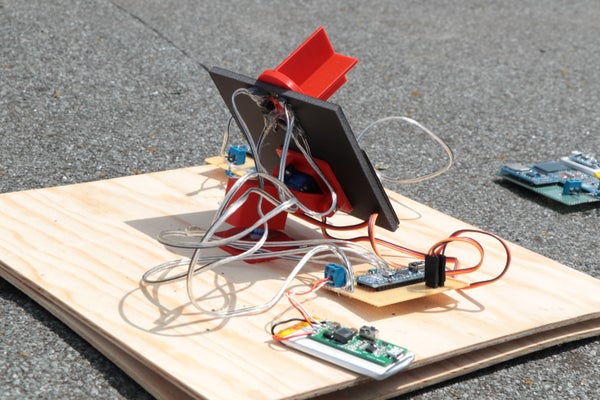
Here you can find a parts list with example seller (affiliate links):
Aliexpress:
1x Arduino Nano: https://s.click.aliexpress.com/e/_dUVUQIV
2x SG90 Servo: https://s.click.aliexpress.com/e/_dVGfXVr
4x Photoresistor: https://s.click.aliexpress.com/e/_d6Sv4PX
4x 1kohm Resistor: https://s.click.aliexpress.com/e/_dZa9b9X
Ebay:
1x Arduino Nano: http://rover.ebay.com/rover/1/711-53200-19255-0/1?…
2x SG90 Servo: http://rover.ebay.com/rover/1/711-53200-19255-0/1?…
4x Photoresistor: http://rover.ebay.com/rover/1/711-53200-19255-0/1?…
4x 1kohm Resistor: http://rover.ebay.com/rover/1/711-53200-19255-0/1?…
Amazon.de:
1x Arduino Nano: https://amzn.to/2KDRt5r
2x SG90 Servo: https://amzn.to/2lHKJoG
4x Photoresistor: https://amzn.to/2Kz7Gpb
4x 1kohm Resistor: https://amzn.to/2lIp1kD
Step 3: 3D Print the Solar Tracker Parts!
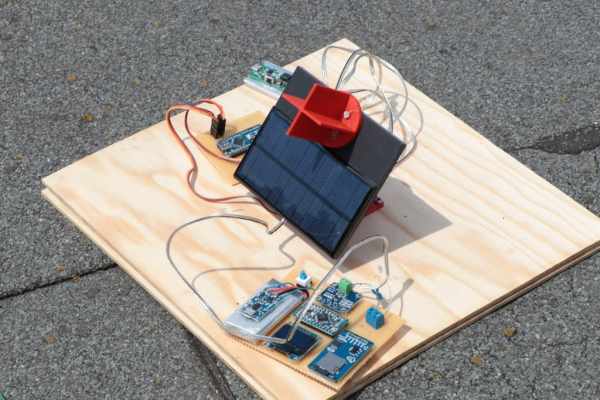
Here you can find the utilized model on thingiverse: https://www.thingiverse.com/thing:708819
And here you can also download the remaining part that I created by myself.
Step 4: Create the Circuit and Upload the Code!
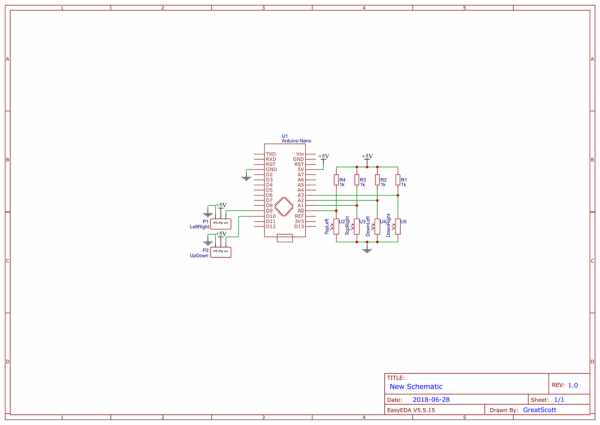
Here you can find the schematic and code for the project. Feel free to use it to create your own solar tracker.
Step 5: Success!
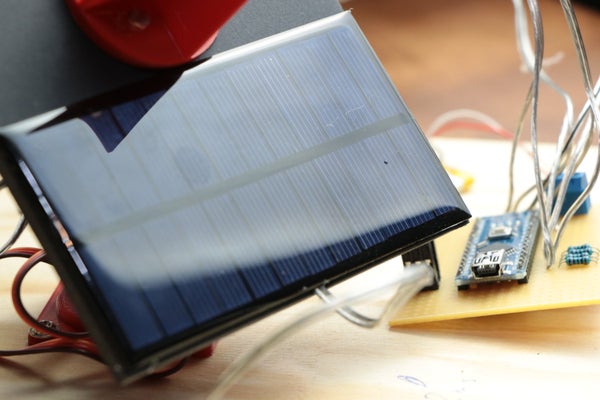
You did it! You just created your own Solar Tracker!
Feel free to check out my YouTube channel for more awesome projects:
http://www.youtube.com/user/greatscottlab
You can also follow me on Facebook, Twitter and Google+ for news about upcoming projects and behind the scenes information:
https://www.facebook.com/greatscottlab
Source: DIY Miniature Solar Tracker
