Bubbles are always like by all ages. Its fun to see smoke filled bubbles. But color smoke using potassium nitrate are not advice to inhale. Also color from smoke fireworks also not safe for kids so if use smoke fire works dont allow the kids to inhale.

Note:-
Don’t inhale the smoke created using potassium nitrate or any other hazardous material.
For Kids Safe i use incense cone for white smoke. For color i use potassiun nitrate so i dont allow the kids to play with that bubbles.
Step 1: Materials Required
For Bubble Machine
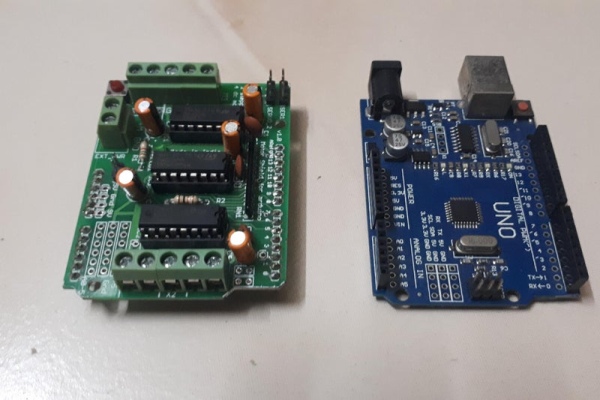
1) Arduino UNO
2) L293D Motor Drive shield
3) Tower Pro SG90.
4) Toy DC motor
5) 3.7V Lithium-ion battery – 2Nos
For Propeller
6) Wiring 1 way junction box
7) Plastic items from scrap
For Smoke Chamber
8) 1Ltr Empty paint Tin.
For Stand
9) 3/4″ Wiring PVC pipes, Elbows and Tee joints
For Childrens Safe Smoke Bubbles
Incense cone
For Color Smoke Bubbles
Potassium Nitrate
Sugar
Baking Soda
Organic Color dye
Or
Color Smoke Fire Works
Step 2: Circuit Assemble and Arduino Code
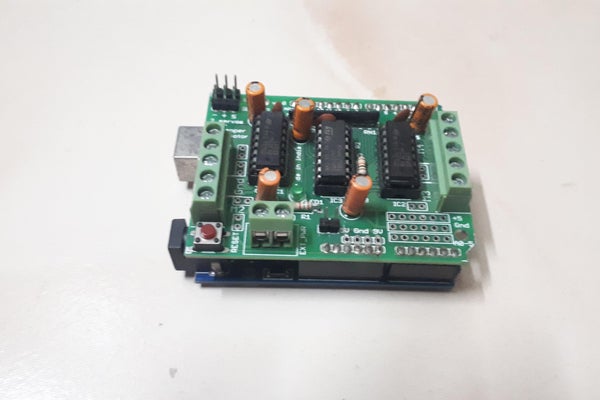
The Circuit is very very simple Connect the DC motor in the M1 of the motor shield and Connect the servo in the Servo1 of the motor shield. There is no need for circuit diagram for this connection. Upload the program given if you want change the speed of the motor and also the degree of the servo.
Step 3: Make Blower Propeller
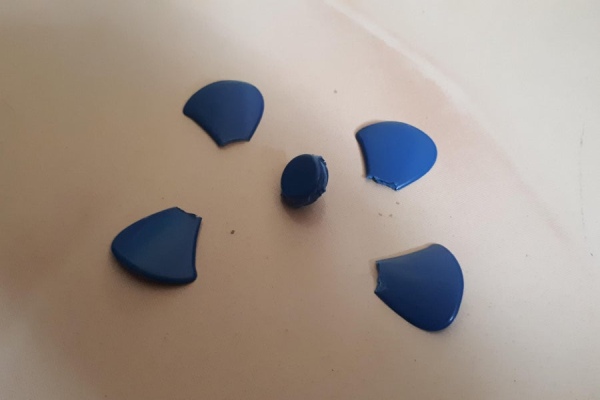
Fan is not able to produce the required amount of air so fund a propeller in shop or make your own. Its simple to make a propeller. I make it from the items available in the plastic scrap. Use the broken fan center part to assemble. Use quick fix gum to stick it all together.
Step 4: Assemble Blower
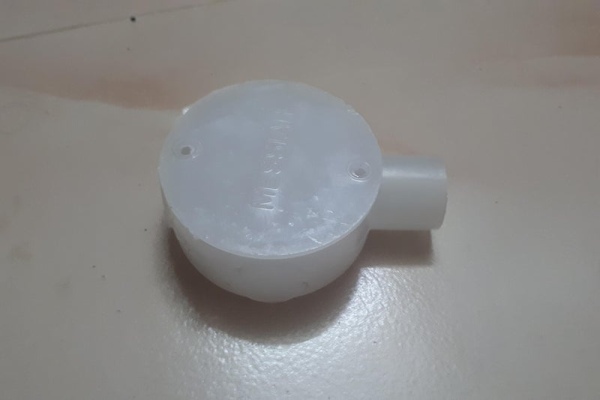
1) Take a wiring one way junction box and remove the screw poles in the center.
2) Put a hole in the top side for the air exhaust.
3) Use hot glue gun paste a 3/4″ wiring Pvc pipe.
4) Put a 4mm hole in the back side of the box right in the center of the circle and insert the motor shaft there.
5) Hot glue the motor with the body.
6) Insert the Propeller in the shaft.
7) Check the motor with propeller.
8) Take the cover of the junction box and put a 3/4″ hole in the center and hot glue a 3/4″ pvc pipe. Its for air inlet.
9) Close the cover with the junction box.
10) Take a 3/4″ PVC Pipe and cover the hole with a polythene cover and insert it in to junction box connector.
11) Now the Blower is ready check the blower by connect with battery.
Step 5: Make Bubble Liquid Tank
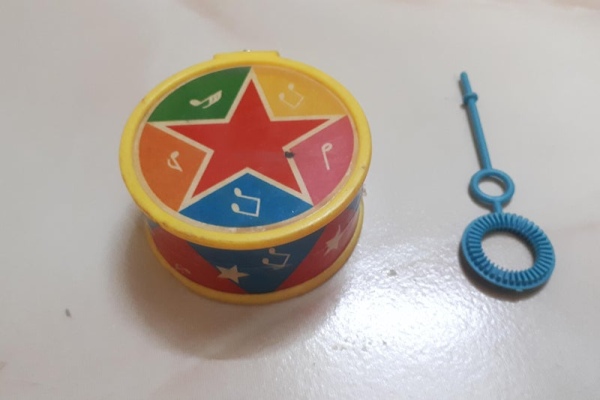
If we put a circle shape bubble liquid tank it require less qty of liquid when compare to square tank. So i found a round box in plastic scrap (its a drum of a toy). Cut it in to semi circle and glue it to make the tank.
Step 6: Assemble Bubble Wand Hand
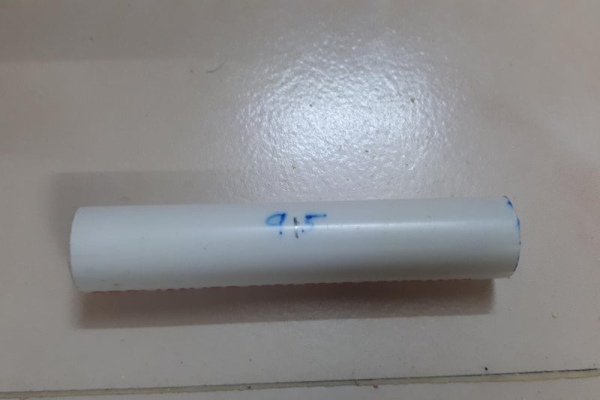
Take a 95mm length 3/4″ PVC pipe and mark the center. Take a slot in the pipe to insert the servo. Tie the wand in the servo arm. Glue the tie. Dont flue the Wand it want to be adjust after fixing.
Step 7: Stand Assembly
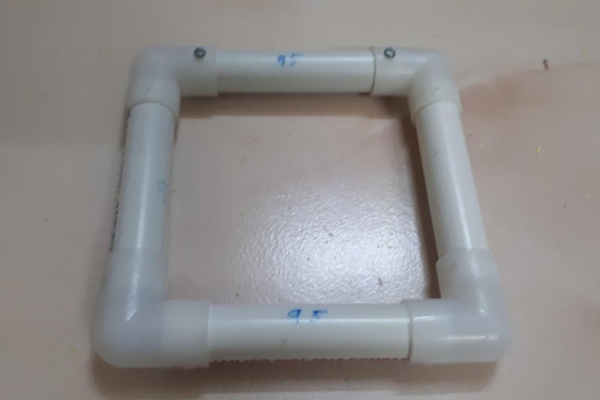
1) 95mm length 3/4″ PVC pipe 2 Nos
2) 35mm 3/4″ PVC pipe 4 Nos
3) 3/4″ Tee pipe 2 Nos
4) 3/4″ Elbow pipe 4 Nos
5) 40mm 3/4″ PVC pipe 1 No to hold the Blower.
Make the base stand as shown in the figure and Connect the BLower over one Tee and Servo over another tee. Screw the connections. Put two screws to place the tank in correct place.
Step 8: Make Smoke Chamber
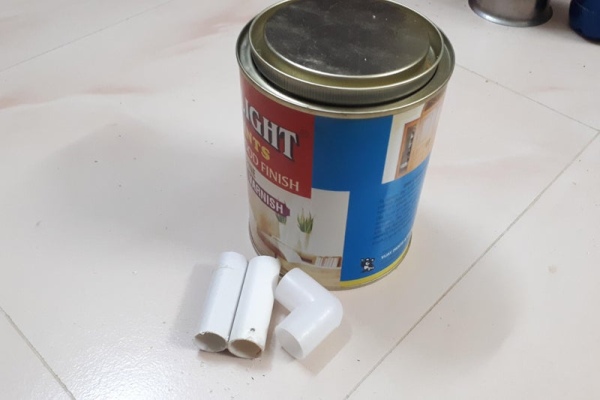
Its a very simple work. Take a 1 Ltr paint tin and put 2 holes opposite to each other one in the top and another in the button and hot glue a 3/4″ pvc pipe small piece. In the bottom connect a elbow and another pipe. In The top it want to connect to blower inlet.
Step 9: Join Smoke Chamber and Bubble Machine
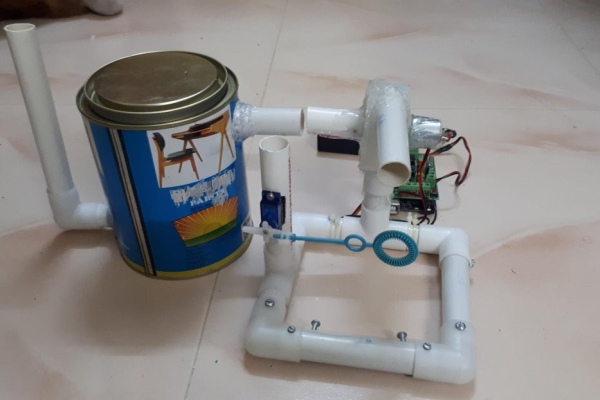
Use a 3/4″ pvc connector to connect the Smoke chamber to the blower in let. Its gods grace i never plan to connect it directly i already purchase a hose but the connection is straight so i simply use a connector.
Reduce the size of the blower air outlet to make lot bubbles by increase pressure.
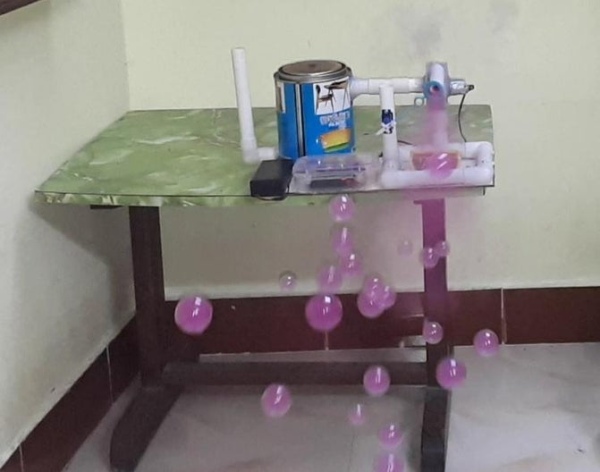
Step 10: First Test
Its always fun to see the bubbles. Its the first test and its superb. Now the machine is ready.
Step 11: Portable the Machine
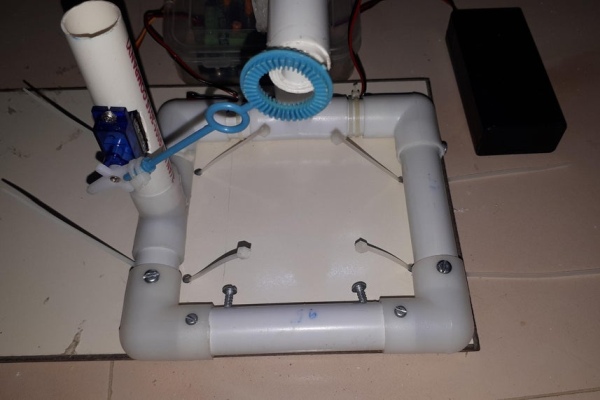
Place all the parts over a board (i remove the board from my drawing machine). For Bubble machine put holes for the stand and use cable tie to fix the machine. Hot glue the smoke chamber in the base. Put the circuit in a plastic box and hot glue it in the front and battery holder with switch in the front. Don’t put the circuit open because if the bubbles contact with the circuit cause damage to the circuit.
Step 12: Test Smoke Bubble
Light a Cone intense stick and put it in the smoke chamber.
Step 13: Safe and Healthy White Smoke Bubble
Switch on the machine and found the white bubbles. Its nice when it blast in the hands.
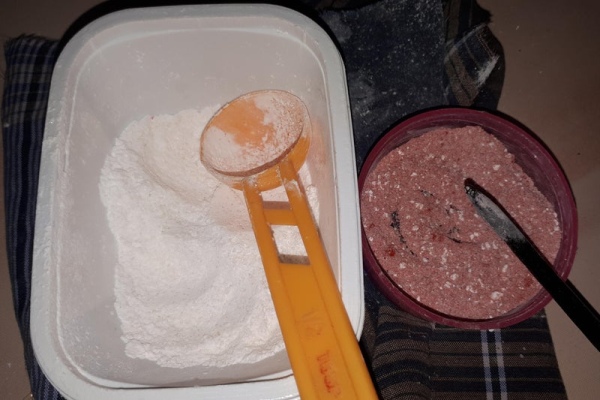
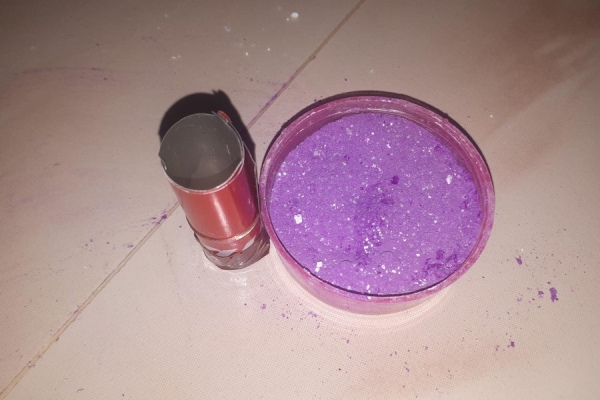
Step 14: Materials Required for Color Smoke

Potassium nitrate – 4 Parts
Sugar – 3 Parts
Baking soda – 1 Part
Color Dye – 3 Part
With this ingredient i try different method and found a working method in last but the smoke color is very very light. Some methos more dangerous. See the methods i try.
Step 15: Dry Method – Failure
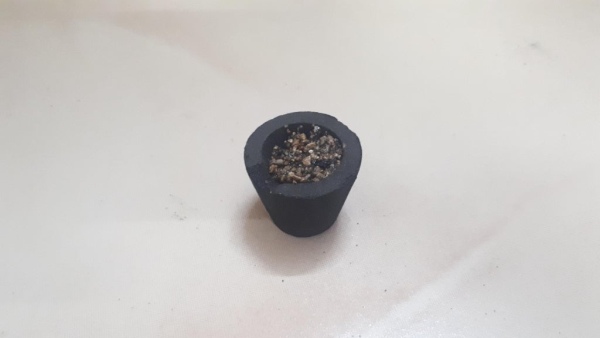
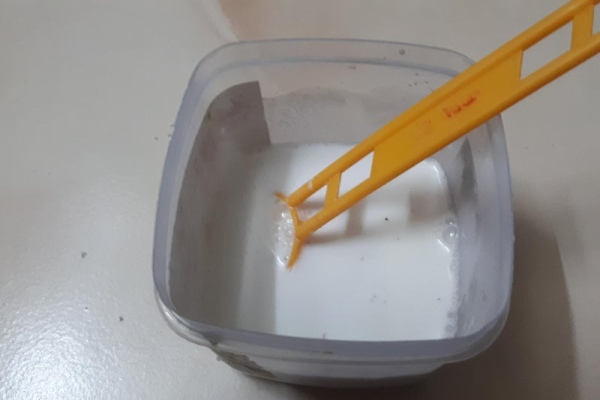
Mix all the ingredients except dye. Take some mix and mix the color Dye. Cut a coke tin and use a pen to roll a tube. Fill the power inside the tube and put some match stick head over the power and light the stick. Only the match stick head only burn.
Step 16: Dry Method 2 – Failure and Explode
This method is more dangerous and never try it. I make a bigger size tin roll and fill the power by tapping and tapping. Then close the top with a nice paper and put a hole in the center. Insert the cracker fuse trough the hole. Light it and it explode. I check all the test in side the room but some mind told check it out side. It check it and it explode. I dont know the reason may the chemicals in the fuse taken from the cracker may cause it of the powder is hard and create pressure i have no idea. Please don’t try this. See the video.
Step 17: Liquid Method
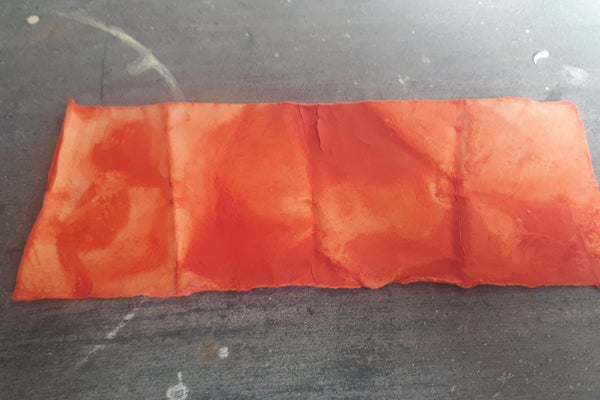
For first check I dispose all the 3 ingredients in the water and soak a white paper and allow it to dry. Then roll the paper and ignite it and off the fire. Its give smoke and burn up to the end and the test video is also like the incense but the smoke is not pleasant. Want to add dye and test.
Use Dye and dry it and check it immediately and found only white smoke.
Step 18: Check the Smoke
Soak the paper over night in the ingredient with the dye and allow it to dry. Now the smoke is color but due to use light color the smoke is very light color and cant able to view in camera. So want to make some bright color. Once make up load that video too.
Step 19: Run Video With Potassium Paper
Color Smoke is very very light want to try with some dark colors.
Step 20: Using Smoke Fire Works
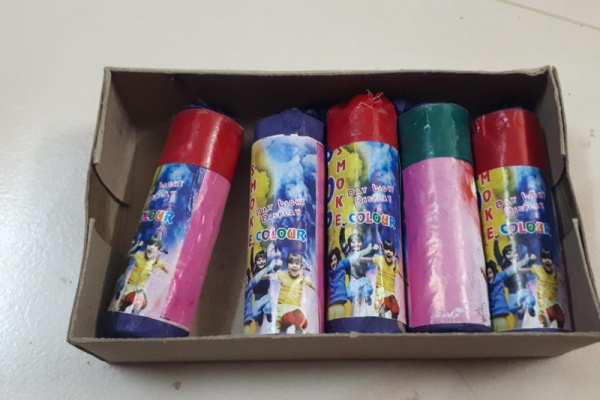
1) Try a lot and Lot of ways and surrender to smoke fire works.
2) Purchase a smoke fire work from my friend even he did not want me the cash.
3) Test one and found lot of color smoke. So its not possible to use in small container.
4) Open a Smoke firework tube and remove the powder only.
5) Take a Pinch of powder and light it. Its Superb it light easily with incense stick and it produce nice color. Use that color make bubbles and its fully fun.
Note:-
Bubbles create with this smoke when blast in the surface create the stain of that color and even my hands full of this color. So dont use inside the house and wash your hands with soap after play. Dont allow kids to play with this smoke.
Step 21: Color Filled Bubbles
I have some more colors green and blue want to try it. Once complete upload that video also.
Step 22: Fun Time
Kids love to play with this bubbles. So i use the intense cone to make smoke and my kids like it very much. I also try some different method to make a safe color smoke and fail it. Actually i try for last 1 month different combination and method. If any one have idea please comment.
Source: Color Smoke Bubble Machine (For Kids Safe Incense Smoke)