
Summary of Turn your Arduino into a 4 voice wavetable synth
DZL from GeekPhysical created a 4-voice wavetable synthesizer for Arduino featuring sine, saw, square, and triangle wavetables plus envelopes. This instructable shows how to build a simple sequencer that plays a melody using the synth, with examples for MIDI control, noise generation, and touch interaction. It includes wiring, breadboard setup, and speaker output notes, and advises using a preamp for headphones.
Parts used in the 4-voice wavetable synthesizer project:
- Arduino board
- BreadBoard
- Wires
- 2.2k Resistor
- 100n Capacitor
- 100u Capacitor
- Audio jack (left and right channel wired together, plus ground)
- Pair of computer speakers
- Optional headphone preamp
Multiple synthesizer projects have been done for the Arduino, but few have been able to utilize the full power of the Arduino processor. DZL from GeekPhysical wrote a 4 voice wavetable synthesizer that is one of the more advanced software based synths for the Arduino. It has wavetables included (sine, saw, square and triangle) and envelopes to create beats.
This instructable will show you how to make a simple sequencer that plays a little melody. You can hear how it sounds here:
It is up to you to modify the code to do many other things. Possible examples could be a midi controlled synth (sample code included), it could be a strange noise machine like this one:
Or you could detect touch and convert it into sound patterns:
Step 1: Parts
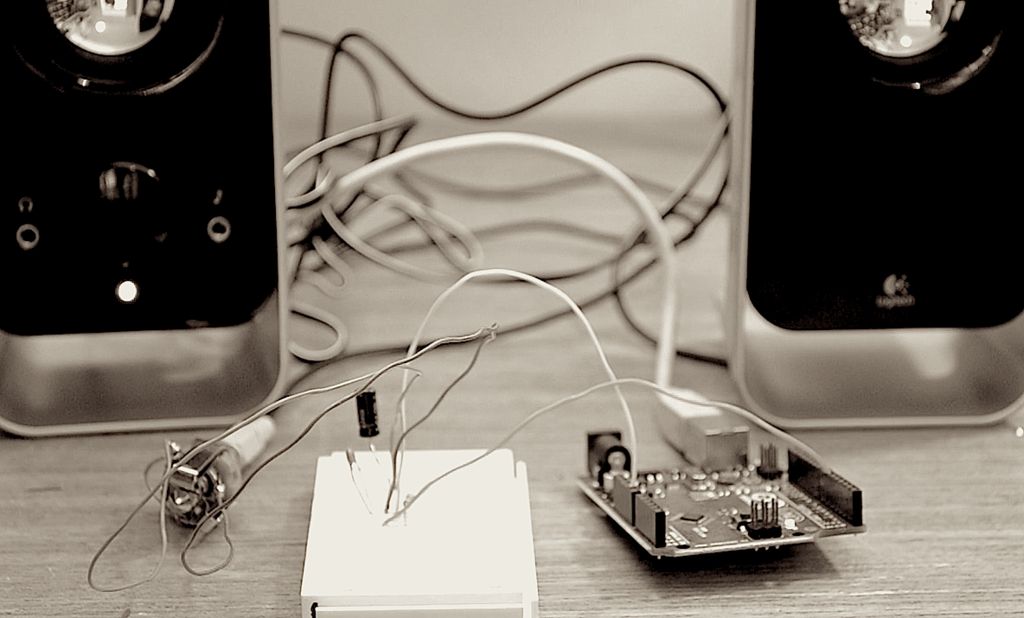
- Arduino board
- BreadBoard
- Wires
- 2.2k Resistor
- 100n Capacitor
- 100u Capacitor
- Jack where left and right channel has one wire and one wire to ground
- A pair of computer speakers
Don’t worry if you don’t have the exact values. It will probably work, but might be with lower sound quality. The Arduino is not powerful enough to drive a pair of headphones so you will need some kind of preamp for that – e.g. a headphone preamp like this one.
Step 2: Add the components to your breadboard
Step 3: Connect to the Arduino board
Step 4: Connect to the speakers

- What does the synth include?
The synth includes 4 voices with wavetables (sine, saw, square, triangle) and envelopes. - Can the Arduino drive headphones directly?
No, the Arduino is not powerful enough to drive headphones and a preamp is recommended. - What parts are required to build the sequencer?
The instructable lists an Arduino board, breadboard, wires, 2.2k resistor, 100n and 100u capacitors, an audio jack, and computer speakers. - How do you connect the synth output to speakers?
Connect the audio jack to the breadboard as shown and plug the speaker jack into the speakers. - Does the project include MIDI examples?
Yes, the article notes sample code for a MIDI controlled synth is included as an example. - Can the code be modified for other uses?
Yes, the article suggests modifying the code for MIDI control, noise machines, or touch-controlled sound patterns. - Are exact component values required?
No, exact values are not required; different values may work though sound quality could vary. - Where do you connect Arduino pins for the project?
Connect one wire from pin 6 and one wire from ground to the breadboard as instructed.
