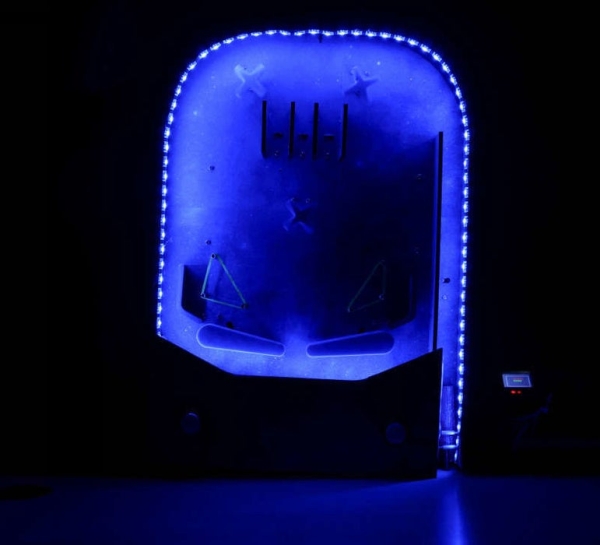
Another weekend, another exciting game! And this time, it’s none other than everybody’s favorite arcade game – Pinball! This project will show you how to make your very own Pinball machine easily at home. All you’d need are components from the evive Starter Kit, some laser-cut parts, colors and papers to decorate your machine, and a lot of DIY-ing! So, bring your mates along, put on your DIY-ing caps, and ready, set, DIY!
We’ve written the code in PictoBlox – our versatile graphical programming platform with advanced capabilities. You can download it from HERE.
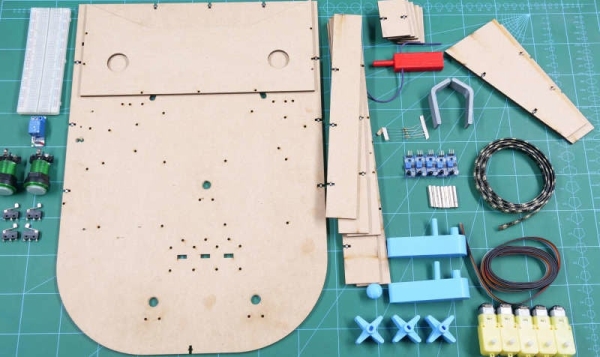
Step 1: Supplies
Hardware
- evive
- MDF Sheets
- IR Sensors
- DC Motors
- RGB LED Strip
- Limit Switch
- Breadboard
- Rainbow Wires
- Resistors
- Standoffs
- Rubber Bands
- Color Sheet
- Nuts and Bolts
- Jumper Cables
- Some 3D Printed Components
Software
Most of the above electronic components can be found in evive Starter Kit.
Step 2: Understanding the Design
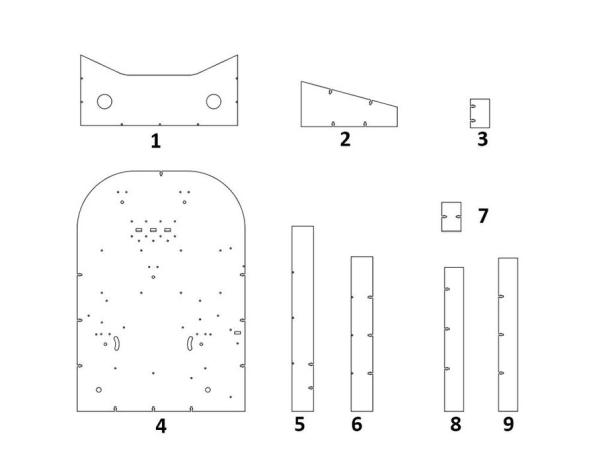
As you already know there are a number of components in a pinball that makes the game interesting. Thus, let’s understand the design of the structure that we will be preparing. Some of the components are MDF cutouts and some are 3D printed whose design you can find below.
Note: You can make the pinball out of cardboard sheet too but MDF will give it more durability.
We will need the following components for the Pinball Machine
- The Control Panel
- The Supports (x 2)
- The Score Walls (x 4)
- The Base
- The Boundary Walls (x 2)
- The Front Wall
- The Extra Wall
- The Launch Wall
- The Drain Wall
Once you have these parts and the 3D printed let’s begin!
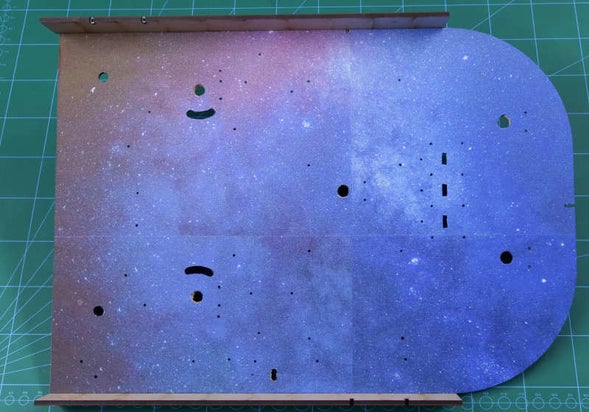
Step 3: Making the Playfield Beautiful
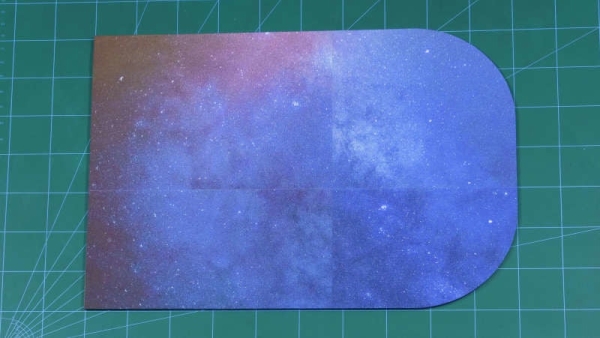
Playfield is the area where the entire game of Pinball is being played. Also, all the components will be placed on the playfield thus, it is suggested to decorate the base in the first step(only if you want to).
We are going with the space theme thus, have glued a beautiful space image on the base plate. Once you have glued the paper to the base, make sure that you make the holes on the paper that were on the base plate.
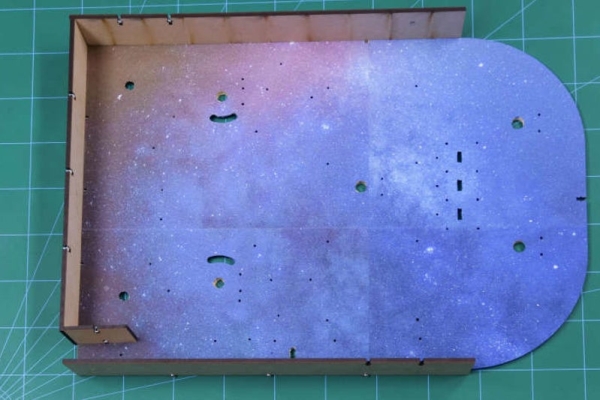
Step 4: Attaching the Boundary Walls
Take both the left boundary wall and the right boundary wall and attach it to the base plate using M3 nuts and bolts(as shown in image 1).
Once done, take the front wall and attach it to the base plate and left boundary wall(as shown in image 2). We will not be attaching the front wall to the right boundary as the space left here is to make the Launchpad. Launchpad is nothing but the corridor from where we will be launching or shooting our ball into the playfield.
Step 5: Assembling the Launchpad and the Drain
Now, let’s make the launchpad and the drain. Launchpad as you already know is the place from where we launch the ball into the playfield. The drain is the place which ends the game i.e. once the ball reaches the drain, it can no longer return to the playfield in that chance. Also, the ball in the drain rolls down and ends up in the launchpad. Now, that we know what is what, let’s start their assembly.
Take the extra wall and attach it to the front wall and the base plate(as shown in the above image 1).
Now, take the drain wall and attach it to the extra wall and the left boundary. You may notice that the drain wall is a bit slant which makes it easy for the ball to roll down(as shown in the above image 2).
Once done, attach the launch wall parallelly to the right boundary wall on the base plate. Make sure you leave some space between the extra wall and the launch wall. This space will act as the gate between the drain and the launchpad(as shown in the above image 3).
Step 6: Attaching the Score Walls
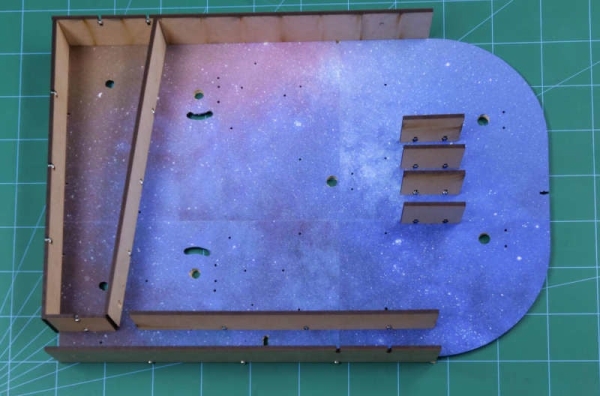
The score wall or the target walls. These are the walls that will make you score better. Whenever the ball passes through the first and the third wall, 500 pts are added into your total score. And if the ball passes through the center wall you’ll earn 1000 pts.
Thus, attach the score walls on the base using M3 nuts and bolts.
Step 7: Attaching the Back Boundary
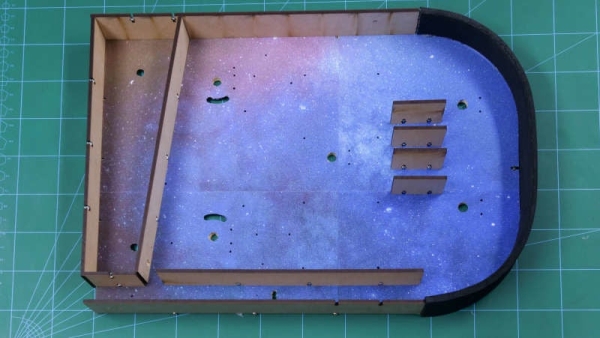
Now, we need to secure the back wall so that the ball does not go off the playfield even when we shot the ball real hard. We have used a foam sheet to make the back wall.
Cut the thick foam sheet and glue it to the base plate and the boundaries using Hot Glue.
Read more: Tabletop Pinball Machine Using Evive- Arduino Based Embedded Plaform