
Summary of Simple Datalogger
This article describes a simple Arduino-based datalogger using an Arduino Pro Mini (ATMega168) powered by a 1.5-V battery via a voltage up-converter. It features a Sparkfun 3-axis accelerometer, a control button, and an LED indicator. The device collects data at 10 Hz upon the first button press and transmits it via serial port on the second press. A Python program processes the serial output for plotting. Key limitations include 10-bit A/D precision and limited RAM storage.
Parts used in the Simple Datalogger:
- Arduino Pro Mini (ATMega168)
- 1.5-V battery
- Voltage up-converter from Sparkfun.com
- 3-axis accelerometer on a breakout board from Sparkfun
- Control button
- Red LED
- Computer running Python
Here’s a simple Arduino-based datalogger I’m currently developing:
This test-of-concept model is based on the Arduino Pro Mini (ATMega168). It runs on a 1.5-V battery, using a voltage up-converter from Sparkfun.com. For a sensor, it’s using a 3-axis accelerometer on a breakout board, also from Sparkfun.
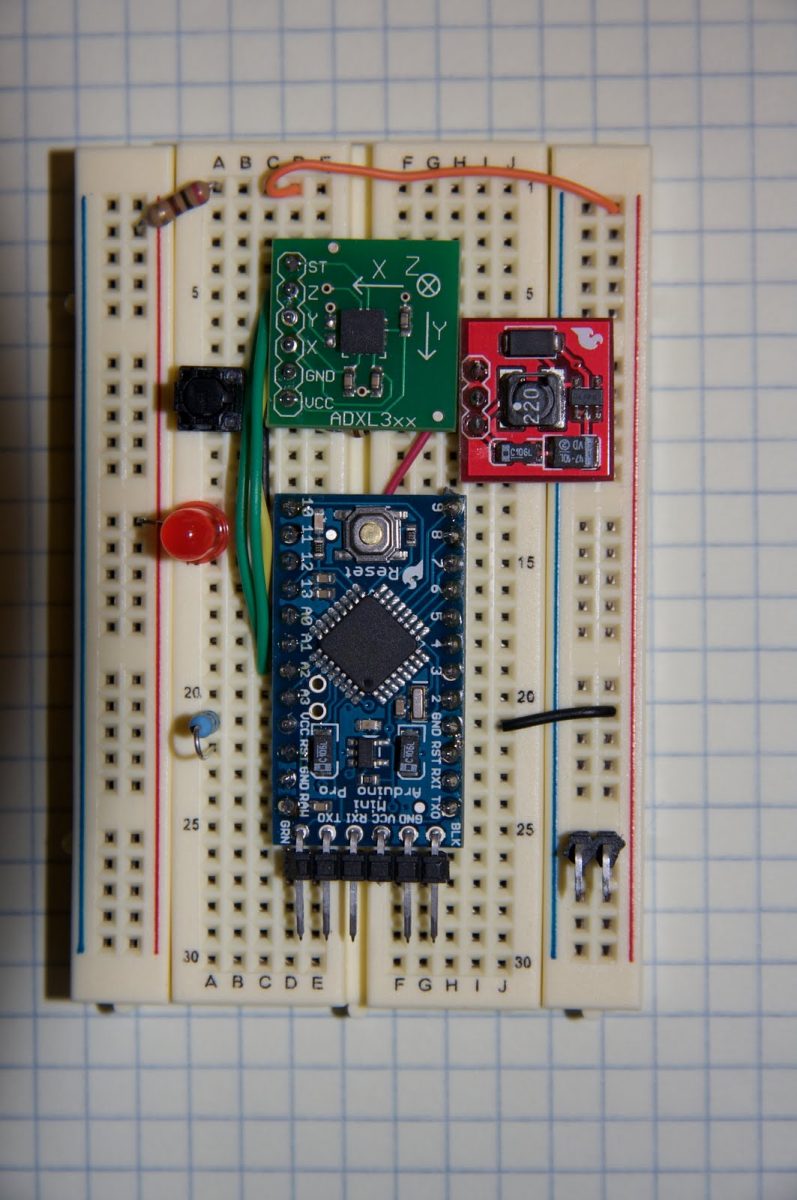
It has one button for control. When the device is reset, it waits until the button is pressed. When the button is pressed, it collects data at roughly 10 Hz for a brief interval, then goes into a wait state again. When the button is pressed a second time, it sends the data out the serial port. The red LED lights up during the data collection period, just so you can see what’s going on.
Here’s the Arduino code.
The corresponding computer program takes the data-dump from the Arduino and plots/saves it. I wrote mine in Python, but any language that allows communications via serial line —and they all do— will work fine.
The device has serious limitations, though. For starters, the A/D conversion on the ATMega chip is only 10-bit, so the precision of the measurement is limited to one part in 1024. More importantly, the memory of the ATMega is severely limited. There may be 16k or 32k of flash on the microprocessor, but that memory is not available to variables. The data has to be stored in the microprocessor RAM, which is only 1-2k depending on which Arduino is being used.
For more detail: Simple Datalogger
-
What microcontroller is used in this datalogger?
The project uses an Arduino Pro Mini based on the ATMega168. -
How is the device powered?
It runs on a 1.5-V battery using a voltage up-converter from Sparkfun.com. -
Which sensor does the device use for measurement?
A 3-axis accelerometer on a breakout board from Sparkfun is used. -
At what frequency does the device collect data?
The device collects data at roughly 10 Hz when triggered. -
How does the user initiate data collection?
Data collection starts after pressing the button once following a reset. -
How is the collected data transmitted to the computer?
Data is sent out the serial port when the button is pressed a second time. -
What programming language is mentioned for processing the data?
The author wrote a program in Python, though any language supporting serial communication works. -
What limits the precision of the measurements?
The 10-bit A/D conversion on the ATMega chip limits precision to one part in 1024. -
Where must the data be stored due to memory constraints?
Data must be stored in the microprocessor RAM because flash memory is unavailable for variables.
