Summary of Make your own TV ambilight using Arduino
This project shows how to make a simple TV ambilight using a separated RGB LED strip (25 LEDs) mounted behind a TV and controlled via Arduino; LEDs were cut/separated, wires soldered and reinforced with hot glue, then positioned around the TV edges angled outward for better front visibility. The author references a blog for deeper details.
Parts used in the TV ambilight:
- RGB LED strip (25 LEDs)
- Wires for soldering between LEDs
- Soldering equipment
- Hot glue
- TV (to mount LEDs on)
- Arduino (implied for control)
This is a very easy project.
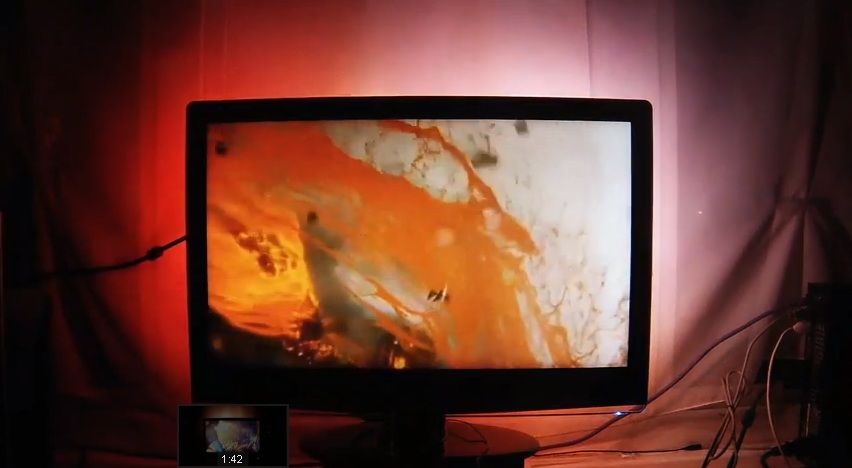
Here is the result
I won’t go into too much detail how each part works, because I have written some information on my blog.
But you should be able to make it work with the information given on this instructable.
Step 1: Prepare RGB LED strip
The RGB LEDs came as a strip, but I want them to be separated further, so I soldered wires in between. I also use hot glue to strengthen the soldering points.
you could buy led strips that have long cables, or you can just use this out of the box, it’s up to you.
I am using 25 LEDs.
Step 2: Mount LED strip on TV
My example is a bad one. you should be more accurate about the LED positions. and the should be facing outward with a angle, so the Lights can be seen brighter from the front.
The sketch is how the LEDs should be mounted on the TV.
For more detail: Make your own TV ambilight using Arduino
- How many LEDs were used in the project?
The project uses 25 LEDs. - Can I use the LED strip out of the box without separating LEDs?
Yes, you can use the LED strip out of the box or buy strips with long cables; either option is acceptable. - How are the LEDs connected after separating them?
The LEDs are separated and wires are soldered between them, with hot glue applied to strengthen the solder joints. - Where should the LEDs be mounted on the TV?
The LEDs should be mounted on the back edges of the TV, positioned accurately and angled outward so the lights are brighter from the front. - Is hot glue necessary in the assembly?
Hot glue is used to strengthen the soldering points on the separated LEDs. - Does the article provide detailed Arduino code and operation info?
No, the article does not go into much detail; it refers to the author's blog for more information on using Arduino.