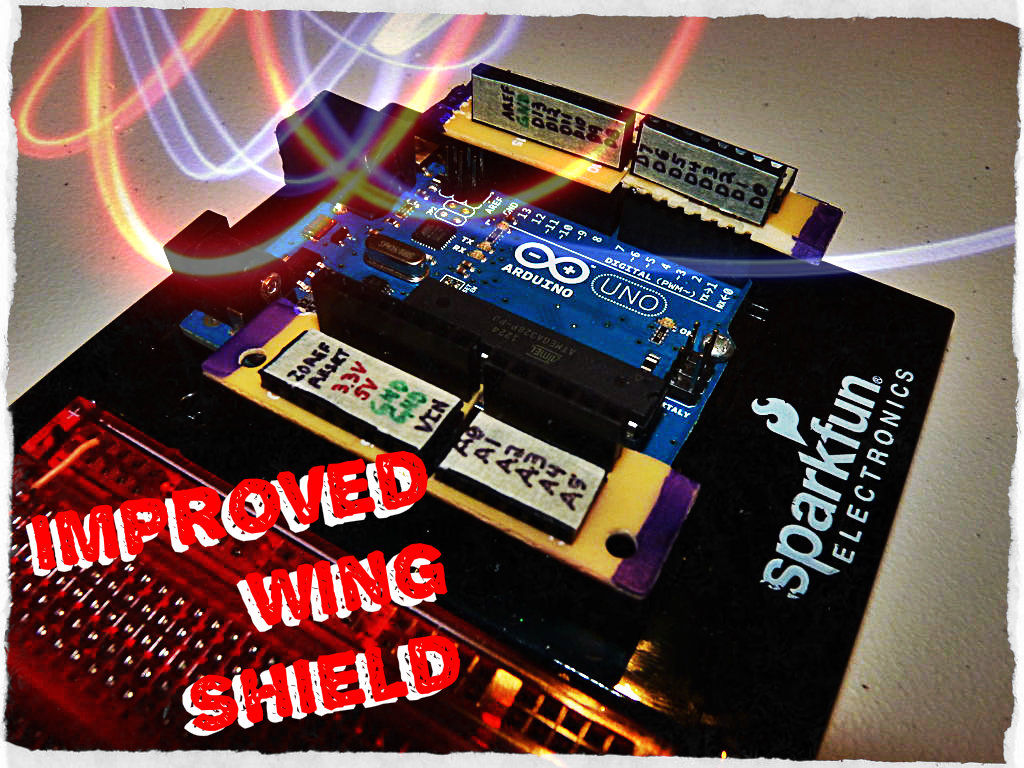
I figured out that I can bend the pins on the bottom of the female header pins and make them 90 degree female headers. I can then make the points that need to be bridged with solder much closer than they were in my last attempt. This makes them a lot easier to make, but it also makes them much easier to use. The stackable headers remain the same, but the female header now lays down so that you have easy access to all of the Arduino pins, regardless of what kind of shield you have on top.

To top things off and make these as ideal as possible, I started with the Arduino R3 stackable headers, which are a little longer and give you every pin, even the reset, IOREF and AREF pins. I like to use masking tape to mark the pins when I use female headers and with these I was able to mark the inside and outside so I don’t have to take everything apart to see the markings on the Arduino board.
Step 1: Parts
Arduino R3 stackable headers
Long strip of female headers
Scrap pieces of perf board
I like to trim the perf boards so there is a tab on one side that I can easily grab to pull the headers back out of the Arduino board. I also wanted to make sure the new 90 degree headers had support from the perf board, so I needed the pieces to be at least 4 holes wide.
I cut and trimmed the female headers to match the length of the R3 headers. I then bent the leads on each header so that they would be at a right angle.
Step 2: Soldering
If you do it right, that first tack solder will be perfectly aligned and the rest is easy. If you didn’t do it right, touch the iron to the solder again and then realign the header.

