This instructable shows you a simple Internet of Things demo using the ESP8266 NodeMCU and an online IoT service called AskSensors. We demonstrate you how to quickly get data from the ESP8266 HTTPS client and plot it in graph into the AskSensors IoT Platform.
Step 1: Materials You Need
To follow along with this tutorial you will simply need:
- Computer running arduino software
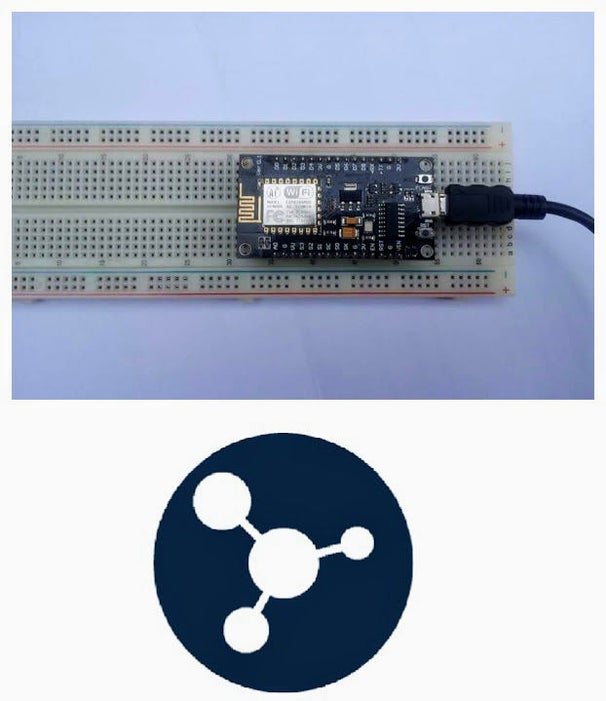
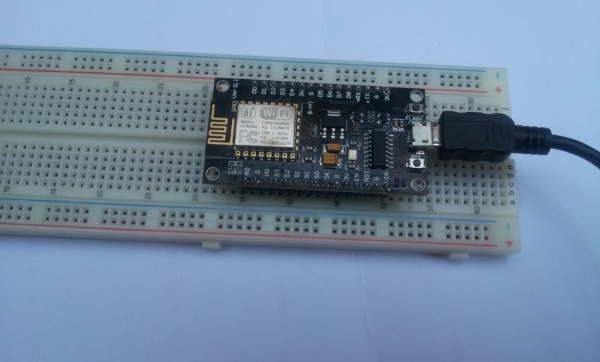
- ESP8266 Node MCU
- USB micro cable to connect the node MCU to the computer.
Step 2: Sign Up for AskSensors
First, Create a new account at AskSensors. You will receive an email containing all the instructions you need follow to login (It is super easy).
Follow this getting started guide which explains you how to create and set up a new Sensor so we will be able to write data to this sensor. Here are the main steps:
- Click on ‘New Sensor’ to create a communication channel with unique ID and Api Keys. Give a name and description to your sensor.
- Add a module for the data you will be plotting.
- Copy down the Api Key In value. We will use in the ESP8266 code later.
Step 3: Write the Code
Example sketch and ESP8266 WIFI libraries are available in github.
The provided code is ready to use as is. It connects the ESP8266 to wireless network as HTTPS client, and then push data to AskSensors every 25 seconds . You need to fill the following:
- Your WIFI SSID and password.
- The Api Key In generated before by AskSensors.
- If needed, the time period between two successive data updates (set to 25 second in this example).
// Wifi config

const char* wifi_ssid = "..........";             // SSID

const char* wifi_password = "..........";         // WIFI
const char* apiKeyIn = ".........."; // API KEY IN, example: FALOAPPKH17ZR4Q23A8U9W0XPJL0F6OG
delay(25000); // delay 25sec
Step 4: Run the Code
- Open Arduino IDE and upload the code into ESP8266 nodeMCU. Follow this tutorial if you still need to get started with programming the ESP8266 ESP-12E NodeMCU using Arduino IDE.
- Return back to your sensor page on askSensors, click on ‘visualize’ and ‘Show Graph’ to view your sensor data in graph.
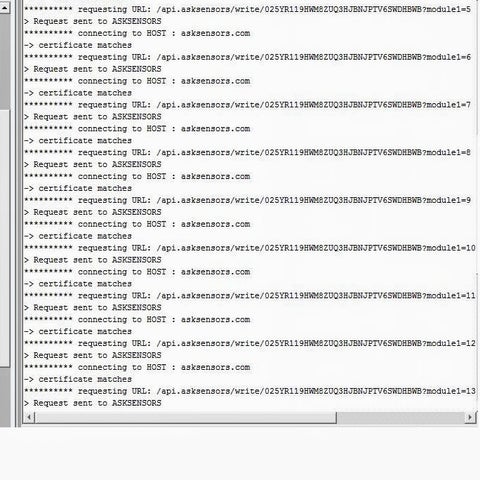
- Open serial terminal. You can cross-check the graph readings with the values being printed on your Arduino Terminal.
Step 5: DONE!
That’s it!
Thanks for reading this instructable!
You can try more tutorials here.
Finally, your feedback will be appreciated. please leave a comment below!
Source: How to Connect the ESP8266 NodeMCU to the IoT Cloud