An Embedded Machine learning-based project was used to detect fire using the inbuilt colour sensor.
Description
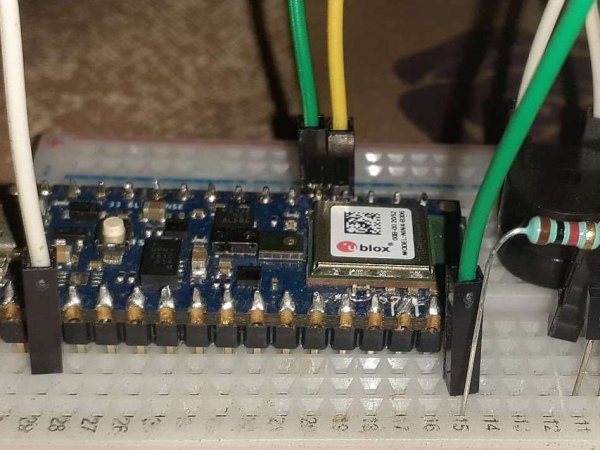
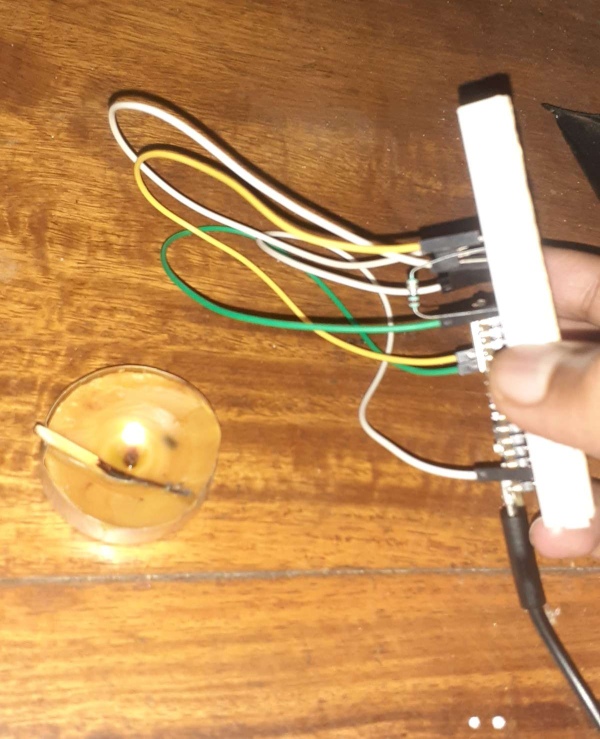
It’s an embedded machine learning-based project used to predict a fire in Arduino nano ble 33 sense with the help of the inbuilt color sensor attached to the board and if the fire has been detected a buzzer is switched on. It is far better than a typical flame and smoke sensor as one uses a heating effect and another uses a good amount of smoke to predict fire but this uses the RGB value to detect fire which is more accurate than the previous 2. I have used the inbuilt colour sensor in the newly launched Arduino nano ble 33 sense which s a mbed os board.
First, i collected the RGB value data of my room without lighting any candle and then by lighting a candle and made 2 datasets for training my Neural network model and then the model was implemented in the microcontroller to predict a fire with high accuracy.
Arduino nano ble 33 sense
The Nano 33 BLE Sense (without headers) is Arduino’s 3.3V AI-enabled board in the smallest available form factor: 45x18mm!
The Arduino Nano 33 BLE Sense is a completely new board on a well-known form factor. It comes with a series of embedded sensors:
- 9 axis inertial sensor: what makes this board ideal for wearable devices
- humidity, and temperature sensor: to get highly accurate measurements of the environmental conditions
- barometric sensor: you could make a simple weather station
- microphone: to capture and analyse sound in real-time
- gesture, proximity, light colour and light intensity sensor: estimate the room’s luminosity, but also whether someone is moving close to the board
Colour sensor
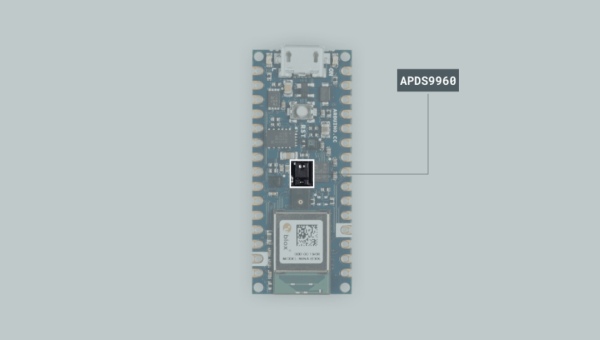
The APDS9960 sensor is a multipurpose device that features advanced Gesture detection, Proximity detection, Digital Ambient Light Sense (ALS), and Color Sense (RGBC). A vastly popular application of the APDS9960 sensor is in smartphones, where it is used to disable the screen when the user places the phone on their ear.
In this project, we have to create 3 programs one for data capture, one for training our model and one for implementing our model to predict fire.
1) Data Capture
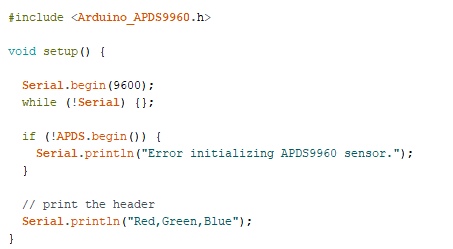
- First, we need to include the APDS9960 library that will allow us to control the sensor. To do so, we need to add the following portion of code before the setup().
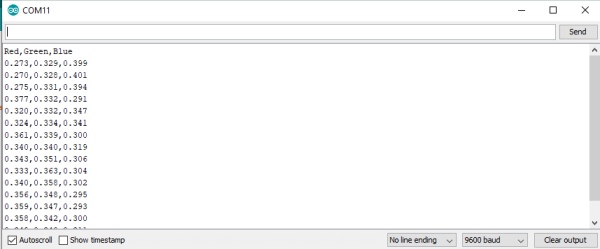
- We will keep the setup() section as it is, on it we have the ADPS.begin() within an if statement. This initializes the colour sensor and will print a message in the Serial Monitor in case the sensor has not been successfully initialized. This string can be any message of your choice. then print the header ie “RED, GREEN, BLUE” for our dataset headers.
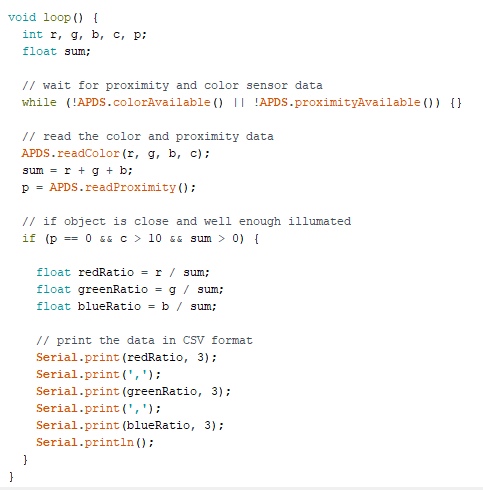
In loop(), we use the colorAvailable() function that checks if the sensor has detected any colour data to read and APDS.readproximityAvailable() to check anything is present near or not. Then, we will store the colour data in the r, g and b variables using theAPDS.readColor() function.After the ADPS.readColor() function, we need to add some if…else statements to know the object is nearer or not and then calculate the RGB ratio and print them in the serial monitor under their specific heading.
- After writing the program just upload it to the board and open the serial monitor.
- for collecting data with no fire just move the board in your room and the serial monitor should look like the below image
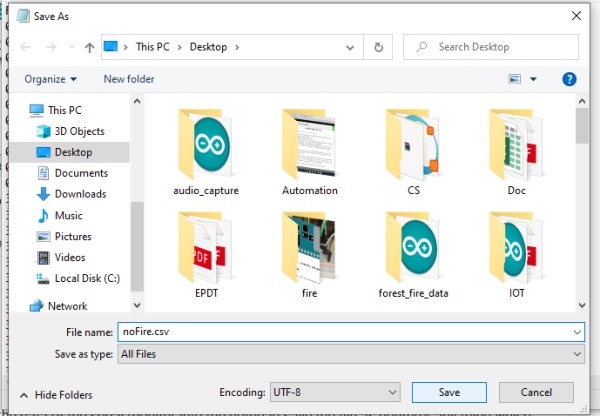
copy all the content of the serial monitor and paste it into a blank notepad
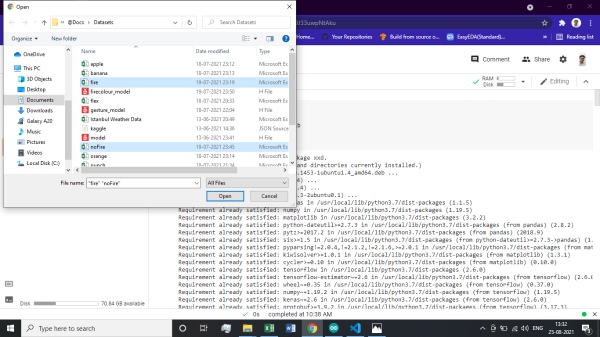
after copying the data of the serial monitor into the notepad save the file as nofire(or anything which you wish) but in .csv file extension.
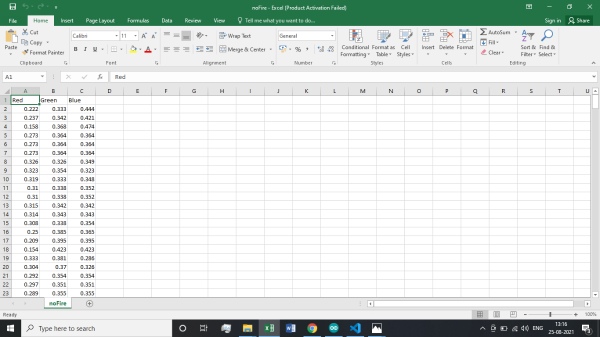
the file should look like the below snap with contents
repeat the process of data capture for fire data set by burning a candle and collecting data from serial monitor and repeating the above steps
- Make sure to make 2 separate datasets for our training the model containing data of nofire and fire RGB values
2) Training our model
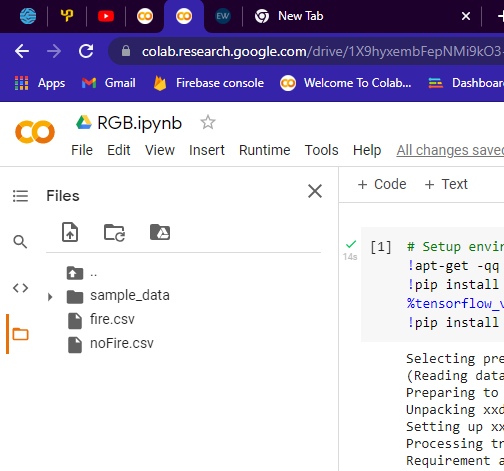
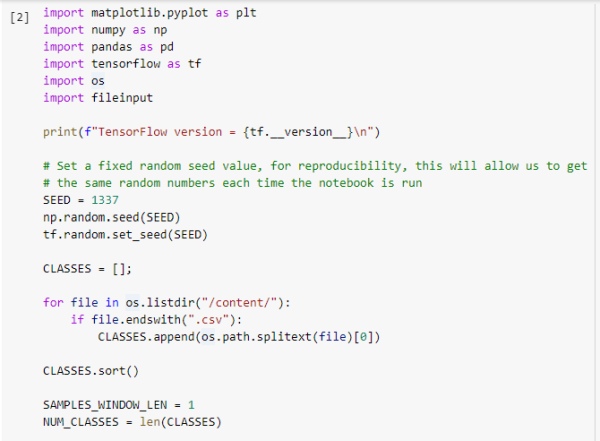
- For training our model our first task is to upload the datasets into our google collaboratory
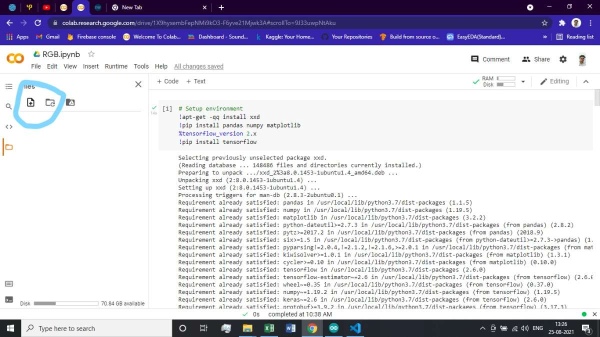
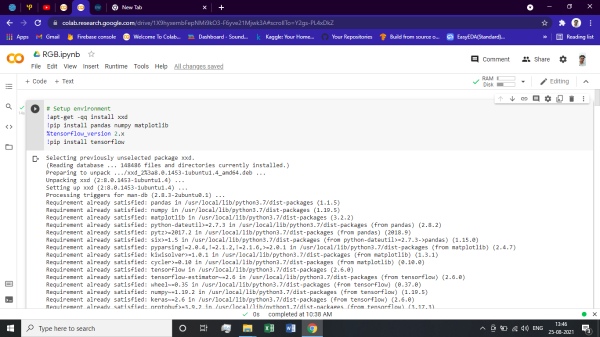
Now we have to set up the environment in collab with installing required libraries and Tensorflow
Import the required library and check the TensorFlow version and load the datasets from files folder to our program
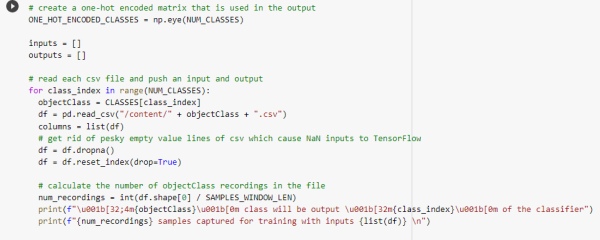
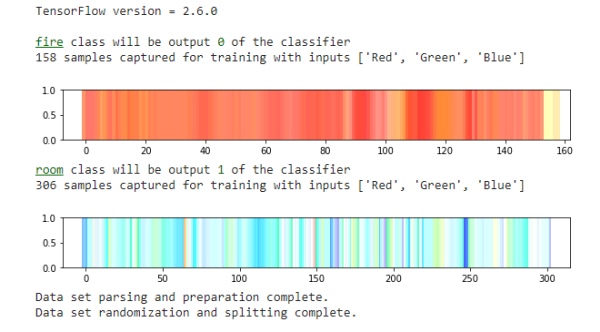
Create a one-hot encoding for representing categorical data to more expressive format and read one by one dataset and check how many samples are present
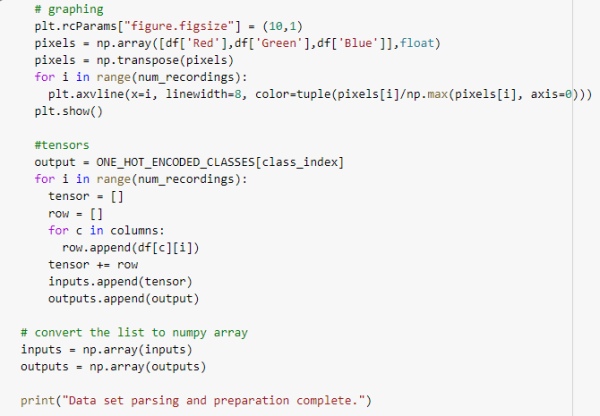
the graph was plot for all the samples and the one-hot encoder was implemented
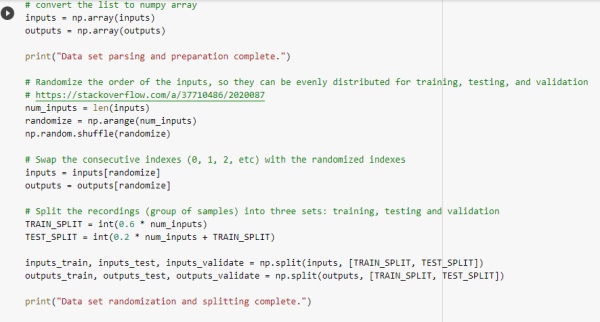
Data set randomization for training was done and splitted into test and train data
Define the model
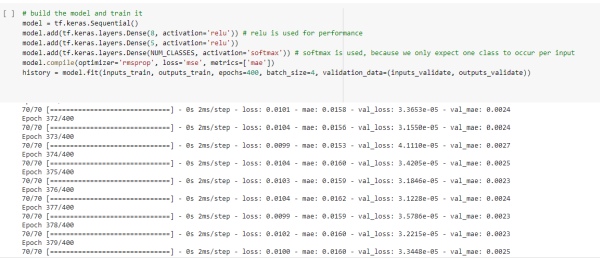
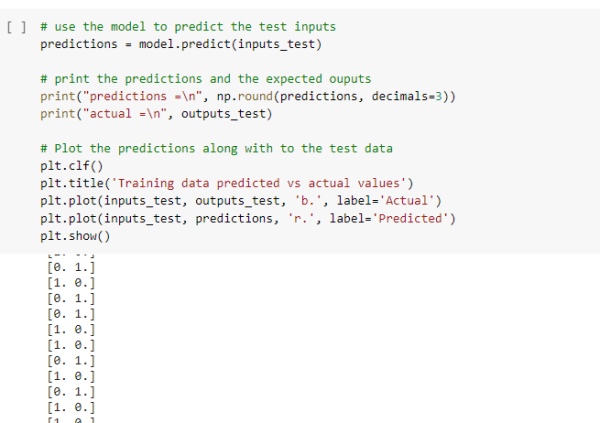
after training the model using the test data to predict the data and test your model
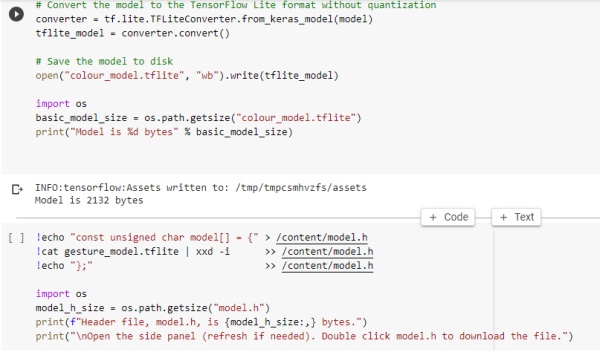
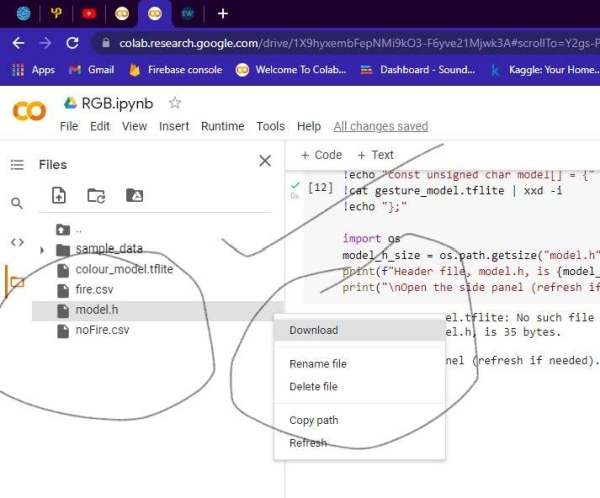
converting the tensor flow model into TensorFlow lite to be implemented into our microcontroller board
3) Implementing our trained model in ble sense
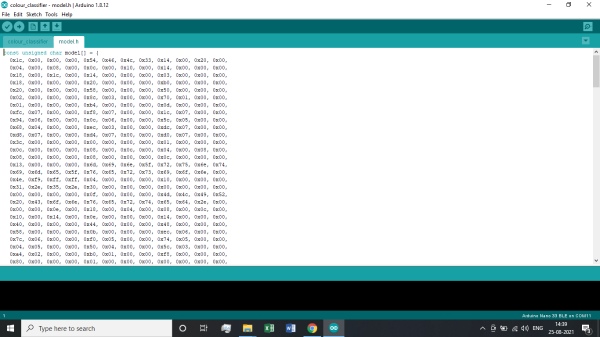
- The first task is to create a new ARDUINO project and copy the model.h file into the folder
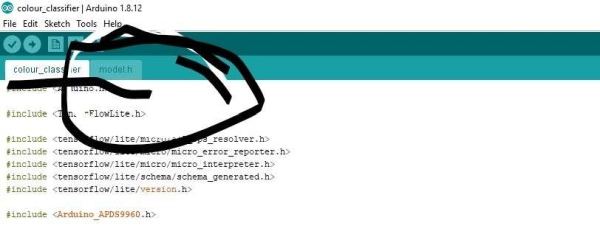
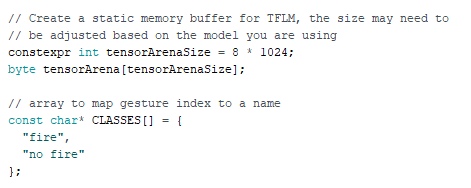
First, we need to include the APDS9960 library that will allow us to control the sensor and the TensorFlow lite library along with the tflite global parameters and all the variables for the model. To do so, we need to add the following portion of code before the setup().
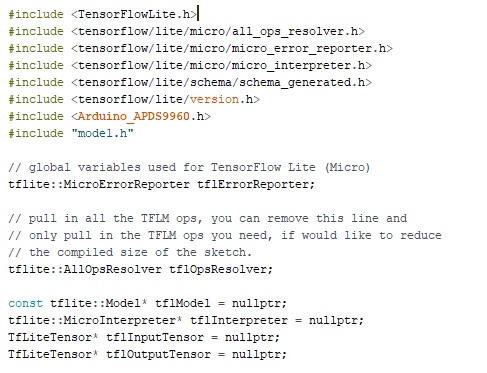
allocate static memory for the model and define the classes to be predicted
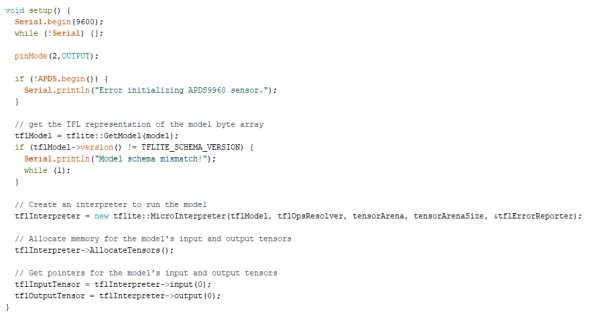
We will keep the setup() section as it is, on it we have the ADPS.begin() within an if statement. This initializes the colour sensor and will print a message in the Serial Monitor in case the sensor has not been successfully initialized. Then check the version of the model if it is compatible with the tflite model or not and allocate an interpreter for running the model in our microcontroller
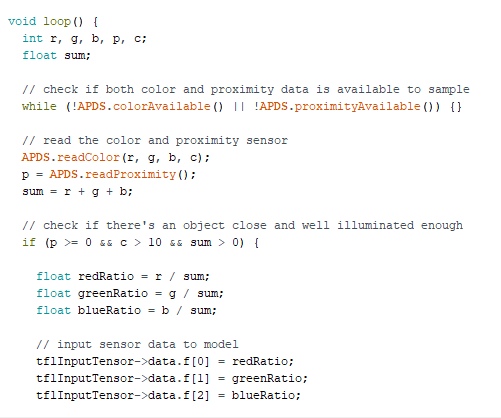
In loop(), we use the colorAvailable() function that checks if the sensor has detected any colour data to read and APDS.readproximityAvailable() to check anything is present near or not. Then, we will store the colour data in the r, g and b variables using theAPDS.readColor() function.After the ADPS.readColor() function, we need to add some if…else statements to know the object is nearer or not and then calculate the RGB ratio and proved the data into the model for prediction.
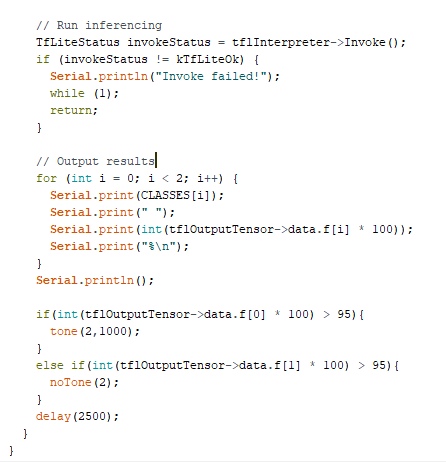
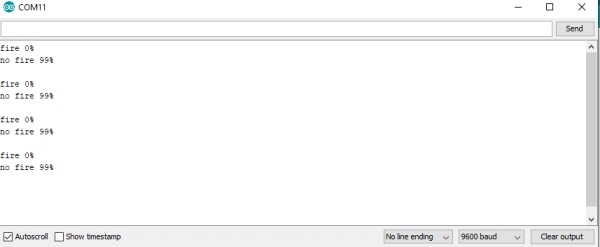
Run the inferencing and check if the model fails at any of the input data and print the classes predicted with their % prediction and turn on the buzzer for notification.
Final Output
Video
Source: Fire Prediction using Arduino nano BLE sense and Machine Learning