
DIY RGB Tube light is a multi functional tube light which can be used in photography, light painting photography, film making, gaming, as a VU meter and more. The tube light can be controlled by Prismatik software or by a push button. These tub lights are made using a Arduino Nano and WS2812B LED strip.
Step 1: Supplies:
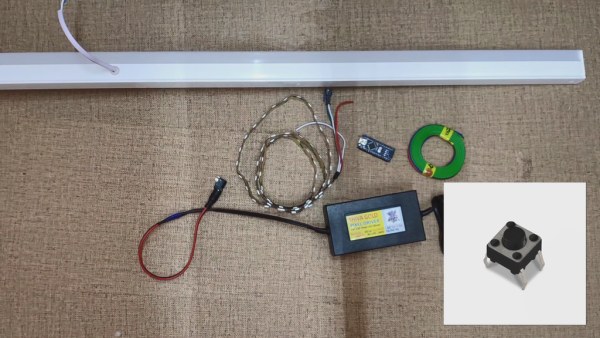
- (1) Arduino Nano : https://amzn.to/3r2x4sY
- (2mt) WS2812B LED Strip: https://amzn.to/2Kwe70O
- (2) White Tube Lights Or Aluminum Light Fittings with Diffuser : https://amzn.to/38fF6Gu Or https://amzn.to/38fF6Gu
- (1) 5V 5A Power Supply : https://amzn.to/3nqCvQi
- (1) Push Button : https://amzn.to/3mpNEPK
- (1) Wires : https://amzn.to/3npgYrh
- (1) DC Connector : https://amzn.to/3nocDV2
Step 2: Tube Lights Disassembling:
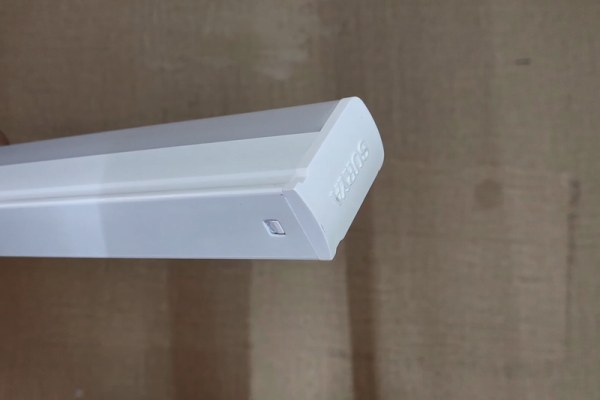
Disassemble the tube light by removing end caps, separating diffuser and removing whites LED strip from the tube.
Step 3: Circuit Connection:
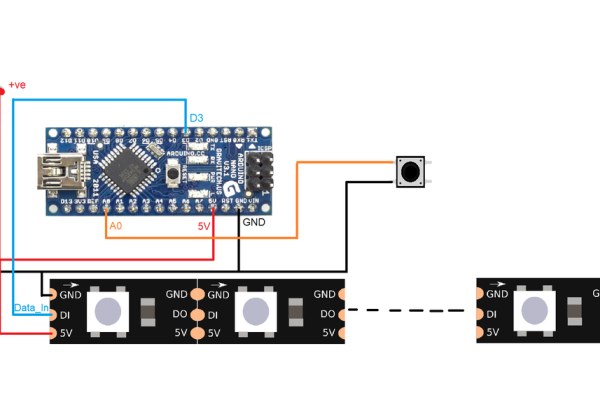
Make all the connections as shown in circuit diagram.
Step 4: Assembling:
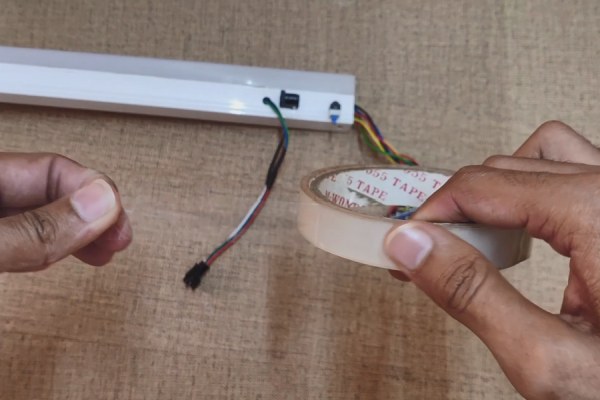
Put all the electronics in the tube, put back the end caps and seal the diffuser using clear tape.
Step 5: Tube Light 2:
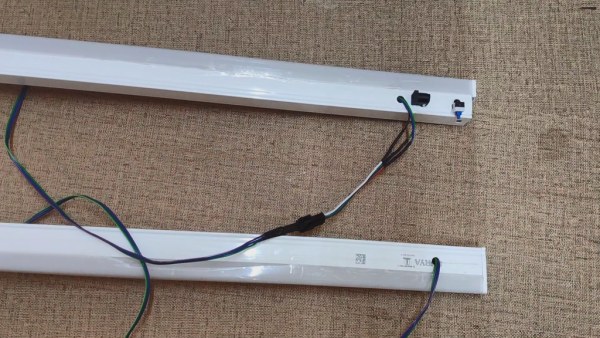
Similarly make the second tube but this time use only WS2812b LED strip, connector, wires and connect the tube lights.
Step 6: Code for Software:
- Download the given zip files and extract them.
- RGB_Tube_code & software zip
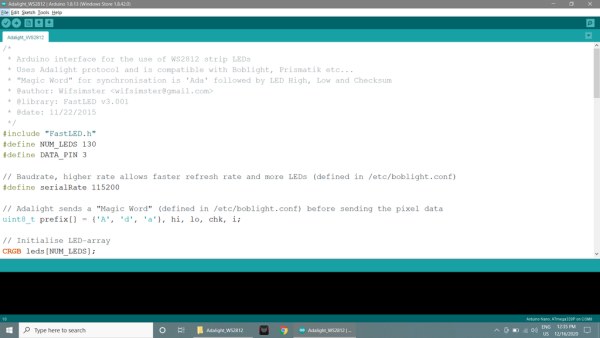
- Open the RGB Tube code & software file, open the code given in Arduino IDE.
- Install the FastLED library in Arduino IDE.
- You can enter the number of LEDs you used in your tube lights, I used 65 LEDs in each tube lights, i.e. 130 LEDs in both tube lights.
- #define NUM_LEDS 130
- Remember the port number. (for example: com8)
- Connect the Arduino to your PC, select the board type, select the port and upload the code.
Step 7: Software Setup:
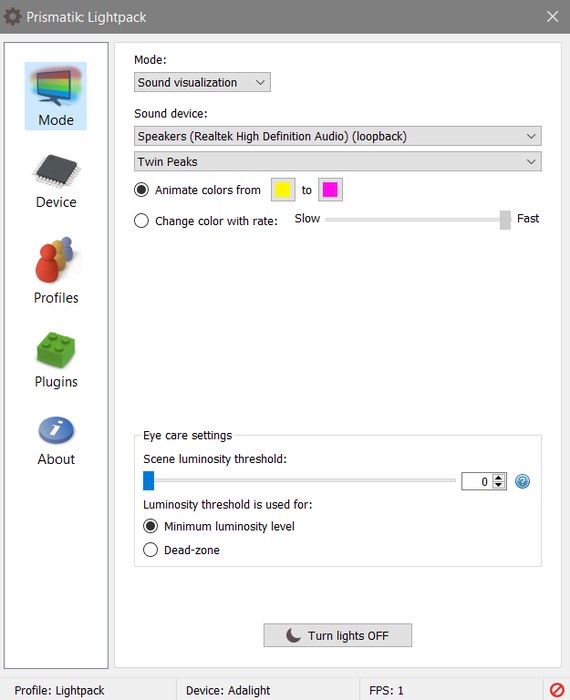
- Install the prismatik software in your PC.
- Open the software and click on device.
- Click on Run configuration wizard and simply click on Next -> Next.
- Enter the Serial Port number and click Next -> Next
- Enter the number of LEDs at sides (i.e. in my case top=0, side=65, bottom=0) and click on custom -> Next.
- Adjust the sliders to get white color on the tube lights and click on finish.
- Now you can choose different mode in the software and display on tube lights.
NOTE: The Arduino should be connected to the PC.
Step 8: Button Code:
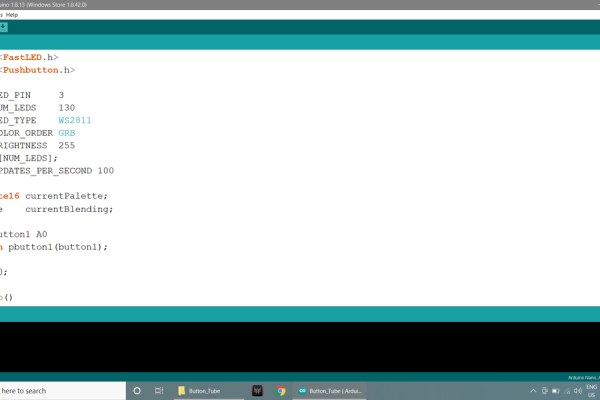
- Button_Tube.zip
- Open the Button_Tube code in Arduino IDE.
- With this code you can change the color of the Tube Lights with the push of button.
- Install the Pushbutton library by clicking on sketch ->Include library -> Add zip library and select the Pushbutton-2.0 zip file in Button_Tube file.
- Enter the number of LEDs.
- #define NUM_LEDS 130
- In this code you can enter the values of the colors at CRGB(—-, —–, —–);
- for(int i = 0; i < NUM_LEDS; i++){ <br> leds[i] = CRGB(0, 100,255); FastLED.show();
- You can copy paste the color values from color picker.
- Connect the Arduino to your PC, select the board type, select the port and upload the code.
Source: DIY RGB Tube Lights