Summary of Build the Remote Control Bobble-head Bobbler! using arduino
This article details a DIY project to create an "Automatic Bobble-head Bobbler" that animates bobbleheads using an Arduino and IR remote. The creator replaced weak vibrating motors with a servo motor controlled by an IR sensor, allowing users to trigger the bobbling action via a generic remote. The project involves wiring components to an Arduino Uno and programming it to recognize specific remote signals to activate the servo.
Parts used in the Automatic Bobble-head Bobbler:
- Arduino Uno
- InfraRed (IR) Sensor
- Servo - SG90 9g Micro Servos
- Generic Universal Remote
- Wire
- Small springs
- Project box
- Scrap wood
- 2 bolts #10
- 4 nuts
- 2 washers
- 2 screws
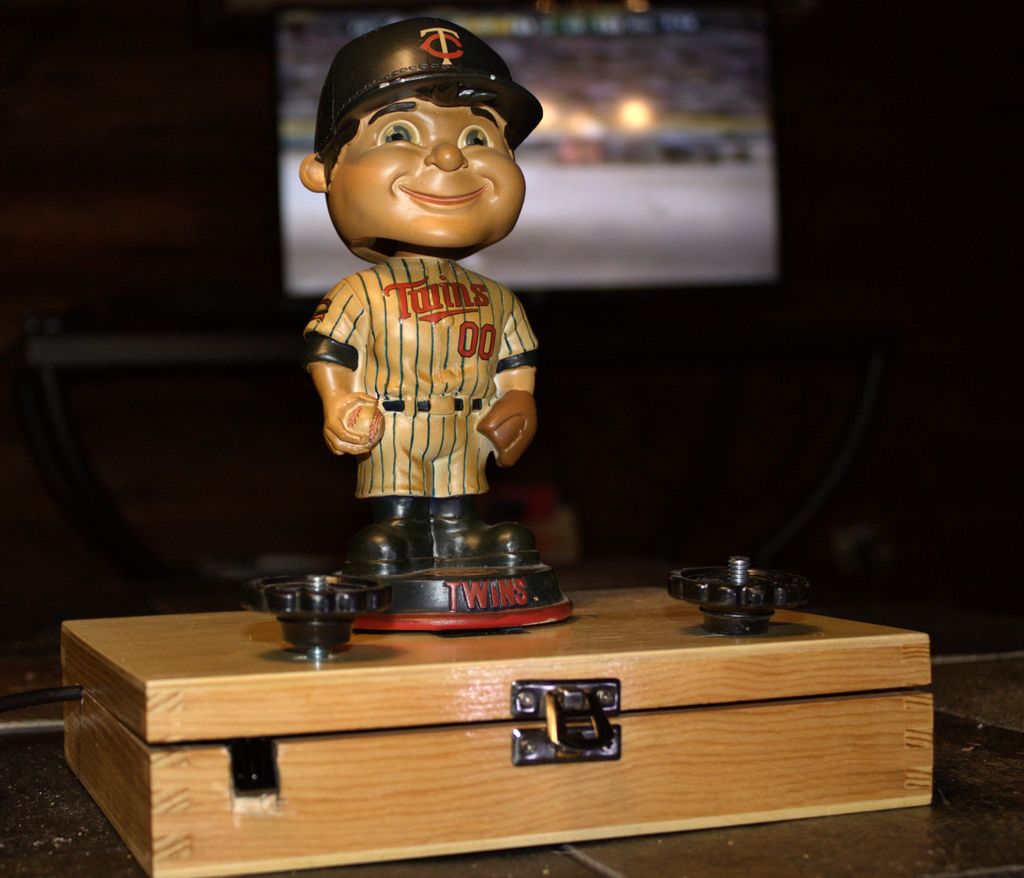
I thought it might be fun to create an Automatic Bobble-head Bobbler something that can wake that old bobble-head up and get him nodding away. I finally found time to get one working just in time to be a Christmas present (and of course be the subject of a new Instructable).
Concept phase: I first thought I would use an off balance vibrating motor for this project. They are easy to find or make, and inexpensive. But the type I found, simple hobby motors, were just too weak to move a heavy bobble-head, so I moved on to an inexpensive Servo ($2.82 from eBay).
I also thought about using a sound sensor or a motion sensor for this project, but a friend worked out a scheme for hacking any basic IR remote first using an Arduino and then a less expensive ATTiny85 IC (that version of the bobble-head bobbler will be next)
Parts needed:
- Arduino Uno (as mentioned above in my next Instructable I’ll show how to port this project to a much less expensive ATTiny85 chip). I used the wall adapter for the USB cable for power.
- InfraRed (IR) Sensor http://www.adafruit.com/products/157
- Servo – SG90 9g Micro Servos (Intended for RC Airplanes, other servos would work as well)
- Generic Universal Remote – I had one laying around, but these can be found at Goodwill as well.
- Wire – to reach from the components to the board
- (Optional) – Small springs – I used 2 coils springs, these may not be needed if you have light bobble heads
- Project box – I found small wooden boxes at the Ax-man surplus store for $2.50
- Scrap wood – to shim the distance from top to bottom of box so the servo fits
- 2 bolts #10
- 4 nuts (I used 2 fingernuts, making it easy to adjust bobble level 😉 )
- 2 washers – useful to keep spring in place
- 2 screws – to attach the Servo
Tools needed
- Drill
- Saw
- Soldering iron
- Heat shrink or tape
- X-Acto knife to tweak opening for IR Sensor and cord
Video of the Bobble-head Bobbler in Action
Step 1: The Schematic and Code for the Bobble-head Bobbler
The Code:
In the first Tutorial there is a section that shows you how to read an IR Commands. I used a GE Remote Control and using the tutorial was able to trap the output for the buttons I wanted to control on the device. The output of the tutorial program is an array that can be used in an If- then-else loop waiting for the right buttons to be pressed. The bobble action in this routine happens when the user presses the #1 button on the remote. You may also find it handy to add an LED to blink while debugging this ir decoder, for testing or just for fun.
The Wiring:
The basic schematic is shown here. Just connect the yellow output wire of the IR sensor to digital pin 2, and also connect it to ground and 5V power. Hook the Servo up as follows
- Connect the red servo wire to The Arduino 5V
- Connect the black/brown servo wire to Arduino ground
- Connect the white/orange servo wire to Arduino Analog 0
Remember, the array One_IRSignal[] needs to change slightly based on the output of the remote control you’re using.
 IR_Commander_Bobble.ico.txt
- Why was a servo motor chosen over a vibrating motor?
The hobby motors found were too weak to move a heavy bobble-head. - What component is used to control the bobble-head remotely?
An InfraRed (IR) Sensor connected to an Arduino reads commands from a generic remote. - Which button on the remote triggers the bobbling action?
The bobble action occurs when the user presses the #1 button on the remote. - How do you connect the IR sensor to the Arduino board?
Connect the yellow output wire of the IR sensor to digital pin 2, ground, and 5V power. - What color wires are used for the servo connections?
The red wire goes to 5V, the black/brown wire to ground, and the white/orange wire to Analog 0. - Can this project be built with a less expensive chip than the Arduino Uno?
Yes, the author mentions porting the project to a less expensive ATTiny85 IC in a future guide. - What tool is needed to tweak the opening for the IR Sensor and cord?
An X-Acto knife is required to tweak the opening. - Where can one find small wooden boxes for the project enclosure?
Small wooden boxes were found at the Ax-man surplus store.