Summary of Arduino Quilting Machine
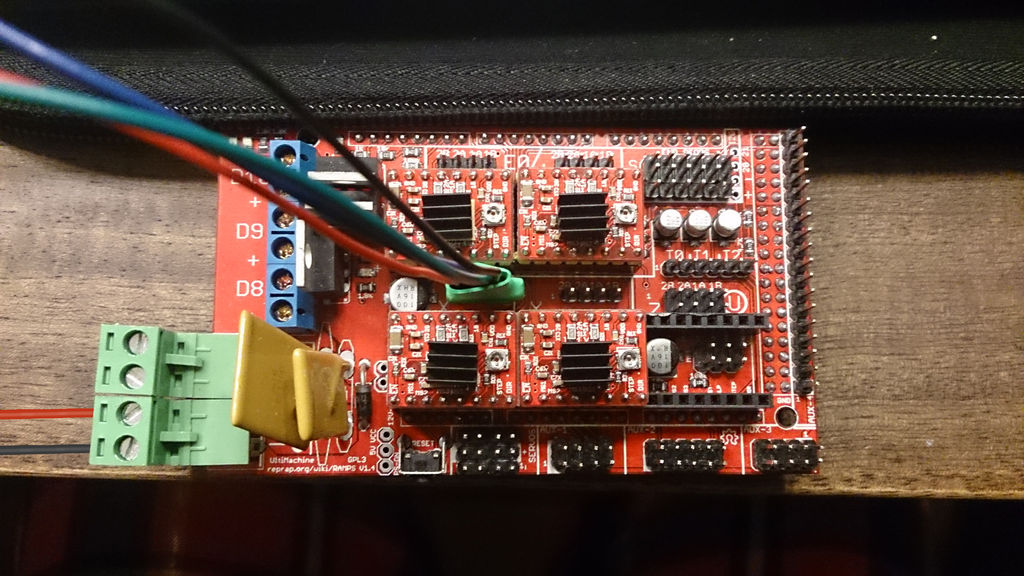
This article details the construction of an Arduino Quilting Machine, which integrates a mini sewing machine with CNC technology and Arduino control. The system converts vector files into G-code to operate four stepper motors for X/Y bed movement, bobbin control, and threading. The build utilizes laser-cut plywood components alongside reassembled parts from a standard mini sewing machine, including custom 3D-printed or modified shuttle and needle bar elements.
Parts used in the Arduino Quilting Machine:
- Mini sewing machine (disassembled)
- Four stepper motors
- Laser-cut plywood (3/8", 1/8", and 1/4")
- Linear bearings
- Square nuts
- Threaded rods
- Linear shafts
- Shaft couplers
- 1/4" screws
- Rhino modeling software
The Arduino Quilting Machine combines the mechanics of a sewing machine, CNC technology and Arduino as an operating system. The project is designed to translate a vector file from a computer into G-code and subsequently into Arduino language which then moves the machine. The project uses four stepper motors to control the x-axis, y-axis, the bobbin case, and the threading. The bed moves in x and y direction while the threading moves up and down. This project is currently a work in progress and still being developed and tested.

Step 1: Block Diagram
Step 2: Parts
Step 3: Laser-cut
1. Most of the parts are from laser-cut. I modeled in Rhino first to see how it looks and then make this laser cut file. The file is for 3/8”, 1/8” and 1/4″ plywood.
2. Glue all the same parts together to prepare for construction, for example, all the A1 together, and all the B2 together….etc.
 lasercut file.AI85 KB
Step 4: Deconstructing the Mini Sewing Machine
Instead of fabricating all mechanical parts of the sewing machine, I took the existing parts of a mini sewing machine and reassembled them for my Arduino Quilting Machine. The only custom parts are the shuttle hook cover, shuttle race, bobbin case and the entire needle bar.
Step 5: Construction
1. Take out linear bearings, and place it in C1/C2 and E1/E2.
2. Place square nut into C3/C4 and D1/D2.
3. Glue C1/C2/C3/C4 on each corner of B1 ( This is the bed of the machine that moves X direction), and place B2 on top of B1.
4. Place one threaded rod and one linear shaft into C1/C2/C3/C4, and then put it aside.
5. Glue D1/D2 and E1/E2 on both sides of F1 (This is the bed of the machine that moves in the Y-axis), and place one threaded rod and one linear shaft into D1/D2 and E1/E2.
6. Glue a piece of P1 on top of A1/A2, I1 and J1, and then place A1/A2 at both ends of the linear shaft of the X-axis bed, and place I1 and J1 at both ends of the Y-axis bed.
7. Use the rest of P1 and some 1/4″ screws to tighten both linear shafts.
8. Glue L1 to M1, and L2 to M2. Place two stepper motors on top of them.
9. Connect threaded rod to stepper motors with shaft couplers. Just one on each end of the two rods.
10. Place G1 at the end of threaded rod of X-axis bed, and H1 at the end of Y-axis bed.
11. Place and glue the entire Y-axis bed on Q1.
12. Place and glue the entire X-axis bed on the Y-axis bed.
For more detail: Arduino Quilting Machine
- How does the machine translate computer files into motion?
The project translates a vector file from a computer into G-code and subsequently into Arduino language to move the machine. - What components control the X and Y axes?
Two of the four stepper motors are used to control the X-axis and Y-axis movements of the bed. - Which parts were taken from an existing sewing machine?
The project uses existing parts from a mini sewing machine, specifically reassembling them for the new build. - What materials are used for the laser-cut components?
The laser-cut file is designed for 3/8, 1/8, and 1/4 inch plywood. - Which parts were custom-made for this project?
The only custom parts created are the shuttle hook cover, shuttle race, bobbin case, and the entire needle bar. - How are the linear shafts secured during construction?
Linear bearings are placed in C1/C2 and E1/E2, while square nuts are placed in C3/C4 and D1/D2 to hold the shafts. - Can I use Rhino software to design my own parts?
Yes, the author modeled the parts in Rhino first to visualize the design before creating the laser cut file. - What is the current status of the project?
The project is currently a work in progress that is still being developed and tested.