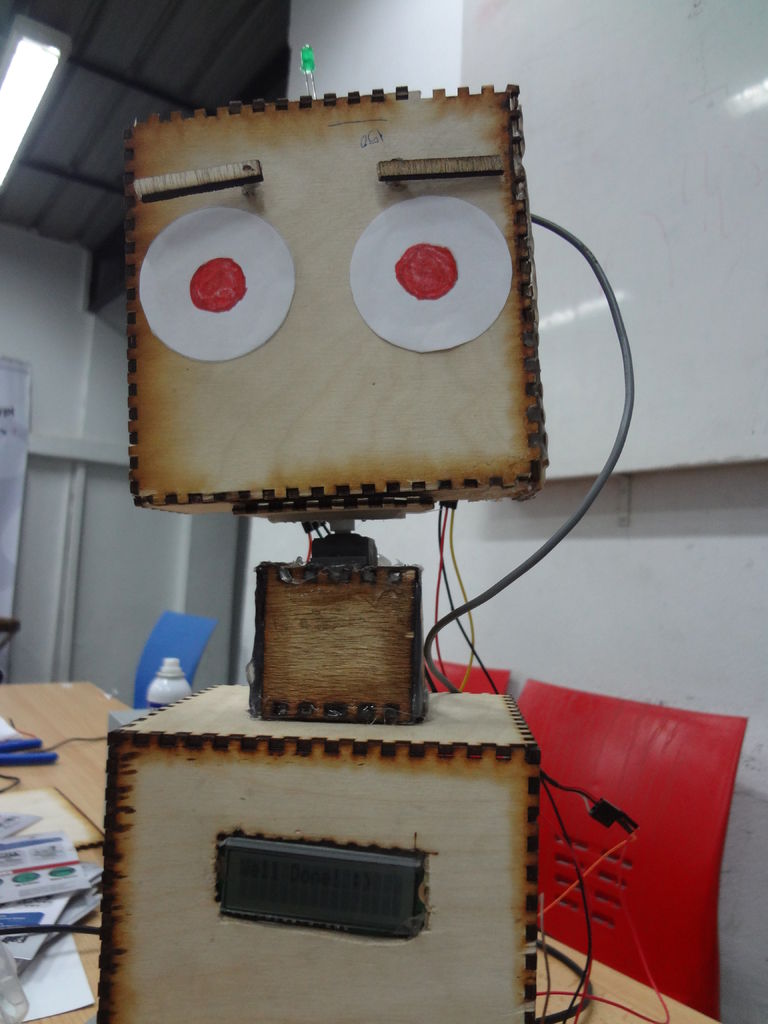
Did you hear before about Social Robot? Did you you see the Pepper Robot or Jibo robot? These kinds of robots that can hear you, understand you and make a social contact with you via sound, facial expressions and body gestures. Social robots have various applications, specifically with elderly people, children and children with a lack in social interaction such as autism. The existence of social robot “physical body” not just a 3D avatar in screen has shown a valuable impact to people who use this kind of technology. The following instructable shows you a trial of developing a social robot(called Woody) which interactively plays a spelling game with you.
Woody consists of two parts:
- Woody body (head and LCD embedded to its body which holds the characters you write)
- Mobile application (basically 1sheeld app) that takes the characters input via keyboard and stores the sounds that woody produces.
More details are provided in the next steps.
Step 1: Game Scenario
The game scenario can be described as the following:
Start by the mobile side, via keyboard press ‘Enter’ to start the game. Woody will ask you to spell a word, you will provide the answer by click on the alphabets that best match what you heard. If you spelled the word correctly(wrote the characters correctly) then woody will congrats you. If you spelled it totally wrong then Woody will be angry of you and repeat the word again until you make it correctly. If you were almost there(only half of the word’s characters or less are wrong) then Woody will encourage you by telling you that you are very close and make you another chances to correctly spell the word. Videos provided can show you the game and woody expressions through the game.
Step 2: Project Components
Specifically the components of the projects are:
- Arduino Uno
- 1Sheeld sheild (keyboard sheild abd music player shield)
- 2 Micro Servos (eyebrows)
- 1 Standard Servo (nick)
- LCD (16×2)
- breadboard, wires(female and male jumpers),power supply
- wood sheets, equipment for cutting the wood, glue
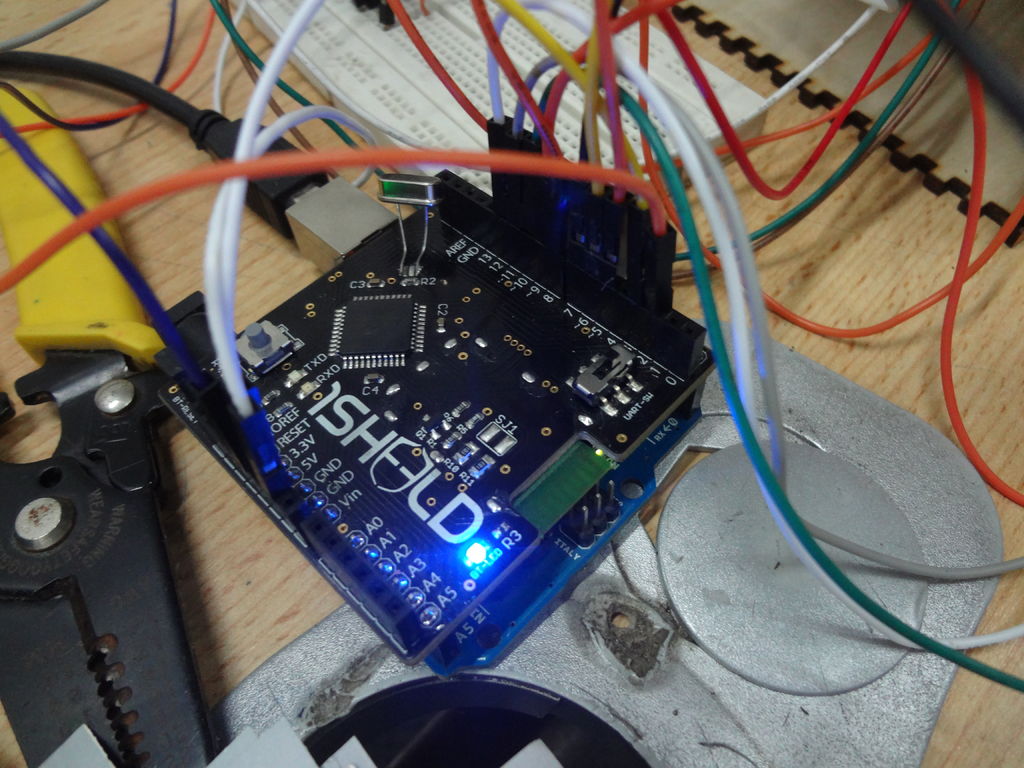
Step 3: 1Sheeld and Mobile Side App
If you explored the 1sheeld website you can figure out what this shield used for. It’s about turning your smartphone to rich sensors and IO capabilities for Arduino chip. Put the shield on your Arduino, download the library on your Arduino environment and download the android mobile app into your mobile, and now you are ready to use all shield listed in 1sheeld website. Here we will use the keyboard and Music shields.
To use any of the available shields In the Arduino sketch:
- call the library
- begin the 1sheeld in the setup
#include <onSheeld.h> <br>void setup() {
OneSheeld.begin();<br>}
Keyboard Shield
In our project all the Arduino sketch is based on the click of the user, the start is by clicking ‘enter’ key and for other clicks (alphabets) some comparisons take place and once the user finish enter the word, he/she will click ‘enter again’ to proceed to next level or to see his/her result.
For more detail: DIY a Spelling Game with an Interactive Robot using Arduino