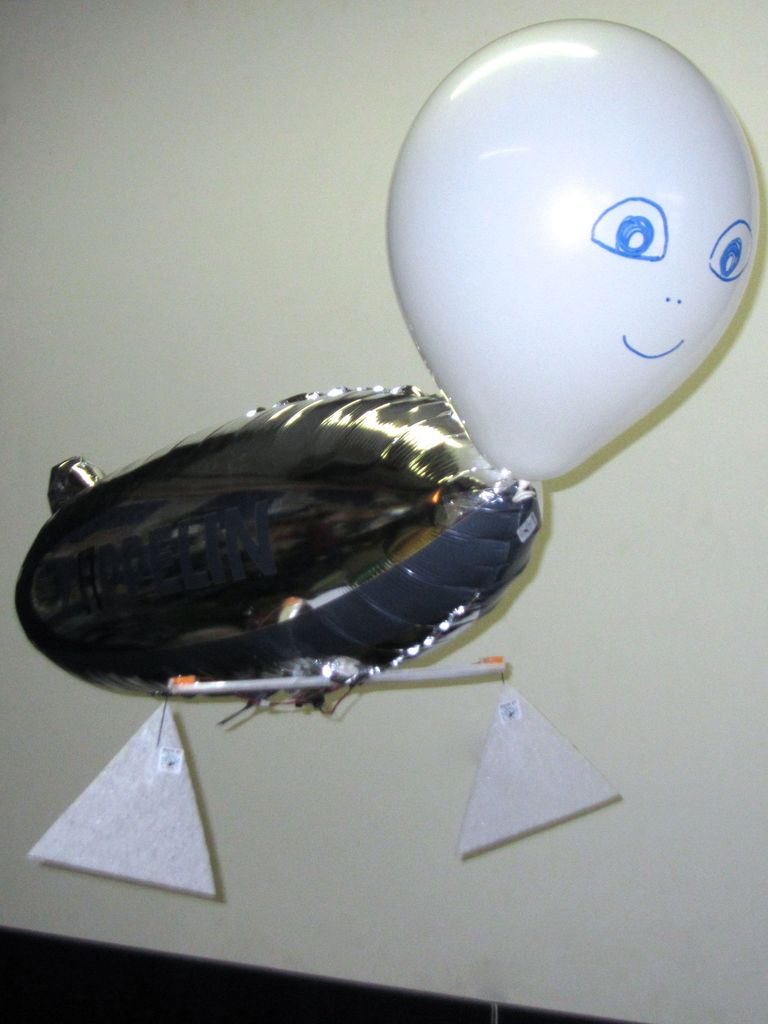
No it’s a ZAPpelin, an Arduino controlled indoor blimp, setup to learn in the signals from an IR remote to command it.
This project came to life at the third Arduino Jam Februari 15th to17th 2013, at Timelab, Ghent, Belgium.
Our team consisted of:
–charles32
–mgossye
–myself (masynmachien)
The main challenges we set ourselves:
– Keeping the weight down. The Zappelin should be reasonably small to be used in a living room.
– Keeping costs down by using an ordinary “TV style” IR remote most of us have lying around at home. (the high inertia of a blimp made this possible).
– Using the advantage of an Arduino over standard modelling RC equipment to use an alternative propulsion concept.
Here’s a video of the ZAPpelin in action:
If you like this Ible, please give it your vote. Thanks!
Step 1: Parts and materials:
• 28-pin DIP IC Socket
• 16MHz crystal
• momentary push-button (optional)
• 10 k0hm resistor
• 2 x 22pF capacitors
• ATMega168 or 328 microcontroller chip
• breadboard style perf board
• a row of 6 female headers
• some thin wire
IR sensor:
• we used a PNA4602 type (as the ones Adafruit)
Hardware to program:
•USB to UART converter
•Arduino board (used as ISP for changing fuse bits)
Remote control
Any “TV style” IR remote control. We used an Apple one, but other worked too.
Software:
•Arduino 1.0 (or later)
•avrdude
RC gear:
• Two ultra micro servo under 2.5g (a regular type, not linear ones). We used a so called HK-5320 1.7 g servo, which actually weighs 1.9g with wires and connector. It turns out these have alimited mechanical range of about 100°. The slightly heavier (actually 0.5g heavier). HK-282A does have a 180° mechanical range, and would be my choice for a new build. I was not yet able to determine the mechancal range of the intermediate (in weight) HK-5330.
• Two extension leads with connectors compatible with the servos and one for the battery (the Hobby King servo connectors are compatible with the common “minium battery connectors”)
• A 1s LiPo battery around 2.5 to 4g. Obviously you will need a suitable charger (not shown).
Balloon and helium:
• You can have your ballons filledat the balloon shop for a couple of euro or bring home a helium bottle (rented or bought, around 50 EUR for a canister + 50 balloons).
• The lift capacity of the balloon needed depends on the gear used. It should be about 20 to 25 g. Our first attempt was based on my favourite Zeppelin NT Mylar balloon carrying a good 17g. The Zeppelin NT blimp balloon can be ordered from Deutschen Zeppelin-Reederei GmbH (you can find it by clicking klick on “Produktubersicht”, choosing “Accessoires” and scrolling down).
• To add an extra control function we needed more lift and added a latex balloon. Depending on temperature and moisture a latex balloon will last longer or shorter. The spare buoyancy needed for this project lasted roughly a day.
Remark: with an Arduino pro mini 3.3V we would have saved about 5 g and this would not have been needed.
For the fins:
• Some EPP sheet (Expanded PolyPropylene), 3 mm thick. We used a triangle with two 22 cm long to start with.
• Three times about 5cm of 0.8 to 1mm diameter carbon rod.
• a piece of extruded polystyrene (Depron or similar), 3mm thick, 35cm long, 5cm wide.
For assembly and trimming:
• Some sewing thread.
• Superglue.
• Scotch tape.
• A couple of grams of putty, to be used as trim ballast.
Tools:
• A precision soldering iron and solder
• A scale accurate to 0.1g.
• Scissors.
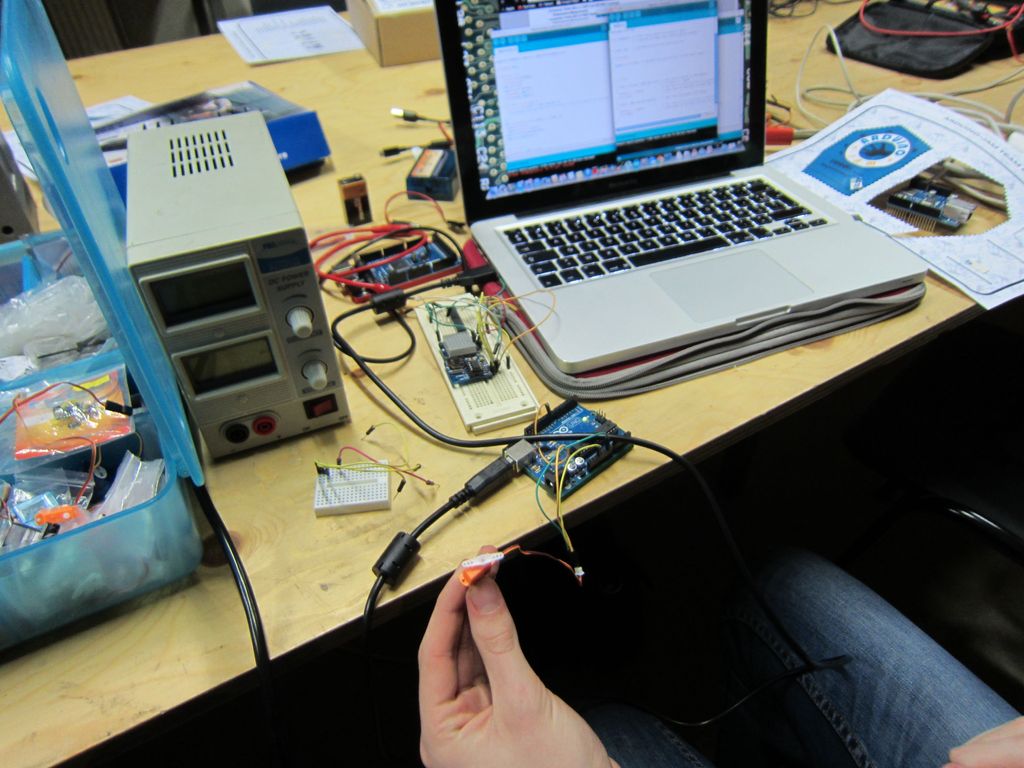
Step 2: Making a lightend Arduino board + changing fuse bit
We built a simplified perfboard Arduino. Something like this, but without voltage regulation, and a minimum of connectors. The row of headers is for power and uploading with an FTDI USB to serial cable.
The IR sensor is connected to Pin2 (input), Ground and VCC.
An Arduino pro mini 3.3V would be a ready made solution. Instead we built a minimal Arduino board and made it work on one LiPo cell (3.7V). The standard brownout voltage (low battery switch off) was below that value, but takes in account such a large margin that it didn’t work without changing it to a lower value.
We set it to 1.8V using avrdude.
To set the brownout voltage to 1v8, we have to reprogram the extended fuse bit.
First, make sure your arduino-board is functioning and the chip has the bootloader on it.
Then upload the arduino as ISP sketch on another arduino board (in this example, Arduino Uno)
For more detail: ZAPpelin, or how to train your blimp with an Arduino and IR remote