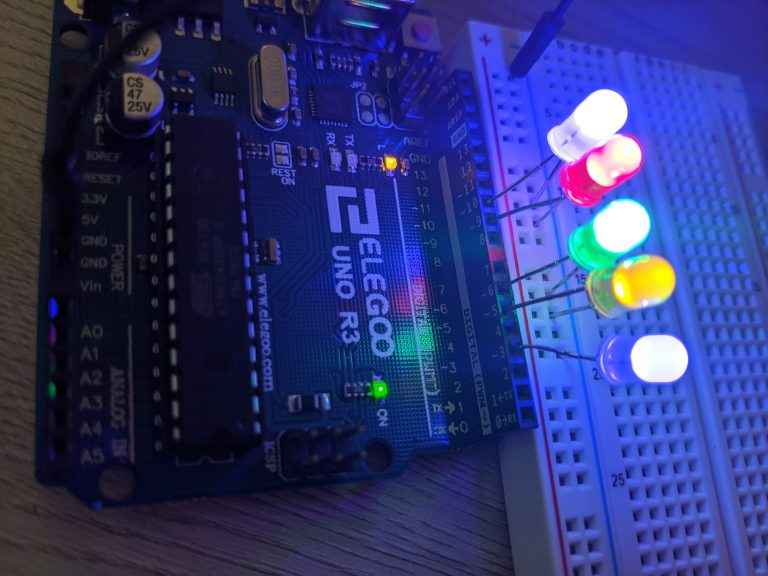
output

Arduino Digital Output Project: Simple Output with LEDs

Simple Output with LEDs Arduino Digital Output Project introduces users to the Arduino software environment and basic digital circuit construction. By running example programs, users gain foundational knowledge of Arduino’s capabilities. They then apply this knowledge to build and control a simple LED circuit. This hands-on experience bridges software and hardware, teaching core concepts of

Arduino Digital Output Project: Simple Output with LEDs Continue Reading
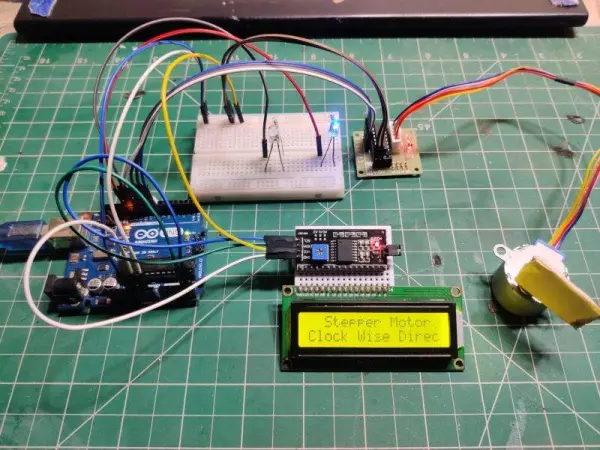
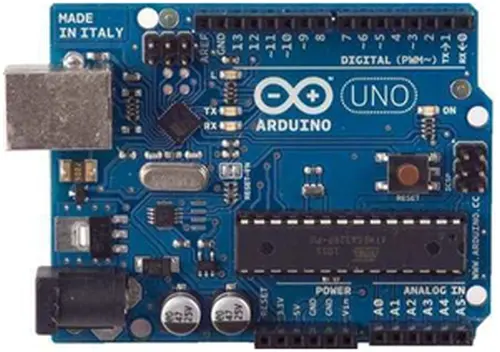
This is what the Arduino board looks like

Arduino Microcontroller Guide: Getting Started with DIY Electronics

1        Introduction 1.1        Overview The Arduino microcontroller, a user-friendly yet robust single-board computer, has garnered significant popularity in both hobbyist and professional circles. Being open-source, Arduino boasts affordable hardware and freely available development software. This guide is tailored for students enrolled in ME 2011 or anyone encountering Arduino for the first time. Advanced users can

Arduino Microcontroller Guide: Getting Started with DIY Electronics Continue Reading

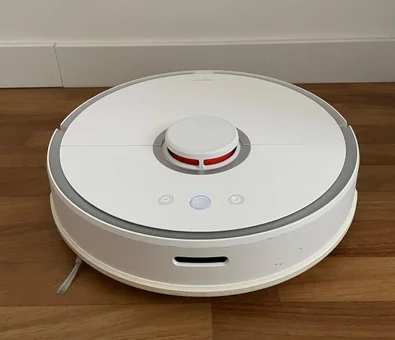
TinyML Slope Control for Robots With Arduino Pro. Building an Inclination Estimator System With Nicla Sense ME and Neuton

TinyML: Slope Control for Robots With Arduino Pro. Building an Inclination Estimator System With Nicla Sense ME and Neuton

The vacuum cleaner robot is one of the most useful inventions of the last decade and anyone who says differently means that he does not have one! This fantastic household appliance is a concentration of technology: a complex embedded system composed of some microcontrollers, many sensors, and a lot of… software! But how many times

TinyML: Slope Control for Robots With Arduino Pro. Building an Inclination Estimator System With Nicla Sense ME and Neuton Continue Reading

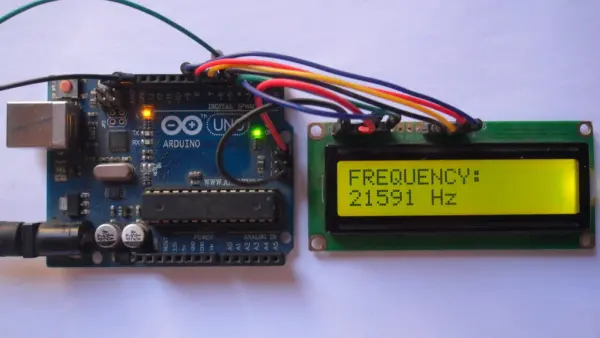
Arduino Frequency Counter Tutorial for Electronics Enthusiasts

Arduino Frequency Counter Tutorial for Electronics Enthusiasts

In this guide, learn to construct a frequency counter device utilizing an Arduino UNO board. This device showcases signal frequency values on a 1602 LCD screen. It is designed specifically to measure the frequency of PWM signals that have a peak voltage of 5V. Hardware Required: Sure, here’s a rephrased list of the components needed

Arduino Frequency Counter Tutorial for Electronics Enthusiasts Continue Reading

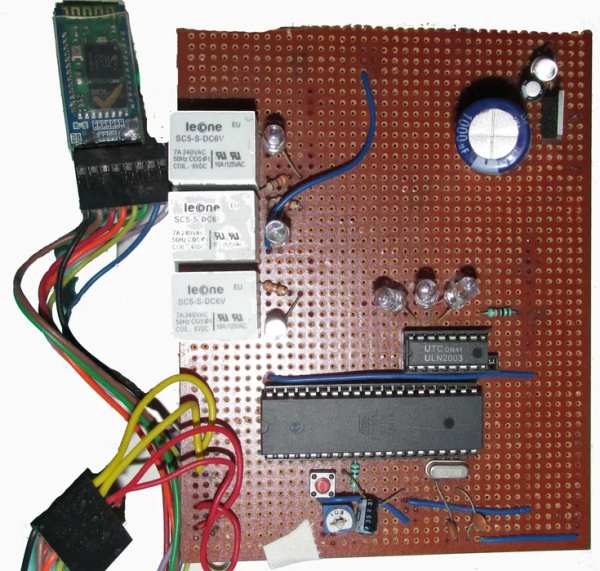
DIY Cheapest Bluetooth Controlled Home Automation

DIY Cheapest Bluetooth Controlled Home Automation

Step 1: COMPONENTS REQUIRED  Bluetooth module (HC-05) AT89S52/C51/S51/C52 microcontroller Relay Driver ULN2003A Relay Resistances and capacitors as circuit diagram depicts(below) power module(if the input is more than 5V or else not necessary) IC 7805(5V voltage regulator) 1000uF capacitor 10uF capacitor led and resistance(as per convenience so that led doesn’t get damaged) IMPORTANT NOTE: USE 11.0592MHz

DIY Cheapest Bluetooth Controlled Home Automation Continue Reading

Simple 3 Button On off With 12f629 mikroC

Simple 3 Button On-off With 12f629 (mikroC)

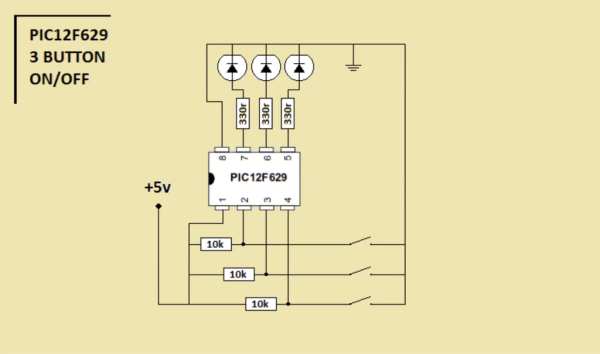
a simple 3 buttons on-off with pic12f629. it’s written with MikroC Step 1: The Code… start the code with ”int”———————————————————- int x0,x1,y0,y1,z0,z1; ////// with this the GPIO outputs could stay on or off void main() { GPIO = 0x00; ////// all outputs are 0 CMCON = 0x07; ////// Disable CMCON PORT TRISIO = 0b00111000; //////

Simple 3 Button On-off With 12f629 (mikroC) Continue Reading

Internet cloud Controlled Home Automation Using Esp8266 aREST MQTT IoT

Internet/cloud Controlled Home Automation Using Esp8266 (aREST, MQTT, IoT)

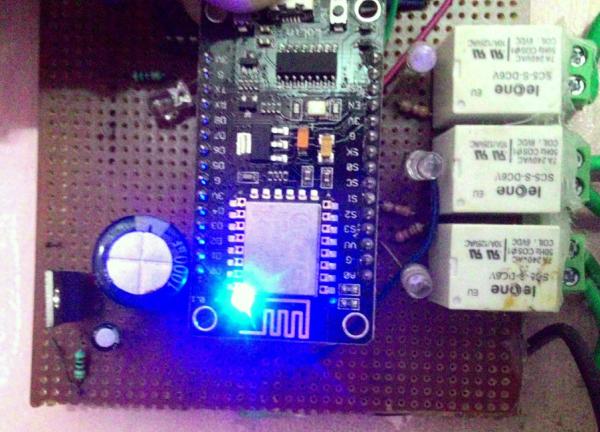
Step 1: COMPONENTS REQUIRED Only 4 components required – 1. ESP8266 NODEMCU or WEMOS D1 mini or any esp8266 wifi development board2. RELAY (5V or 6V)3. ULN2003 or UNL2003A (Relay driver IC)4. Jumpers (obviously or else solder it!!) The main structure of the project is that ESP8266 module will receive the signal from the MQTT

Internet/cloud Controlled Home Automation Using Esp8266 (aREST, MQTT, IoT) Continue Reading

Scroll to Top