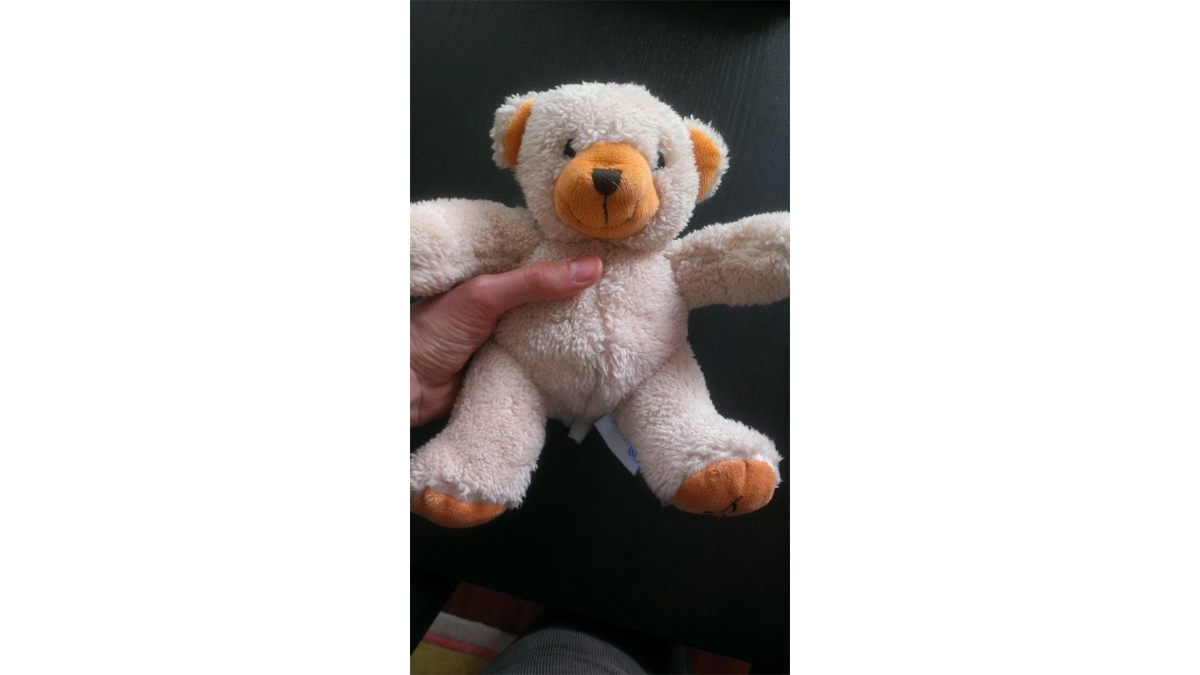
This Instructables is about upgrading a plush toy to give it the ability to sing when baby presses its belly.
Most importantly : it will not play a stupid pre-recorded music, but actually sing mommy’s songs, with mommy’s voice !
This project started with two goals in mind: customizing a nice gift for my baby, and raising support from my wife in my electronics hobby 🙂
[box color=”#985D00″ bg=”#FFF8CB” font=”verdana” fontsize=”14 ” radius=”20 ” border=”#985D12″ float=”right” head=”Major Components in Project” headbg=”#FFEB70″ headcolor=”#985D00″]
Material needed
Toy
– plush toy (one that you can tear apart without regret)
– Velcro strips
Electronics
– Arduino Uno
– MP3 shield (I recommend Sparkfun’s https://www.sparkfun.com/products/10628 – the code I will provide is based on this model)
– 0.5W speaker
– 9V battery with its connector and a 2.1mm Jack to plug in the Arduino
– pushbutton
– on-off switch (optional)
– crimp connectors (optional)
Other components
– used credit or fidelity card
– empty business card box.[/box]
Level : I assume the reader is comfortable with both Arduino (and shields) and general electronics, including soldering. I will skip many details but do not hesitate to ask in comments, I will reply.
Acknowledgment : Bill Porter has written a MP3 librairy for the Sparkfun shield that greatly facilitated my work (as well as further support in his forum). His website is
Step 1: Ripping apart Teddy Bear and stitching it backStep 1: Ripping apart Teddy Bear and stitching it back
As the title suggest, this step involves sharp blades and open-heart surgery.
Jokes aside – It is important to open the plush toy in the cleanest fashion possible, in order to be able to put in back together at the end.
Look for a long sewing line, for example in the back, and cut the sewing threads with a cutter blade.
Then remove all filler from the belly, and keep it in a plastic bag.
Last step for the preparation of the plush toy : sew two bands of Velcro on each side of the cut.
The first picture show the assembly diagram.
(Note: read this Instructable until the end before. Some of these wires need to go through a hole of the box, before soldering)
First, solder the connectors to the MP3 shield and plug it into the Arduino. Then, let us deal with the pushbutton.
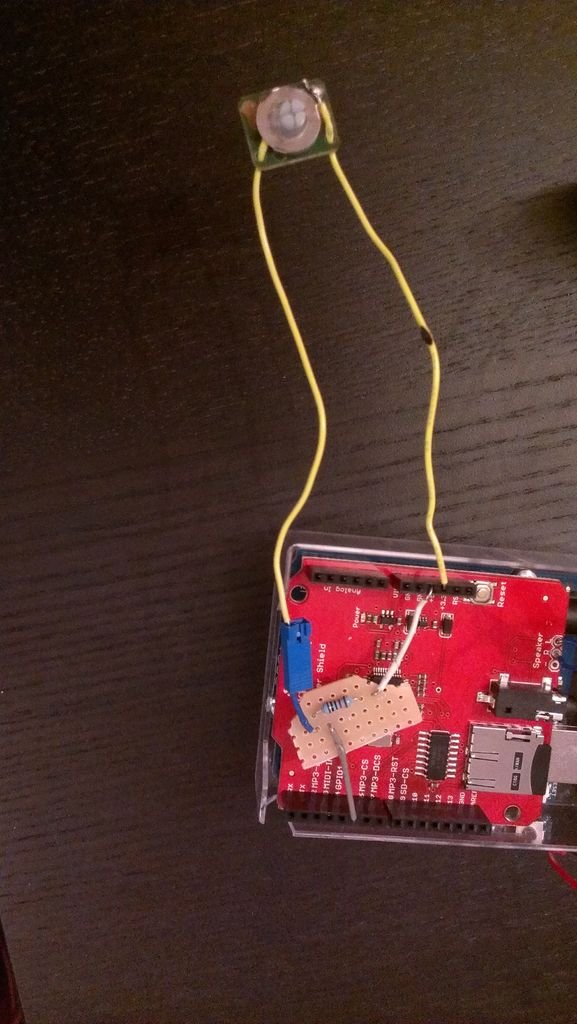
1) The pushbutton connects the +5V to the pin 5 of the shield, one of the few pins left available on the Sparkfun MP3 shield. a 10kOhm pull-down connects the pin 5 to the ground.
2) There will probably be no room for breadboard in the toy, so you will have to solder the wires and the resistor on a small piece of proto board, as shown on the 2nd picture. Then, insert a small piece of insulator (extruded polystyrene, cardboard, …) between the MP3 shield and the proto board, to avoid any short circuits.
3) Notice that the pushbutton connection to the proto board is through a crimp connector. This is optional, but is very convenient later when arranging the electronic enclosure. The final overview of the pushbutton can be seen on the last picture
For more detail: Plush toy, singing with Mommy’s voice


