If you are considering purchasing a Nixie tube clock kit you may be interested in a new Arduino project published by Doug Domke to the Hackster.io website this week providing full instructions on how you can build your very own. Nixie tube clock build has been classed as an intermediate project and should take approximately eight hours to complete using an Arduino MKR WiFi 1010 microprocessor together with IN-1 Nixie Tubes available to purchase priced at just $18 for all six. Check out a quick demonstration of the project in the video below.
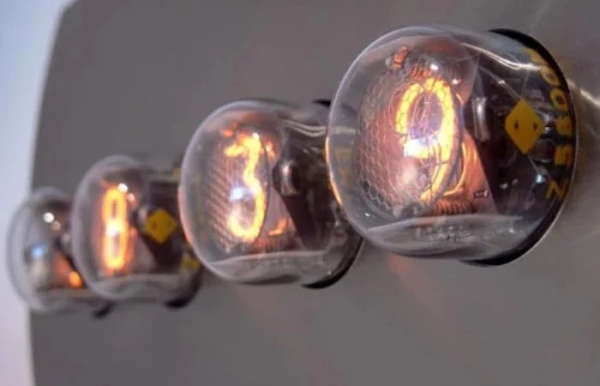
“Nixie tubes are quite popular with electronic hobbyists lately. They are an antique novelty! I am one of the few among us who is old enough to remember when Nixie tubes were state-of-the-art displays back in the 1960s and early 70s. They disappeared almost instantly with the arrival of LED displays!”
Most of the Nixie tube clock projects I have seen here are expensive and use pre-assembled Nixie tube displays. My objectives in this project were to make it inexpensive and build it from scratch, so that I really knew how everything works! I wanted it to include seconds. I wanted it to include blinking colons. I wanted it to be configurable to a 12 or 24 hour clock. I wanted the finished product to look nice. And I wanted to do all that for about $100. So here is what I ended up with:”
For full instructions on how to build your very own Nixie tube clock using a little Arduino hardware and programming jump over to the official Hackster.io project page by following the link below.
Source: Nixie tube clock project powered by Arduino