
Summary of MENU ON NOKIA 5110 LCD DISPLAY WITH ARDUINO
This article details an Arduino project implementing a three-page menu system on a Nokia 5110 LCD. The system utilizes the PCD8544 controller for low-power operation and allows users to navigate via three push buttons. Features include adjusting display contrast and toggling the backlight, demonstrating intuitive interaction methods suitable for various embedded projects.
Parts used in Menu on Nokia 5110 LCD Display with Arduino:
- Nokia 5110 LCD Display
- Arduino
- PCD8544 CMOS LCD controller/driver
- 3x Push Buttons
We have published quite a number of tutorials using different displays with the Arduino, with the most recent being the tutorial on displaying graphics on all kind of displays with Arduino. For today’s tutorial, we will look into achieving more with displays by implementing a menu based system with the Nokia 5110 LCD display and the Arduino. The menu is one of the easiest and most intuitive ways through which users interact with products that require navigation. From mobile phone to PCs, its applications are endless. Today we will explore how to add this cool feature to your Arduino project.
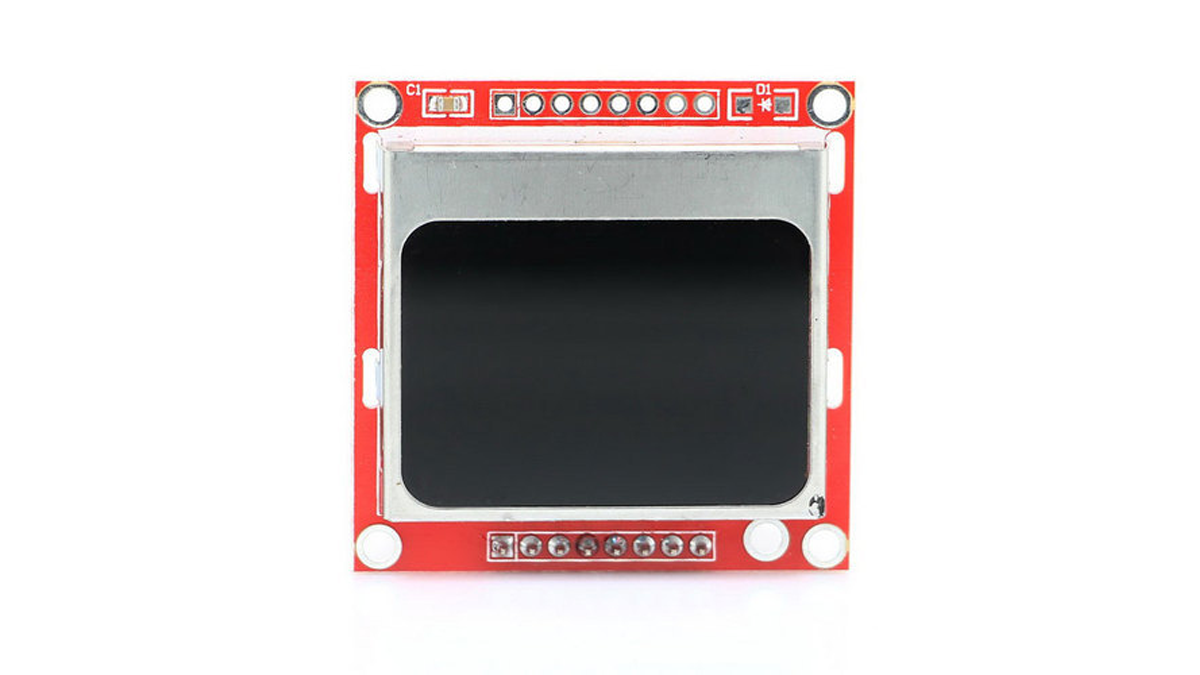
At the heart of today’s project is the Nokia 5110 LCD Display. The Nokia 5110 LCD is one of the most popular LCD display among makers. It was originally developed for use as a screen for cell phones and was used in lots of mobile phones during the 90’s. The display uses a low power CMOS LCD controller/driver, the PCD8544, which drives the 84×48px graphics display. In a normal state, the display consumes about 6 to 7mA which makes it quite ideal for low power devices. We have published quite a number of tutorials on this display that might help you understand how to drive such a display.
To showcase how to create the menu on a display with the Arduino, we will build a simple demo menu with three pages. To navigate through the menu, we will use 3x push buttons. The first to scroll up, the second to scroll down and the third one to select a highlighted option. The first screen/page of the menu will serve as the home page and will host the options that open the next two screens/pages. The second page will open after the first menu option on the homepage has been selected. Users will be able to change the contrast of the display using the up and down push buttons to increase or reduce it respectively. By pressing the select button, users will be able to go back to the home page. The second option on the homepage displays the third page, where users will be able to turn the backlight of the display on/off by pressing the select item button.
Read more: MENU ON NOKIA 5110 LCD DISPLAY WITH ARDUINO
-
What is the primary purpose of this tutorial?
To implement a menu-based system with the Nokia 5110 LCD display and the Arduino. -
Which controller drives the Nokia 5110 LCD display?
The PCD8544 low power CMOS LCD controller/driver. -
How many push buttons are required to navigate the menu?
Three push buttons are used for scrolling up, scrolling down, and selecting options. -
What function does the second page of the menu provide?
It allows users to change the contrast of the display using the up and down push buttons. -
How can a user turn the backlight on or off?
By accessing the third page from the homepage and pressing the select item button. -
Does the Nokia 5110 LCD consume a lot of power?
No, it consumes about 6 to 7mA in a normal state, making it ideal for low power devices. -
What happens when the select button is pressed on the second page?
Users are able to go back to the home page.
