What would I do with a Laser Cutter? Build Simple Robotic Kits to teach people a Hobby that I Love.Ever wanted to make some money from your projects?
This Instrutable will show you how to Simply interface a coin selector with your Adruino.
And also how to then connect that to your Visual C# Project.
Then it’s all up to you and that great idea you have, if it’s electronic or a program/game,
The Buck Starts Here.
Let’s get Started!
Step 1: Coin Sampling
For your Coin Selector to know what type of coins it accepts, you have to set it up and then feed it samples of those coins.
It is recommend to sample at least 15 coins of the same type, up to a maximum of 30. Don’t feed the same coin through 30 times, it’s make the selector to fussy about what it accepts.
A Coin Selector works by comparing the material, weight and size of coins past through it to the samples you provide. If a coin is not reconised it drops out the return slot, if it is reconised the Unit sends out pulse’s on the “COIN” line.
So to make it easier for the programming side we use a “greatest common factor” rule.
eg. We’ll use the following coins (UK) 5p, 10p, 20p, 50p,& £1, (US) 5c, 10c, 25c, 50c & $1.
All the the coins can be made up with multiple 5p or 5c coins, so we make 1 pulse equal to 5p or 5c.
5p/c = 1 pulse, 10p/c = 2 pulses, 20p = 4 pulses, 25c = 5 pulses, 50p/c = 10 pulses, £/$1 = 20 pulses.
Now, The Setup:
First the switches…
select “NC” by sliding the top switch to the bottom position.
select “FAST” by sliding the bottom switch to the top position.
Power Up the unit with a 12v supply.
1. Hold the “ADD” and “MINUS” buttons down at the same time for about 3 seconds, release and then the letter “A” will appear on the LED display.
2. Press the “SETUP” button once, and the letter “E” will appear. Then use the “ADD” and “MINUS” buttons to choose how many kinds of coins your going to use. Press the “SETUP” button again to finish.
3. The letter “H” will appear. Use the “ADD” and “MINUS“buttons to choose how many sample coins your going to feed it later. Press the”SETUP” button again to finish.
4. The letter “P” will appear. Again use the “ADD” and “MINUS” buttons to choose the amount of output pulses you want. Press the “SETUP” button to finish. Refer to the above example to determine number of pulses.
5. The letter “F” will appear. Using the “ADD” and “MINUS” buttons, choose the accuracy. The value is from 1 to 30, with 1 being the most accurate. I use 10 and it works fine. Again “SETUP” to finish.
You have now setup the first coin, depending on how many coins you selected in step 2, you’ll have to repeat Step’s 3 to 5 for each one.
The letter “A” will appear when you’ve setup all the coins. Hold “SETUP” for 3 seconds to finish, the letter “E” will appear.
Finally, switch the unit off and then back on.
Sampling time:
1. Hold the “SETUP” button down for about 3 seconds, release and then the letters “A1” will appear on the LED display. This is your first coin (5p/c)
2. Feed the Coin Selector your sample coins, the LED display will show the amount of coins you’ve entered. “A1” will appear again when finished.
3. Hold the “SETUP” button down again for about 3 seconds, release and then”A2” will appear, repeat these steps until all coins are sampled.
If your not using all of the coin types available (eg 5 coins of a 6 type coin selector) the unit will ask for samples of a coin type you haven’t setup, just hold the “SETUP” button down for 3 secconds of each of the remaining coins.
The Coin Selector restarts itself and is now ready to connect to the Arduino.
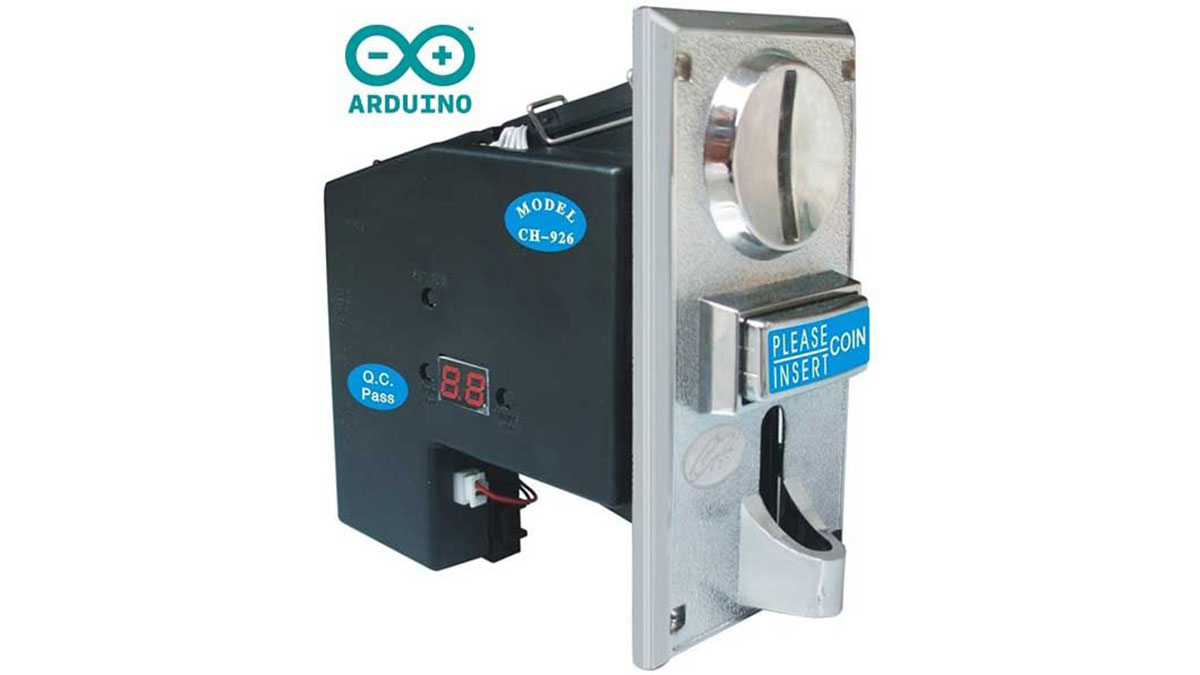
A Coin Selector: There are many different type’s, the CH-926 accepts the most amount of coins so thats what I’ll be using.
UK Stock, US Stock
Any 12v Power Supply, Batteries or Wall Wart.
An Arduino UNO
Microsoft Visual Express 2010 C#: Free Download, Scroll down until you see the correct option.
Note: Only needed for a coin operated Program, Not electronics Projects.
For more detail: Make Money with Arduino