Initiate the activation of a computer and the operation of a space heater using either Amazon Alexa or the associated app, and subsequently employ a temperature sensor to control and maintain the heater’s temperature.
Story
The Idea
Located near a bay window in my basement, my desk contends with the unpredictable insulation and temperature characteristic of my antiquated house, resulting in a perpetually chilly environment. To counteract this, I’ve positioned a space heater right beside my workspace. Eager to enhance the management of my desk setup, encompassing my computer and the space heater, I embarked on a project. This undertaking aimed to achieve automation through the utilization of Amazon Alexa Echo Dots dispersed throughout my residence. Moreover, I aimed to enable remote activation via the Alexa app.
My aspiration was to instruct Alexa about my presence at home, prompting her to initiate the automated sequence. To introduce an element of sophistication, I decided to integrate an additional component: a temperature sensor to regulate the heater’s operation. The ultimate objective was the creation of a comprehensive automated control system for managing my desk setup upon my arrival.
Temperature Sensor
I initially began the process of configuring the temperature sensor, recognizing its pivotal role within the project.
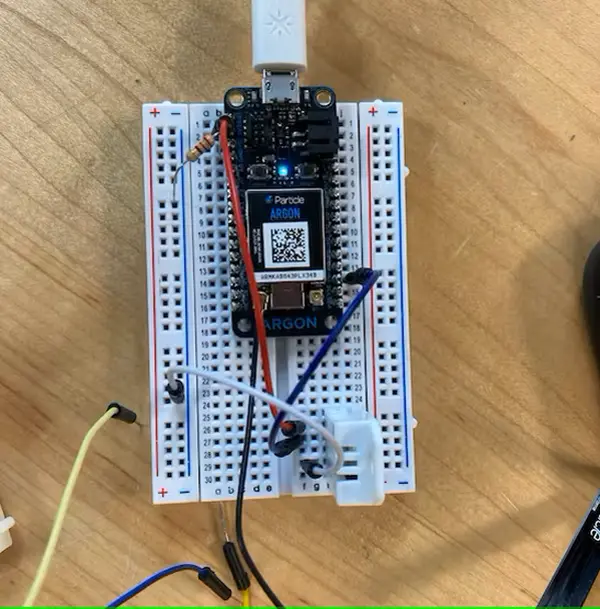
Employing the PietteTech library, I developed a test to assess the performance of the temperature sensor. You can locate the complete testing code for the sensor in the designated Code Section titled “DHT22 Temperature Sensor Testing.”
During this phase, I encountered a challenge wherein the sensor would sporadically yield implausible readings, such as a temperature of -2 degrees Celsius, especially when subjected to frequent checks. This occurrence prompted me to recognize the necessity of addressing this issue in my subsequent efforts.
The approach I adopted involved maintaining a distinct value that underwent updates exclusively upon obtaining a valid measurement.
if(currentTime - prevTime > 30000){
int result = DHT.acquireAndWait(2000);
serverTemp = DHT.getFahrenheit();
if(serverTemp>0){
accurateTemp = serverTemp;
}
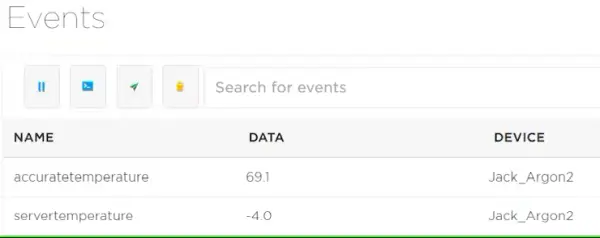
Particle.publish("servertemperature", String::format("%.1f", serverTemp));
Particle.publish("accuratetemperature", String::format("%.1f", accurateTemp));
prevTime = currentTime;
}IFTTT Amazon Alexa Triggers
Subsequently, I proceeded to establish a connection between my Amazon Alexa and a Webhook post request service, enabling interaction with the Particle Argon. After careful consideration, I opted for IFTTT as my platform of choice. I integrated my Amazon account with IFTTT and configured the necessary applets to facilitate this connection.
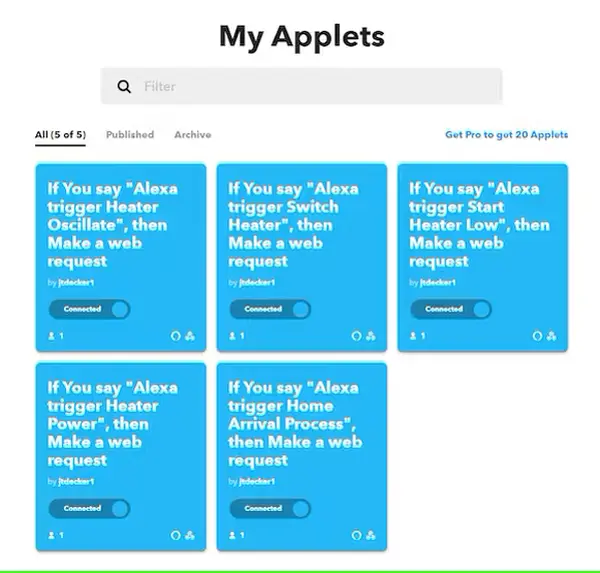
For establishing the IFTTT integrations, I leveraged the Particle cloud and employed Spark.FunctionParticle.Publish. This enabled me to invoke functions by utilizing a Particle token. I then coupled the Web hook post request with the IFTTT triggers, seamlessly integrating them with the functions coded in my project.
Wake PCOn Lan
Subsequently, my focus shifted to devising a means of remotely initiating my PC. While I was aware of the potential offered by Wake On Lan features, adapting them to function within the Particle environment posed a challenge. Fortunately, I discovered a relevant project that provided valuable insights and a starting point for my endeavor. By carefully scrutinizing the code, I streamlined it to extract only the indispensable functions for my purposes.
This adapted code is responsible for taking a raw MAC address as input, converting it into bytes, and then dispatching wake packets to the designated PC via the specified MAC address. For a comprehensive look at the testing code, please refer to the dedicated Code Section titled “Wake On Lan Testing.”
Additional observations:
For the purpose of experimentation, I deployed Homebrew on a distinct computer. This allowed me to install the wakeonlan command and assess its capabilities independently of the Particle Environment.
In addition, I undertook adjustments within my BIOS and system settings to ensure the proper functioning of Wake On Lan. These three steps were executed in accordance with the guidelines provided by the manufacturer of my motherboard:
1. Disabled the “EUP 2013” setting in the BIOS Power Management menu.
2. Enabled the “Resume By PCI or PCI-E Device” option within the Wake Up Event Setup.
3. Accessed the “Network adapters” section in Windows device manager, navigated to the “Power Management” tab, and selected the checkboxes for “[Allow this device to wake the computer].”
Heater Functionality
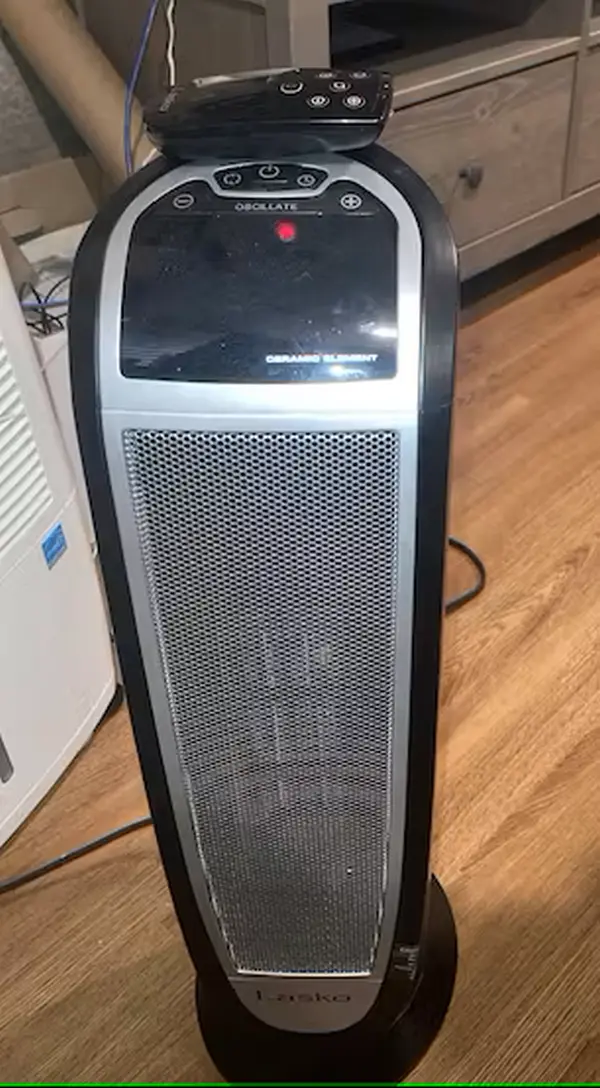
Initially, I conceived the notion of managing the heater through a smart outlet or relay, intending to regulate the outlet power through Alexa integration. Regrettably, this approach proved impractical due to my heater’s reliance on a digital, rather than manual, power switch. Consequently, simply interrupting and restoring the outlet power wouldn’t effectively toggle the heater on and off.
Given this constraint, I pivoted towards an alternative solution: employing infrared signals to manipulate the heater. This adjustment stemmed from the heater’s provision of an IR LED remote for control. This facilitated the replication of the necessary signals, affording me the means to transmit them as required.
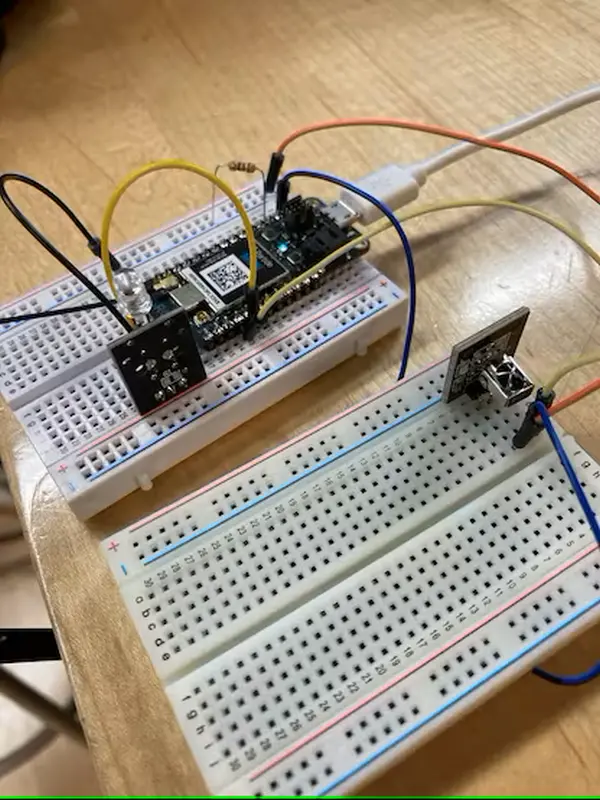
Once the decision was made to utilize infrared communications, I established a setup to experiment with both receiving and transmitting IR signals. For testing purposes, I employed a remote that is compatible with Arduino.
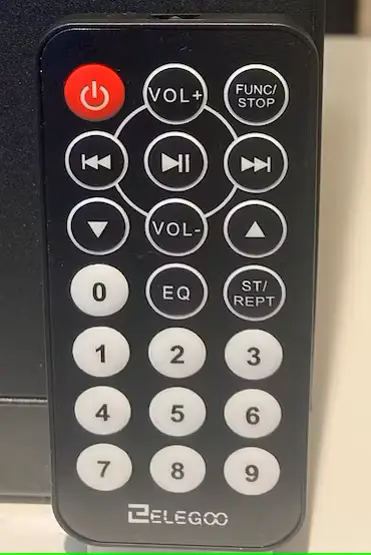
Utilizing the mentioned remote alongside my IR send and receive nodes, I achieved the successful replication of the received IR signal. IR transmissions adhere to particular encoding parameters, often shared and readily applicable for signal reproduction. The NEC encoding, the most prevalent, was employed by this specific remote. Comprehensive testing code can be located in the Code Section under “IR Transmit Testing,” “IR Receive Testing,” and “IR Transmit and Receive Testing.”
However, complications arose when attempting to duplicate signals from my personal remote.
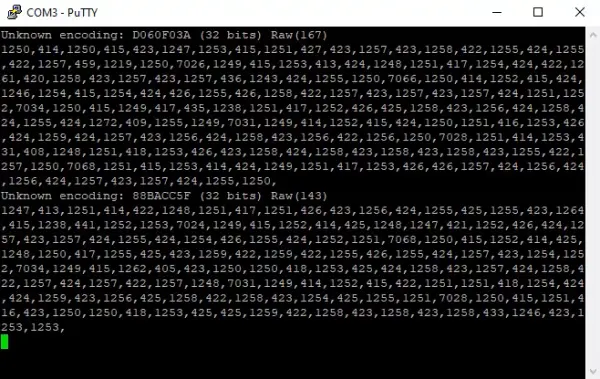
Replicating these signals posed a significantly greater challenge. It wasn’t feasible to merely designate an NEC code and assign a straightforward hex value for transmission. The hex value transmission relies on knowledge of the encoding type. Following extensive research, it became evident that I needed to transmit the raw signals directly from the remote, without any simplification, given the absence of publicly available encoding specifications for Lasko company remotes. This was in contrast to the remotes of Lasko heaters, which lacked identifiable encoding and necessitated a distinct approach.
Upon investigating further, my suspicions were confirmed when I encountered a different model of a Lasko heater remote upstairs in my residence, also employing an unfamiliar encoding. Consequently, I proceeded to meticulously record the distinct raw signals emitted by the remote, governing all the essential heater functions.
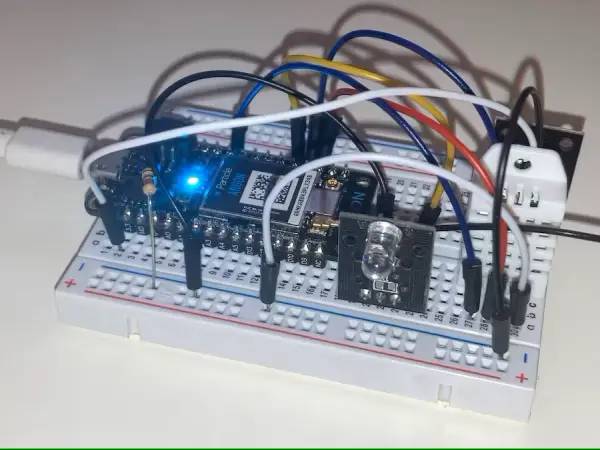
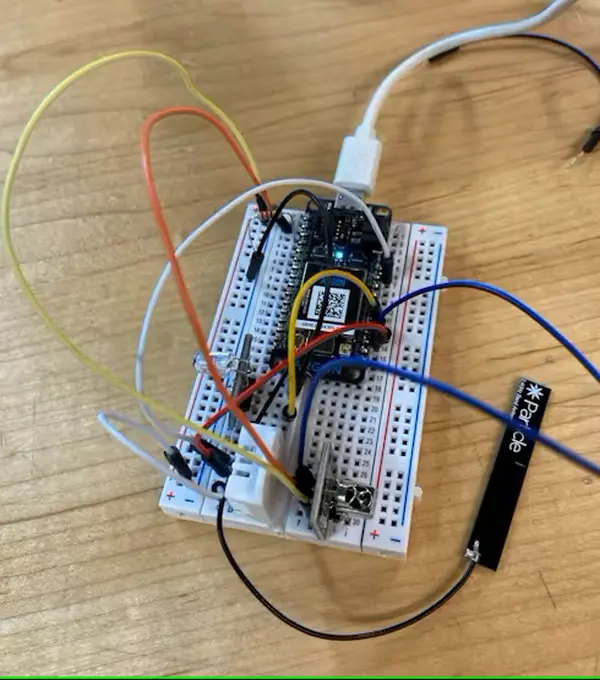
I reconnected the temperature sensor and gathered all my IR components onto a single breadboard in order to conduct testing.
Heater Temperature Interaction
Because my heater has two distinct settings, I employ the temperature sensor to assess whether the heater should be activated when I start up my PC, specifically when the temperature is below 72 degrees.
int wakeHost(String param) {
    String MACaddress = "00:d8:61:aa:73:7a";
    Particle.publish("test","got to wake host");

    char szMacAddress[80];
    MACaddress.toCharArray(szMacAddress,80);
    Particle.publish("test", szMacAddress);
    if(accurateTemp < 72.0){
        deskStart = TRUE;
    }
    checkHIGHTemp = TRUE;
    return wake(szMacAddress);
}
Additionally, the sensor monitors the temperature to detect instances of excessive heat (above 67 degrees), prompting a switch to the low mode.
Final Product

Code
// This #include statement was automatically added by the Particle IDE.
#include <PietteTech_DHT.h>

#define DHTTYPE  DHT22
#define DHTPIN   D2

PietteTech_DHT DHT(DHTPIN, DHTTYPE);

double serverTemp;
double serverHumidity;

void setup() {
    Particle.variable("serverTemp", &serverTemp, DOUBLE);
    Particle.variable("serverHumidity", &serverHumidity, DOUBLE);
}

void loop() {
    int result = DHT.acquireAndWait(2000);

    serverTemp = DHT.getFahrenheit();
    serverHumidity = DHT.getHumidity();
    Particle.publish("temperature", String::format("%.1f", serverTemp));

    if (serverTemp > 0){
        Particle.publish("temperature", String::format("%.1f", serverTemp));
    }
    else{
        Particle.publish("temperature", "error");
    }
      delay(5000);
}