This is a cute little project that takes a pumpkin, motion sensor, and some parts from Radio Shack. It was fun to create and build. This project was sponsored by the Radio Shack Great Create and I was able to make the whole thing with parts available from Radio Shack. Thanks for the gift card, Radio Shack!
Step 1: Parts
Arduino Uno
9V Recording Module
http://www.radioshack.com/product/index.jsp?productId=2102855
$10.99
MPS2222A Transistor
http://www.radioshack.com/product/index.jsp?productId=2062608
$1.19
150 ohm resistors (5 pack)
http://www.radioshack.com/product/index.jsp?productId=2994582
$1.19
(2) 10MM high brightness red LED two-packs (total of 4)
http://www.radioshack.com/product/index.jsp?productId=3096133
(2*$2.19) $4.38
10mm High-Brightness White LED
http://www.radioshack.com/product/index.jsp?productId=3125355
$3.19
PIR Sensor Module
http://www.radioshack.com/product/index.jsp?productId=2906724
$10.19
Total cost of Radio Shack parts: $31.13
These other parts are good to have handy:
Heat shrink tube: http://www.radioshack.com/product/index.jsp?productId=2102875
Digital multimeter: http://www.radioshack.com/product/index.jsp?productId=2103176
22 ga. solid hookup wires: http://www.radioshack.com/product/index.jsp?productId=2049745
Zip ties: http://www.radioshack.com/product/index.jsp?productId=2103326
Solder and soldering iron.
Hot Glue
Step 2: The Circuit
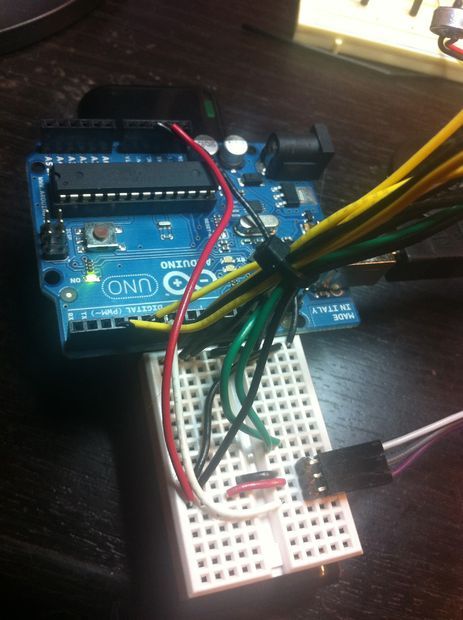
This circuit is relatively simple. The red LEDs are attached to digital pins on the Arduino through the resistors. The white LED goes to Pin 13 (no resistor needed given the voltage and duty cycle of the LED) and the motion sensor and voice module are given their own digital lines as well.
It is important that the two “glowing eyes” LEDs are attached to PWM pins on the Arduino so they can properly fade. I used Pin 3 and Pin 5.
Step 3: LED tips
To keep this project simple, I soldered the resistors for the LEDs “in line” with the wire, shown in this photo. Heat-shrink tube adds both stability and insulation to the circuit.
Step 4: Hacking the Voice module
The voice module required a transistor to trigger the button. The video and photo attached show how to use the transistor in the parts list to trigger the button from an Arduino pin.
For more detail: Arduino powered Haunted Pumpkin


