
Summary of Arduino Beer Pong Arcade
This article details building a custom, illuminated beer pong table with arcade sound effects. It covers constructing the 1000x800mm wooden surface, painting it with a specific pattern, and creating a stable base using a beer cask. The core functionality involves integrating an Arduino system with piezo sensors and LEDs to detect cup removal and trigger visual and audio feedback.
Parts used in the Flashy Beer Pong Table:
- 1000x800 sheet of ply
- 6 x Pint Cups
- White + Coloured Paint
- Old beer cask or keg
- Scrap wood / box / bricks for base
- Arduino board
- Bread Board
- 6 x LEDs
- 6 x Piezo sensors
- Loads of wire
We are going to be making a flashy beer pong table. The table lights up as cups are eliminated and old style arcade sounds are played.
This games elevates the subtle art of BEER PONG to a new level. A sporting level. A competitive, exciting, potentially sober (but hopefully not), future olympic sport!
This instructable only shows how to make half a table, but to complete the game and make ot 2 sided, just repeat all the steps and attach the two sides.
Here’s what you’ll need-
– 1000×800 sheet of ply
– 6 x Pint Cups
– White + Coloured Paint
– Old beer cask or keg for style points
– Some scrap wood / box / bricks for base
– Arduino board
– Bread Board
– 6 x LEDs
– 6 x Piezo sensors
– loads of wire
– Basic Soldering skills
– Patience…..
– More Patience
Optional
———
– LOADS OF BEERS AND MATES AND GOOD INTENTIONS
 Remove these ads by Signing Up
Step 1: Making the Table
Get a sheet of whaever wood is lying around, MDF / Ply, whatever it’s going to be painted so dont worry too much about it.
Cut the sheet to 1000mm x 800mm.
Decide out where you want your cups to sit, by drawing a triangle and deviding the triangle into 4 even triangles (like the TRIFORCE).
The corners of each traingle show the centre points of your cups.
Drill a 10mm hole through the table at each centrepoint.
Paint all surfaces white and give it time to dry.
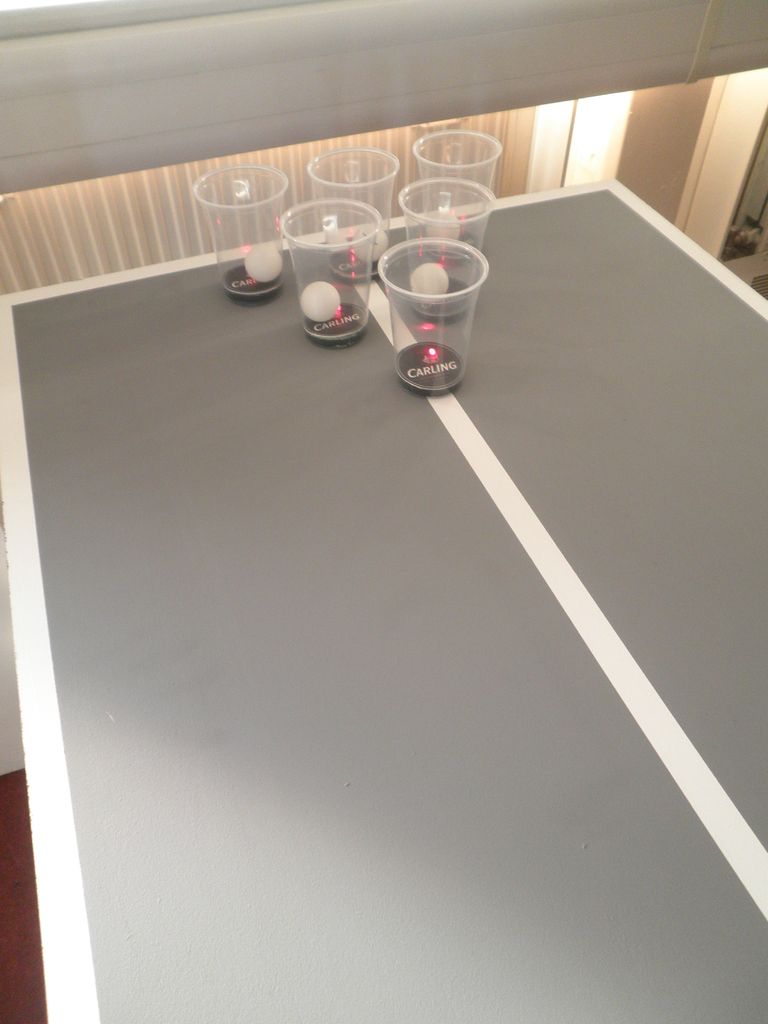
Step 2: Map out the Table Pattern
run tape around the outside of the table, and one strip dividing the top surface in half. Like the pattern on a PingPong table.
Slap on a colour of your choice to complete the pong styling.
We chose to go for grey as our design is intended for use by the carling company.
Let it dry.
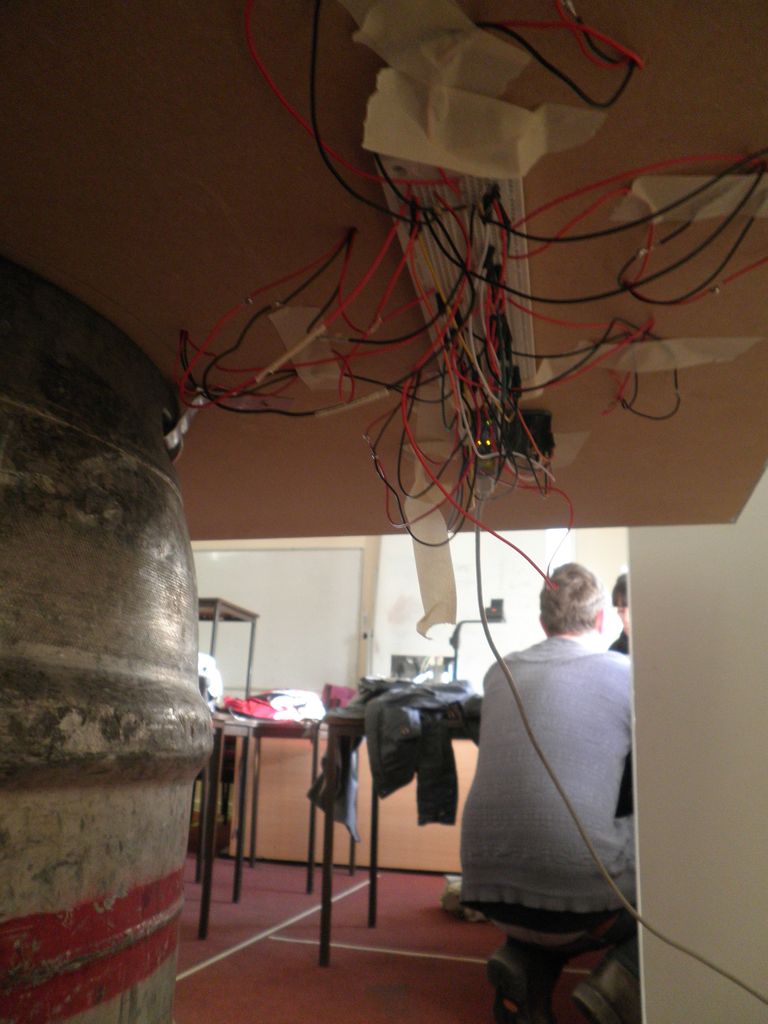
Step 3: Build the table.
Get your empty beer cask and fix it to the base of the table with screws / tape / glue/ whatever you want just get it stable.
Decide how high you want your table to be and add whatever size box to the base you require.
we set our table about 850mm high.
Step 4: Arduino Time
Drill 10mm holes through the centre bases of all cups.
Fix a bread board and arduino board to the underside of the table with glue / tape.
Get your 6 sensors and your 6 LEDs and attach them to the base of your cups.
Run the wires through the holes you drilled in the table and attach them at the appropriate place on the breadboard.
———————————————————–
THINGS GET A BIT MESSY AT THIS POINT
Just deal with one loop at a time, one sensor, one LED, get this working then deal with the next.
———————————————————-
For more detail: Arduino Beer Pong Arcade
- What are the dimensions for the table?
The table requires a sheet cut to 1000mm by 800mm. - How should the cup positions be marked on the table?
Draw a triangle and divide it into 4 even triangles like the TRIFORCE to find the center points. - What size holes need to be drilled for the cups?
You must drill a 10mm hole through the table at each cup center point. - How is the table height determined?
The example table was set about 850mm high using a box added to the base. - How many sensors and LEDs are required?
The project uses 6 piezo sensors and 6 LEDs. - Where are the Arduino and breadboard mounted?
They are fixed to the underside of the table using glue or tape. - Can this project be made as a two-sided table?
Yes, you can repeat all steps and attach two sides to make it two-sided. - What is the recommended method for wiring the components?
Run wires through the drilled holes from the cup bases to the appropriate places on the breadboard.