Summary of Animatronic Tentacles with Arduino
This article documents a work-in-progress animatronic tentacle costume inspired by Slenderman. The creator initially struggled with static wire solutions and designed a prototype using PVC, MDF discs, and 3D-printed ball joints to achieve flexible movement. The final project aims to control 4–6 tentacles via Arduino and Wii Nunchucks, featuring automatic motion and a folding mechanism for tight spaces.
Parts used in the Animatronic Tentacles:
- Arduino (1 or 2 units)
- Wii Nunchucks (2 units)
- PVC pipe
- 1/8" MDF discs
- Tent shock cord
- Twine
- Hot glue
- 3D printed spheres (ball joints)
- Drill press
- Laser cutter
***Disclaimer***This instructable is documentation for a work in progress. Although the project is not yet complete, it has reached a place where I believe it can begin to be beneficial to other makers.
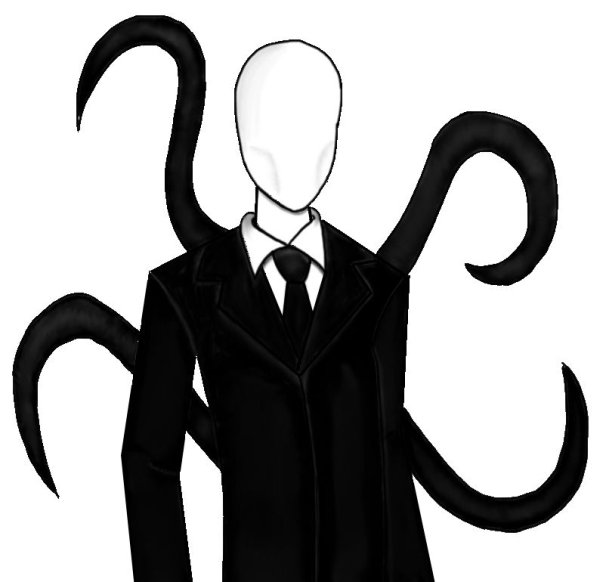
The concept for this project was spawned when a friend suggested I be Slenderman for Halloween. When I first looked at pictures, I wasn’t terribly excited because I am a prop builder more than a costumer, and Slenderman didn’t have any props. However, I then discovered that in some depictions he has tentacle-like appendages emerging from his back. I started scouring the internet, seeing if anyone could give me any advice on how to bring this part of the costume to life. To my dismay, the best I could find was suggestions using armature wire to support the tentacles, but they wouldn’t move so I set out to design my own.
The Overall Plan:
-Include 4 or 6 Tentacles
-Be mounted on the back
-Be controlled with 1 or 2 Arduino’s using 2 Wii Nunchucks
-Move automatically when not being actively puppeteered
-Have an option to fold tight for moving around tight spaces
Step 1: First Draft: Tail – Part 1

In most cases, small scale is usually the way to start a project. For this, however, it was too hard to visualize how everything would work, so I started work on a single, large scale model. Since there would only be one of these, I decided to try to build a tail that had the same functionality that the future tentacles would have. The idea was to use PVC pipe as the “spine” of the tail, and have laser cut 1/8″ MDF disc’s as the standoff’s to make up the vertebrae.
First, I designed the standoff’s in Corel Draw. The large hole in the middle was for the PVC and the smaller four holes for the control cables. I then printed these pieces on an Epilog Legend Series laser cutter. It took some experimenting to get the sizing right, and in the process I created an unbelievable number of these discs.
Step 2: First Draft: Tail – Part 2
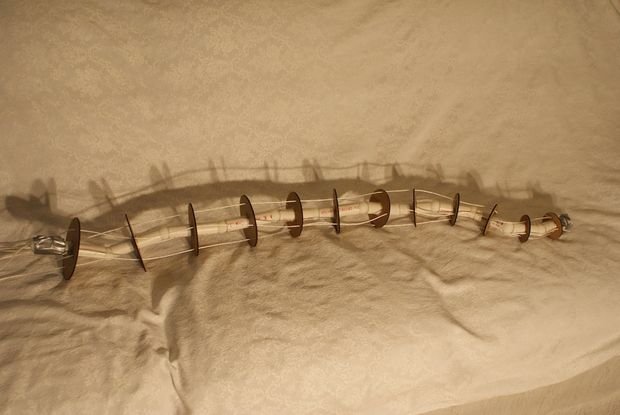
After I had the right size discs, I cut short lengths of PVC to be connected to them, and hot glued the two together. (Hot glue, like duct tape, is a fantastic tool for quick, dirty fixes, but not for robotics. In the final version, I knew I would have to find something a little more precise.)
Next, I had to figure out how to make the PVC vertebrae slide smoothly against each other. I was unable to find any good system for PVC hinges, so I decided to make a ball joint. I made a sphere of approximately the right size in Solidworks, and then 3D printed them into existence. If I were to do this part over, I would have added a hole down the center of each ball before printing them. As it was, I used a drill press and some scrap wood as a jig to drill a hole in each.
I then connected everything down the middle using tent shock cord to keep the tension, and tied/hot glued it off at each end. After running some spare twine down the sides as the control cables, the first draft was complete.
This first “tail” was far from perfect; it was heavy, and didn’t move as it was supposed to.The problem I discovered was that it twisted on itself too much instead of moving directly in the direction it was pulled. This first prototype has been very educational, but it was time to move on to version 2.
For more detail: Animatronic Tentacles with Arduino
-
What inspired the creation of these animatronic tentacles?
The idea started when a friend suggested the user dress as Slenderman for Halloween, specifically wanting to replicate the character's moving tentacle appendages. -
Why did the initial armature wire solution fail?
The armature wire suggestions found online could not make the tentacles move, prompting the designer to create their own system. -
How are the tentacles controlled in the overall plan?
The tentacles are planned to be controlled using 1 or 2 Arduinos connected to 2 Wii Nunchucks. -
What material was used for the spine of the first draft tail?
PVC pipe was used as the spine of the tail in the first draft model. -
How were the vertebrae constructed in the first draft?
The vertebrae were made from laser-cut 1/8" MDF discs that acted as standoffs between PVC pipe sections. -
What type of joint was created to allow smooth movement between vertebrae?
A ball joint was created using 3D printed spheres because no good PVC hinge system was available. -
What issue occurred with the first prototype tail?
The first tail twisted on itself too much instead of moving directly in the direction it was pulled. -
What is the desired outcome for the final version regarding space constraints?
The final design includes an option to fold tight so the wearer can move around tight spaces.