THANKS TO CONCERNED VIEWERS, I HAVE LEARNED THAT THIS IS NOT SAFE AND SHOULD NOT BE REPLICATED.
SO PLEASE DONT TRY THIS 🙂
THANKS TO EVERYONE WHO COMMENTED, I LEARNED A LOT
I am not an engineer, just an experimenter and hacker and prototyper etc, so, thanks to people who know a lot more than I do, I learned that this is not safe to use
————————————
Have you ever wondered how you can use a remote control to dim your own lights, to control a window fan, or to regulate the heater?
Here’s a simple circuit using Arduino that makes this possible!
It uses ONLY two electrical components.
This is recommended for someone who has some experience with Arduino and electronics.
As with anything that uses AC wall power, this could be dangerous if done hastily.
Done carefully, it could also be really simple and fun.
NOTE: This can only be used to dim a unit that runs off of a transformer-based power supply, ie something that doesn’t run off of 120 V, but 12, 24, or 48 Volts.
Step 1: MATERIALS
WHAT YOU WILL NEED:
Solder iron, wire strippers, breadboard or perf board, wires, 9V battery, IRF730 transistor, bridge rectifier, Arduino, infrared detector (like this one), SONY universal remote control (like this one)
Step 2: Get an IRF730 from Mouser
I adapted this method from info from Dmitri Grinberg’s post on Hackaday, “Lamp Fading and Remote Control for the Lazy”.
But I had been trying for a number of weeks to perfect this, as in, find the correct transistor that would not overheat or burn out (one that is rated for a high enough voltage since it’s using AC 120 V). I followed this circuit from Dmitri’s blog, except instead of the IRF 250 I used an IRF730.
You can purchase those particular transistors at the above link from Mouser for under $2.
At first, I was using the IRF 520, with a 100 V drain source voltage and a 9 amp continuous drain current. It worked fine at first, and then it burnt out (there was connectivity between the gate-source and gate-drain). So I got an IRF540, with a 100 V drain source voltage and a 33 continuous drain current. This similarly worked at first, then burnt out.
Finally, I used the IRF730 which works pretty well so far! And doesn’t burn out – it is rated upto 400 V (which far surpasses the 120 V wall voltage in the US).
Step 3: Prepare the AC power cord
First: you will clip an AC power cord (OF COURSE, WHILE IT IS NOT PLUGGED IN!!)
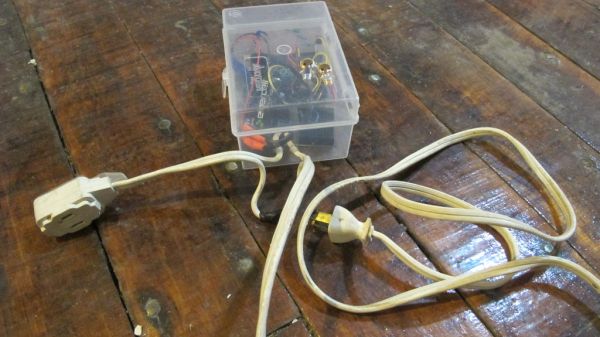
I like to use this type of cord (see the main image here), that is ungrounded (it has only two strands and two prongs), it has some places to plug in an AC device, namely your lamp or fan, or whatever you will be dimming.
There are two strands, a ground and a live. Feel the strand that has some striated texture:
This is the cord you will cut.
Once you cut it, strip away some of the rubber insulation around the wire, leaving about 1/8″ copper wire hanging out, enough to plug into a perf board or a screw terminal (which I highly recommend using, as AC current should be very secure).
For more detail: AC Arduino dimming circuit