Summary of A Gentle Introduction to Arduino for Scratch Users
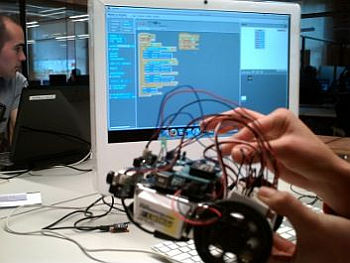
This article guides Scratch users in bridging the gap to Arduino hardware without needing C programming. It introduces S4A (Scratch 4 Arduino), a modified environment allowing users to control LEDs, read buttons, and run servos via visual blocks. The guide details a "Flashing LED Experiment," providing wiring diagrams and step-by-step instructions to install S4A software and firmware, enabling beginners to replicate standard Arduino sketches using an intuitive interface.
Parts used in the Flashing LED Experiment:
- Arduino UNO
- Some LEDs
- A 560 Ohm resistor for each LED
- A 10k Ohm resistor
- A Pushbutton Switch
- Breadboard
- Some Wires
There are lots of people who are very comfortable with the Scratch programming environment but want to try something with Arduino to Blink Lights, Sense Buttons, Run Servos or whatever. They may find the C programming environment in Arduino IDE – Sketch, a bit too much of a step.
This instructable draws on the work of the guys at “Citilab” http://seaside.citilab.eu/scratch .
They have created a modified version of Scratch to interface with Arduino.
Using Scratch Programs you can make Arduino Flash Lights, Read Buttons, and do many of the things that you can do with the the regular Arduino environment.
So if you like Scratch and Arduino but are not quite ready for C programming (yet), this is something you can try out.
Flashing LED Experiment
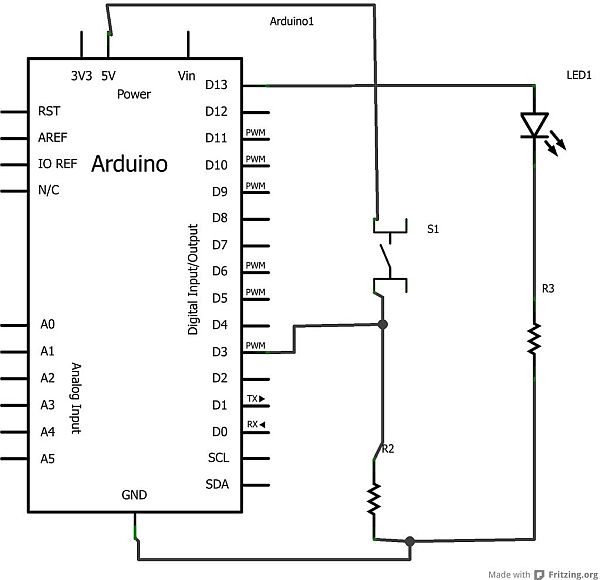
To start we need to wire an LED and Switch to the Arduino (along with some Resistors), as shown in the diagrams below.
We’re using the switch in the second experiment and the LED in both the first and second experiments.
Go ahead and wire it up as shown.
Scratch Program 1: LED Blinking
Startup S4A (Scratch 4 Arduino) and Enter the Scratch program as Shown.
You Should Now See the LED flashing.
If you don’t. Check the wiring.
The equivalent C program (Arduino Sketch) is shown below as well.
Compare the C and the Scratch and see if you can figure out what’s going on.
1. S4A ( Scratch 4 Arduino) and
2. the Firmware for Arduino to talk to S4A
For our experiment you will need:
* Arduino UNO
* Some LEDs
* A 560 Ohm resistor for each LED (or a value similar to that)
* A 10k Ohm resistor
* A Pushbutton Switch
* Breadboard for wiring up e.g. (http://goo.gl/1E1iIl)
* Some Wires
For more detail: A Gentle Introduction to Arduino for Scratch Users
- What is S4A?
S4A stands for Scratch 4 Arduino and is a modified version of Scratch created to interface with Arduino. - How can I blink lights on Arduino without C programming?
You can use the S4A environment to create programs that make Arduino flash lights using visual blocks instead of code. - Can I read buttons using Scratch Programs?
Yes, using Scratch Programs you can make Arduino Read Buttons just like in the regular Arduino environment. - What components are needed for the experiment?
You need an Arduino UNO, LEDs, resistors, a pushbutton switch, a breadboard, and some wires. - Which resistor value should I use for each LED?
You should use a 560 Ohm resistor for each LED or a value similar to that. - How do I connect the switch in the second experiment?
You must wire the switch along with an LED and resistors as shown in the provided diagrams. - Where can I download the required software?
You can download and install S4A and the Firmware by following the instructions on the linked page http://goo.gl/4pU2h. - What happens if the LED does not flash?
If the LED does not flash, you should check your wiring connections.