Background:
I made a self-balancing electric skateboard which is steered using a Wii Nunchuck by either using the thumb joystick on the top or by tilting it left or right, depending on which of the two buttons on the end are being pressed.
A simplified self balancing board is described in the instructable here:
www.instructables.com/id/Easy-build-self-balancing-skateboardrobotsegway-/
However people are asking me how the Nunchuck steering control used on one of my earlier boards can be used.
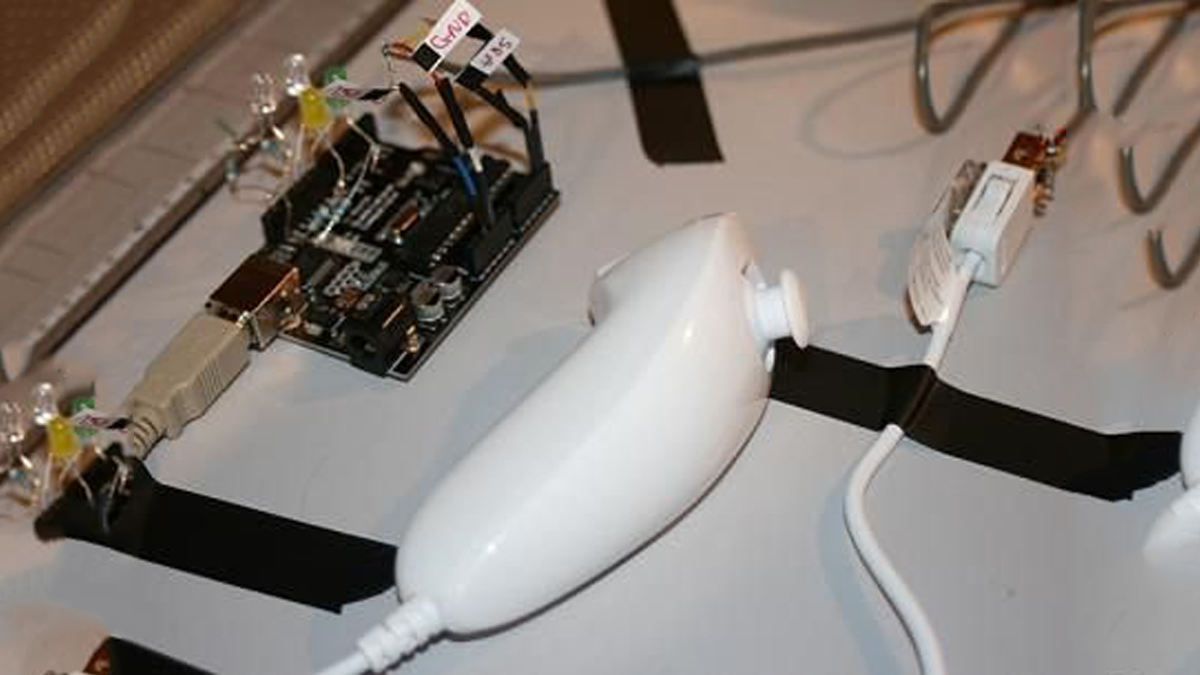
The wired Nunchuck can be seen in use as a steering control in the second half of this video:
www.youtube.com/watch
It can also be seen in use controlling a set of LED’s attached to the Arduino ouputs here:
www.youtube.com/watch
I have another instructable on interfacing a wireless Nunchuck to an Arduino but that is quite tricky and only works with a few specific wireless nunchucks. If starting out I strongly suggest going for the wired standard Nunchuck to begin with as described here.
Purpose:
The purpose of this instructable is to describe how to interface a completely standard Wii Nunchuck (i.e. with a cable) with an Arduino board. The Nunchuck is low cost but powerful with a fully proportional thumb joystick, 2 buttons on the end and a 3 axis accelerometer (position sensor). It is ideal for controlling things with.
The Arduino has been set up to output variable voltages between 0 and 5V which can be used as, for example, steering control inputs for another project such as a robot. You can use the (proper propotional) thumb joystick or the embedded accelerometers (tilt the chuck left right forward or back).
By modifying the code you can easily make it do other things.
I am using an Arduino with a 328 processor (i.e. a recent one) and version 17 of the Arduino software.
The Arduino sketch is attached below.
This is all derived from code developed by Chad Phillips and others, see: http://windmeadow.com/node/42
For more info on wiring up the chuck to the Arduino, download Bionic Arduino Class 4 tutorial which is excellent from TodBot blog:
http://todbot.com/blog/2007/11/24/bionic-arduino-class-notes-3-4/
There is plenty more on this on the net, there is even someone with a Nunchuck controlled electric canoe here:
www.youtube.com/watch
I am just presenting this all together in one place as a way to get started with something that should work OK.
Here are the “c” and “z” buttons on front of the Nunchuck.