This example shows you how to answer a HTTP request using an Ethernet shield. Specifically, it connects to pachube.com, a free datalogging site. The example requires that you set up a pachube.com account, as well as a pachube feed (for more information on setting up an input feed, please click here). Your Ethernet shield will then connect to that feed and upload sensor data every 10 seconds.
Software Required
- pachube.com account
- pachube.com feed that accepts two data items
Circuit
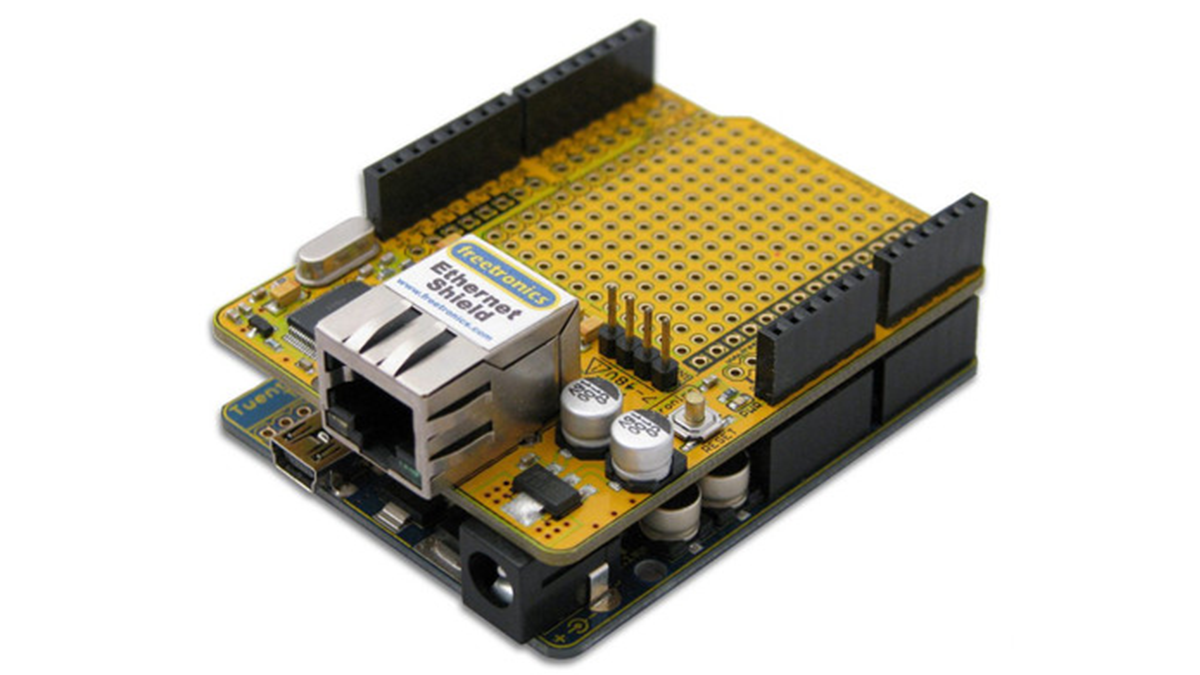
The Ethernet shield allows you to connect a WizNet Ethernet controller to the Arduino via the SPI bus. It uses pins 10, 11, 12, and 13 for the SPI connection to the WizNet. Later models of the Ethernet shield also have an SD Card on board. Digital pin 4 is used to control the slave select pin on the SD card.
The shield should be connected to a network with an ethernet cable. You will need to change the network settings in the program to correspond to your network.
image developed using Fritzing. For more circuit examples, see the Fritzing project page
In the above image, your Arduino would be stacked below the Ethernet shield. You could also use an Arduino Ethernet board.
Schematic
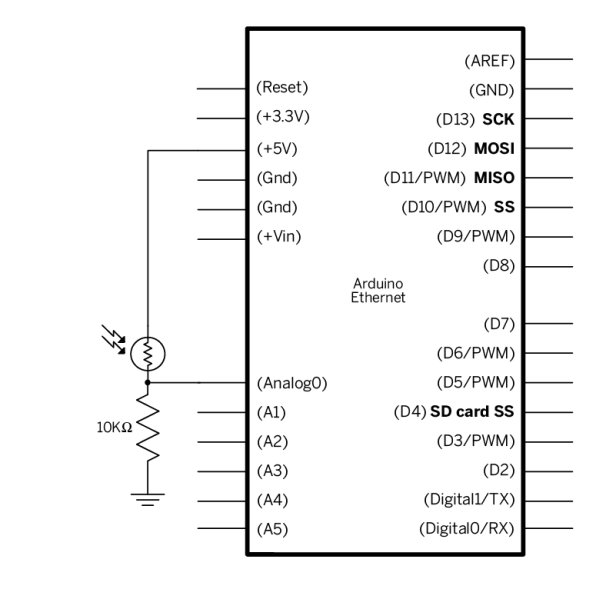
Pictured: One CDS photocell with 10k ohm pull down resistor on analog pin 0.
Code
/*
Pachube sensor client
This sketch connects an analog sensor to Pachube (http://www.pachube.com)
using a Wiznet Ethernet shield. You can use the Arduino Ethernet shield, or
the Adafruit Ethernet shield, either one will work, as long as it’s got
a Wiznet Ethernet module on board.
This example has been updated to use version 2.0 of the Pachube.com API.
To make it work, create a feed with a datastream, and give it the ID
sensor1. Or change the code below to match your feed.
[box color=”#985D00″ bg=”#FFF8CB” font=”verdana” fontsize=”14 ” radius=”20 ” border=”#985D12″ float=”right” head=”Major Components in Project” headbg=”#FFEB70″ headcolor=”#985D00″]
Hardware Required
- Arduino Ethernet Shield or Arduino Ethernet
- Shield-compatible Arduino board
- One analog sensor to attached to the Ethernet Shield
[/box]
For more detail: Pachube Client using Arduino