The most common questions I get about the ESP8266 WiFi Modules are: “Is it possible to control my ESP8266 from anywhere in the world?” and “How can I control my ESP8266 from anywhere?”.
I’m happy to announce today that I have a solution for that problem.
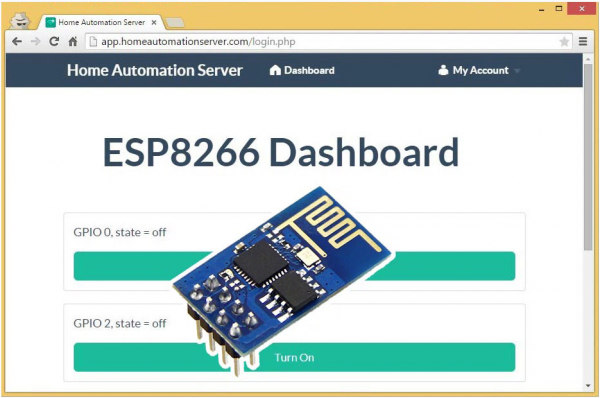
With the new version of Home Automation Server you can add an ESP8266 to your dashboard and control your ESP8266 GPIOs from anywhere in less than 5 minutes!
Let’s see how you can do that…
Step #1 – Register Your Free Account
First you need to create your free account at Home Automation Server. Go to http://app.homeautomationserver.com/register, type all your details and submit your registration.
Then go to your email address, confirm your account and login into your account.
Important: Please note that this is the new version of Home Automation Server, if you already created an account in the old Home Automation Server your account still works with the same login details. You can reset your password here.
Step #2 – Adding an ESP8266 to Your Dashboard
When you login for the first time you’ll need to click the green button that appears (see Figure below) that says “Click here to add your ESP8266”.
For More Details: How to Control Your ESP8266 From Anywhere in the World