
Summary of Arduino Pong Clock
This article describes a DIY Pong-themed digital clock using two LED matrix panels to display hours and minutes as game scores. It features multiple display modes, including text and retro cursors, controlled by an Arduino and a DS1307 real-time clock chip. The project is affordable, costing under £60/$100, with all parts available on eBay and free software code.
Parts used in the Pong Clock:
- 2 x Model 2416 Red or Green LED matrix panels from Sure Electronics (HT1632C version)
- 1 x Arduino Duemilanove / Uno with ATmega 328 CPU
- 1 x DS1307 real time clock chip
- 1 x Crystal oscillator for the DS1307
- 1 x 3.3v coin cell battery and battery holder
- 1 x Arduino prototyping shield, breadboard, and jumper wire
- 1 x 16 Pin IDC Socket
- 2 x push to make buttons
- 1 x USB Lead
- 1 x Mains to USB power adapter
Parts List:
- 2 x Model 2416 Red or Green LED matrix panels from Sure Electronics (Make sure you get the version based on the HT1632C and not the HT1632).
- 1 x Arduino Duemilanove / Uno with ATmega 328 CPU
- 1 x DS1307 real time clock chip (and socket if you are soldering)
- 1 x Crystal oscillator for the DS1307
- 1x 3.3v coin cell battery and battery holder for the DS1307
- 1x Arduino prototyping shield, or breadboard and jumper wire if you don’t want to solder.
- 1x 16 Pin IDC Socket for the display connection if you are soldering.
- 2 x push to make buttons
- 1x USB Lead
- 1x Mains to USB power adapter
Plus wire, solder, sweat, tears, etc.
Parts in Detail…
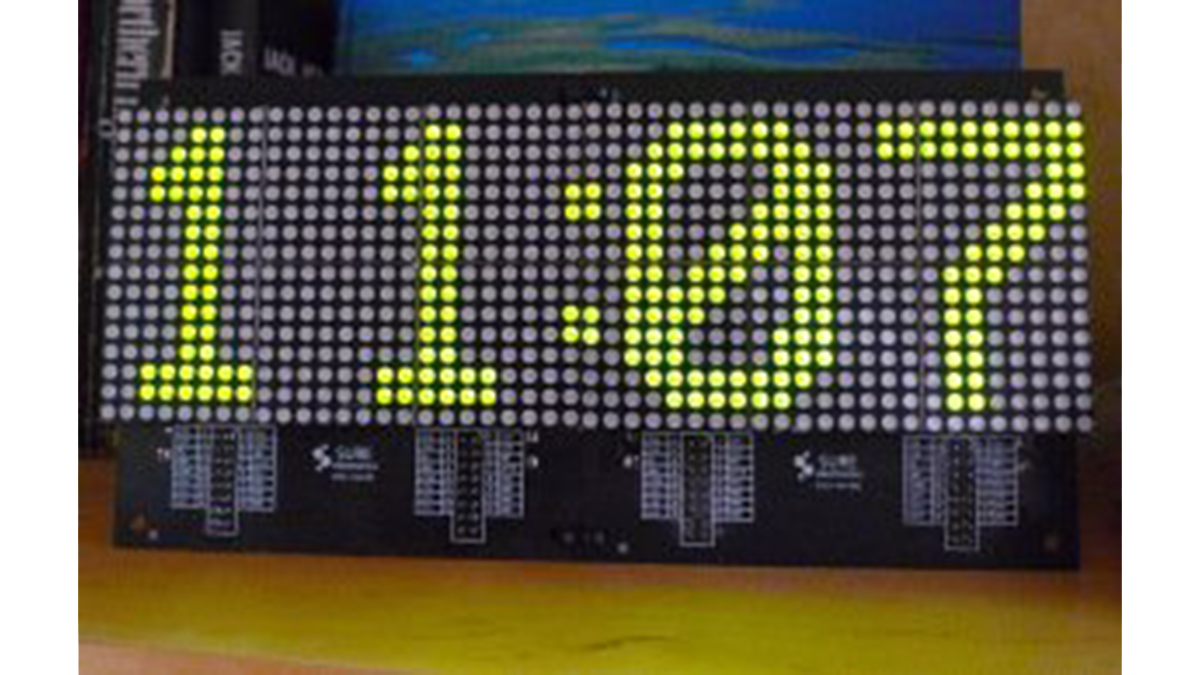
2 x Model 2416 LED Matrix Displays from Sure Electronics. You can get these from Sure’s eBay store for $15 each: http://www.sure-electronics.net/ You can buy either the red or green display, and with 3mm or 5mm LEDs. (My clock is made with the 3mm green one.) Make sure you get the newer version of the display which is based on the Holtek HT1632C chip. You can tell the newer displays as they have the controller chip and DIP switches on the back. The front is relatively empty of components – see picture below.
1 x Arduino Uno / Duemilanove / Dicecimila with ATmega 328 CPU. The Arduino is the brains of the clock. It has a microprocessor that runs the clock software, plus inputs and outputs we connect to the displays, buttons and other components. Ensure you get an Arduino with the ATmega 328 CPU. The Uno is the latest version and has one as standard. Some Duemilanove / Dicecimila boards come with the ATmega 168 CPU with doesn’t have enough RAM for the clock code. You can get Arduino’s for about $30. Try Sparkfun Electronics or eBay.
For more detail: Arduino Pong Clock
- How does the clock display the time?
The clock uses two players who automatically win and lose so their scores show the hours and minutes. - Can the clock display time in words?
Yes, the clock can show the time written in words such as Ten Past Twelve. - Does the clock keep time when power is off?
Yes, a DS1307 clock chip keeps time even when the power is off. - What are the best options for the LED panels?
You can choose between green or red panels with 3mm or 5mm LEDs from Sure Electronics. - Which Arduino board should be used for this project?
You must use an Arduino with an ATmega 328 CPU because others like some Duemilanove boards have insufficient RAM. - Can the clock change display modes automatically?
Yes, you can set the clock to pick a random mode every few hours. - How much will this project cost?
The project should cost less than £60 or $100. - Where can I find the software code?
The software code is free to download.
