I am not a big fan of programming. I may like it but, I try to keep it down to a 555 timer like in this ible. However, when it comes to synths, well, I just NEED programming. One day, while exploring Synthesizers, I came across something known as chiptunes.
I decided to listen and found the music just totally awesome. And so I tried to make it with Arduino. Unfortunately, it didn’t fit the Arduino code. Fortunately, Stimmer in the Arduino Forums had ported Linus Åkesson’s Hardware Chiptune Project and made it to fit the Arduino.
UPDATE: THERE HAS BEEN AN UPDATE TO THE CODE. REPROGRAM THE ARDUINO WITH THE NEW CODE AND PUT AN LED ON PIN 12 AND PIN 10 (WITH RESISTORS) AND THEY WILL PLAY ALONG WITH THE “DRUMS”
Step 1: Gains and Losses.
You will gain:
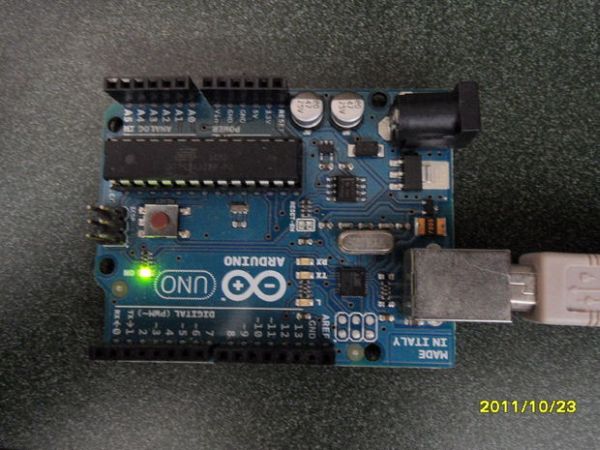
An Arduino
A speaker+possibly an amp
2 jumper wires (If your speaker doesn’t already have them)
Step 2: What Type of Speakers Should I Use???
There are many speakers available on the market these days.
Some have built in amps with 3.5mm jacks.
Some have tne cone, the magnet, the coil and then the wire.
Even headphones woud work!
Now I’m sure you want to use the one with a built in amplifier and so, I am developing a way so that you won’t have to cut the cable on your expensive amp
Step 3: Programming.
Start by downloading the code from below.
Then, copy and paste the code into the Arduino editor and compile, then hit upload.
You’re done with the software!
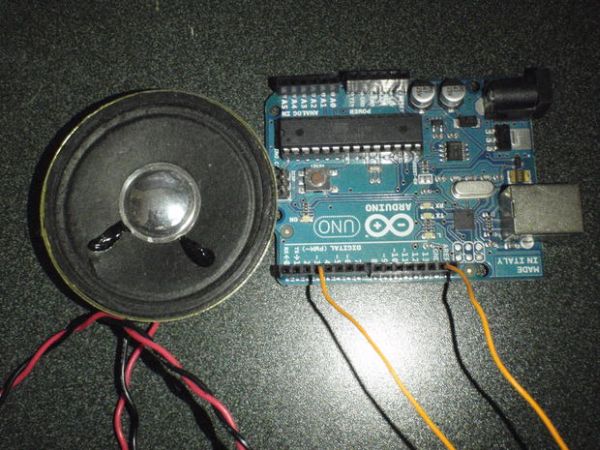
Step 4: Assembly.
You may be done with the software but the hardware is not finished.
Now, take one of your speaker wires, and then plug it into pin 3 which is a PWM pin. Then, plug it into ground or power (5 volts or you bust you Arduino. )
You should hear music playing.
Now, hit the reset button to here it from the beginning.
Everytime you hit the reset button, it will play.
Here is the code in case the download is unsuccessful:
Step 5: Done.
Now listen to it play the tune.
For more detail: Arduino Chiptunes