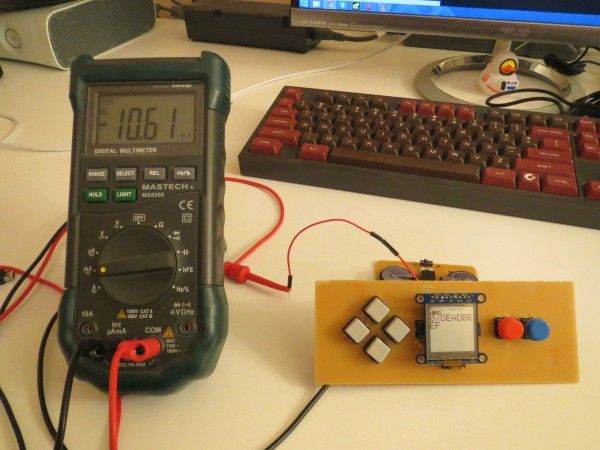
I bought this tiny display from Adafruit: http://www.adafruit.com/products/1393 First thing I did was breadboard a circuit to make sure it worked and I could use it.
Board design
I was thinking along the lines of “Game Boy Micro:” http://i.imgur.com/1s5qvFH.jpg . I spent an evening coming up with this design in Eagle. In order for me to make it here, it needs to be single-layer, with nice fat traces and large pads. Handily there’s an Eagle design rules file that works perfectly: http://www.instructables.com/id/Make-hobbyist-PCBs-with-professional-CAD-tools-by-/ The middle area is approximately what will be covered by the screen. I put the chip underneath it: an ATMega328, same chip the Arduino uses. The stuff below the chip is the crystal, so I can run it at a blazing 16 MHz instead of the 8 that the internal clock supports. I could have added stuff to program the chip in-system, too, but I went to bed instead.
Shapeoko
Now that I have a board design, time to make it. I used a Shapeoko CNC mill to carve it out of a sheet of copper-clad board. If you decide to try this yourself, BE VERY CAREFUL! Not all copper-clad can be safely milled, because most of it is made of fiberglass (don’t breathe that). I got this stuff from Inventables: https://www.inventables.com/technologies/circuit-board-blanks
Engraving
Here’s a close-up shot of the engraving. I use a 30 degree V bit from http://drewtronics.net, cutting half a millimeter deep. It kicks up a minor amount of dust and makes everything smell coppery. This part took about two hours. I left it alone to do its thing, coming back in every 15 minutes or so to shop-vac away the dust and make sure nothing had caught on fire. But it’s not too likely to get stuck milling half a mm deep, so it’s safe (ish) to leave it alone.
For more detail: Making a Handheld game

