
Summary of A Valentine’s Day Surprise
The author created a custom LED heart for Valentine's Day using WS2812 LEDs and an ATMega48 microcontroller. The project involved designing concentric heart shapes in Excel, laying out the PCB in Altium Designer with 5V and ground pours, and etching a personalized design onto the bottom copper layer using Inkscape.
Parts used in the Custom LED Heart:
- WS2812 LEDs
- ATMega48 microcontroller
- Wall-wart power supply
- Altium Designer software
- Inkscape software
Last week I had the idea to create a last-minute valentine’s day gift for my girlfriend. I had a bunch of WS2812 LEDs from my previous endeavors and decided to make a big LED heart. These are a great choice because of the very minimal amount of components necessary: no I/O expanders, driving transistors or ICs necessary. Plus you just need one I/O line from your microcontroller to drive them.
Since they run off 5V, I planned to create a board that is powered from a wall-wart power supply. That way the board doesn’t even need a voltage regulator on it. I chose to use an ATMega48 because I have several from previous projects.
First was deciding on the placement of the LEDs. Being a bit OCD I wanted them spaced out in some organized fashion. Wolfram Math World has a post with some parametric and polar equations that plot out different heart shapes. I plotted three concentric hearts in excel and played around with some scaling factors and how I wanted them spaced out.
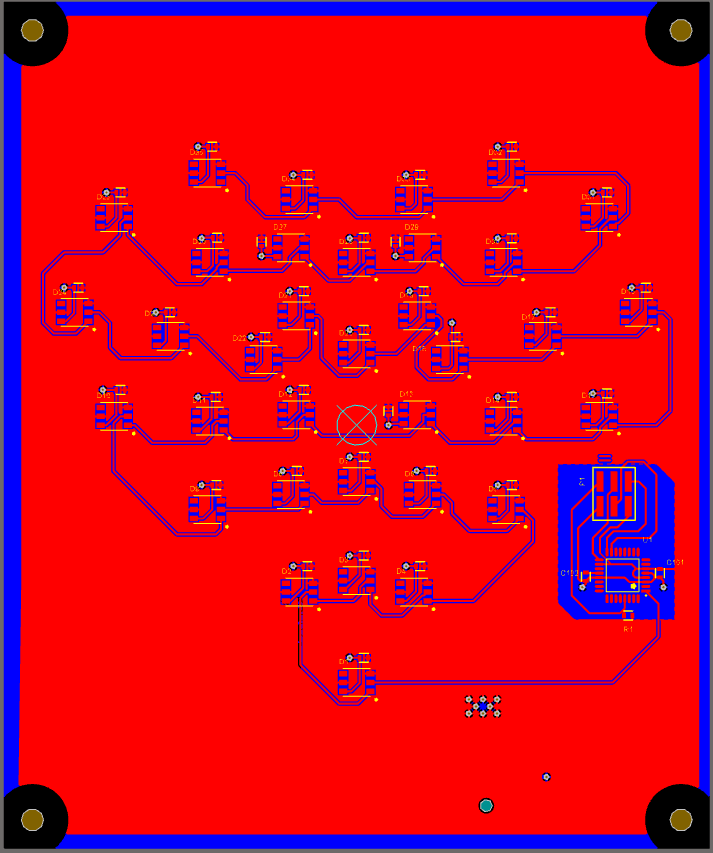
Now I had the coordinates for each LED so it was easy enough to load these into Altium Designer.
After a night of PCB layout I had a decent enough layout:
- Why were WS2812 LEDs chosen for this project?
They require minimal components like no I/O expanders, driving transistors, or ICs. - How many I/O lines are needed to drive the LEDs?
Only one I/O line from the microcontroller is necessary. - What power source was planned for the board?
A wall-wart power supply running at 5V was used so no voltage regulator is needed. - Which microcontroller was selected for this build?
An ATMega48 was chosen because several were available from previous projects. - How were the LED placements determined?
Concentric heart coordinates were plotted in Excel using parametric and polar equations from Wolfram Math World. - What software was used for the PCB layout?
Altium Designer was used to load the coordinates and create the layout. - What design feature was added to the back of the board?
A personalized design etched into the bottom copper layer featuring her name. - Which tool was used to create the back design?
Inkscape was used after following some tutorials to whip up the design.
