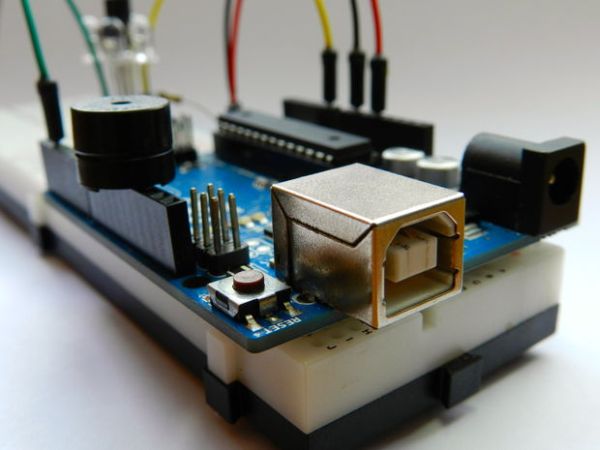
Hello guys! In this instructable I’ll teach you how to make a very simple proximity sensor using infrared LEDs and Arduino.
After several times trying to optimize it, I finally came up with something that is quite simple e precise. Just like my first instructable, this project is perfect for beginners in the arduino’s world, with a few components anyone can make it. I hope you all enjoy it.
For this instructable you are gonna need:
– Arduino
– 1 IR LED receiver (photodiode with 2 pins, not the phototransistor with 3 pins)
– IR LED emitters (as much as you can get, but at least 2)
– 100K resistor (brown black yellow)
– Jumper wires
– Breadboard
– Electrical tape
– Buzzer(optional)
Be careful to don’t mix up the LED receiver with the LED emitter, they all look the same.
Before mount it, we should prepare the IR LED receiver to don’t receive light from the sides, so than the sensor is more directional.
I use electrical tape to make it, but you can use a straw or anything that blocks the light from the sides.
Cut a small piece of electrical tape and wrap it around the IR LED receiver, forming a tube. Trim the edge with a pair of scissors until it’s about 1cm long.
Have a look at images to see how I made it with electrical tape.
For more detail: Simple IR proximity sensor with Arduino

