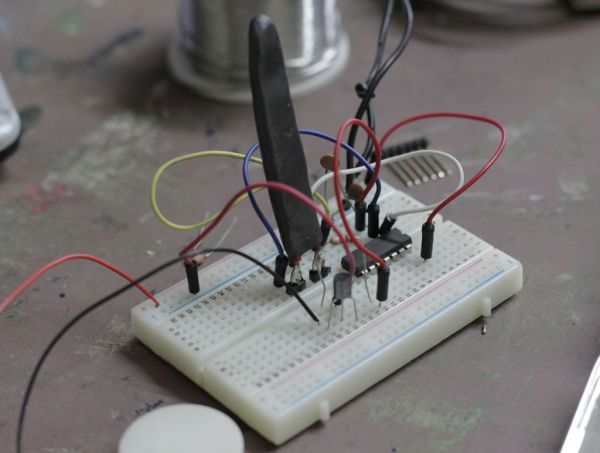
DIY Flex sensor using Sugru and graphite powder (Resistencia flexible usando Sugru y polvo de grafito)
Este es el primero de 5 instructables que surgieron del Instructables & Sugru build night (and day en nuestro caso) que hicimos en el Laboratorio de Juguete, el 20 de julio del 2013: una Resistencia Flexible o Flex Sensor hecha con Sugru y polvo de grafito: ——————————————- This is the first of 5 instructables from Instructables […]