If also you, like me, put your vest on the washing machine and wait the best moment for wash the clothes… make SMART your Washing Machine.
Things used in this project
Story
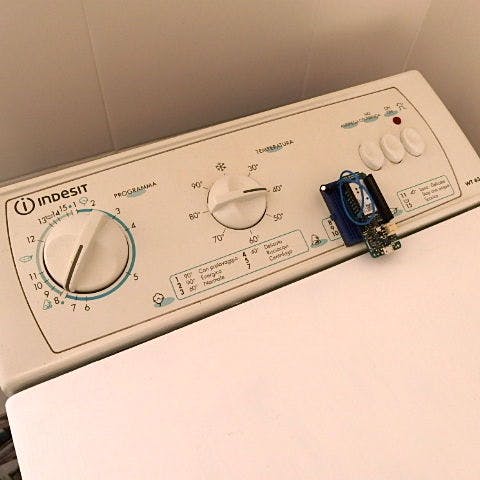
If also you, like me, put your vest on the washing machine and wait if is the best moment for wash the clothes, also you have a problem… like me. The best moment for me is when the cost of electricity is low, in Italy this happens at certain hours of the day, when I can hang my clothes after the stop of washing machine. Now I can start the washing machine by using a timer, but with Arduino MKR1000 and Cayenne, I can read on my smartphone when the washing machine starts, and when the washing machine has finished the program. I can read this always and everywhere. Besides, I or my family, we can receive an email notification of the start and the stop of washing machine. This is possible by using Cayenne, Arduino, and a little bit of components. This is IoT, this is Making, this is the Future!
Do you want an Arduino MKR1000? Try on Amazon! Do you live in Europe? Than you can try Genuino MKR1000!
Step 1: Subscribe to Cayenne
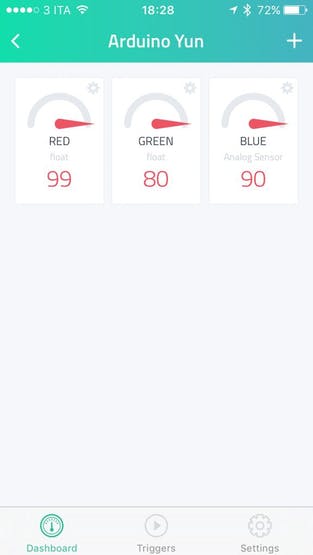
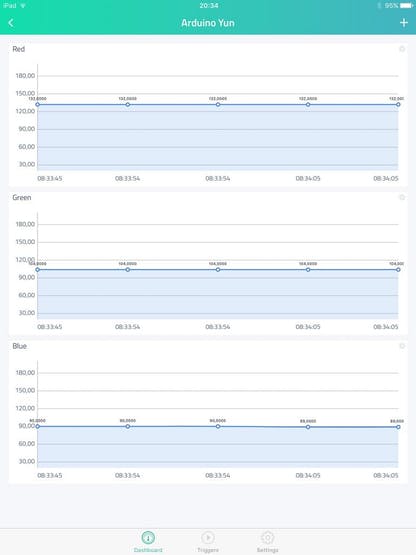
First af all you can subscribe to Cayenne. Cayenne is totally free, and you can use all the tools for making IoT object. Cayenne is really “IoT for all”. Sign In Cayenne by using this link.
After you can see your dashboard, and, if you have, your devices.
Now is the Arduino MKR100 time!
Step 2: The components
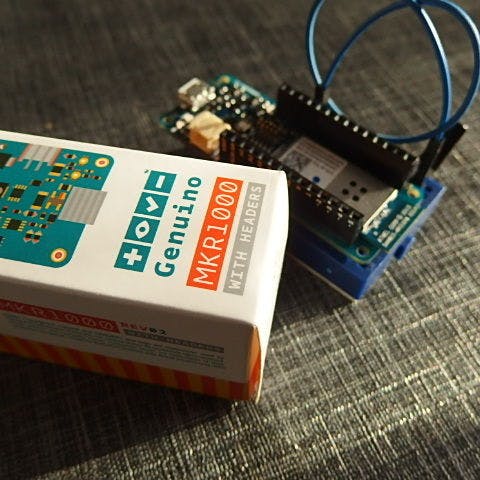
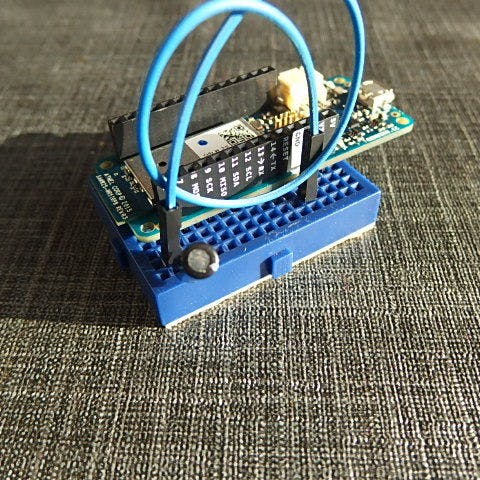
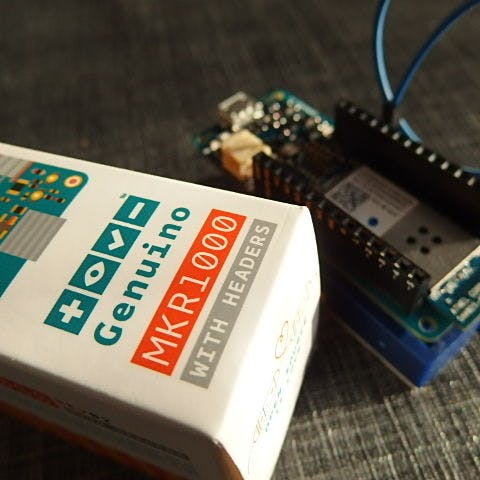
All the components are really cheap. You can buy on Amazon.
The Arduino MKR1000 have a module for charge one liPo 3.7V battery. This is real IoT!
Step 3: Download the Arduino software

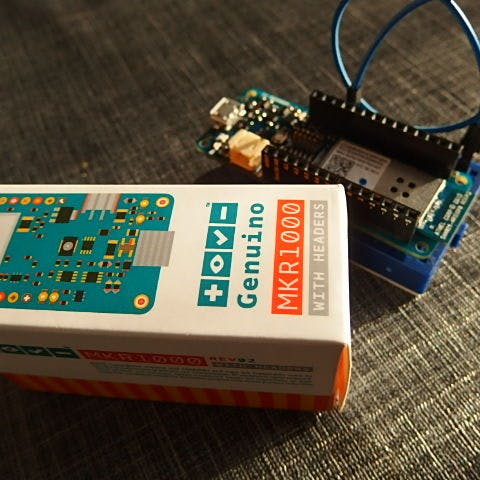
For upload the code on your Arduino MKR100 you must have Arduino IDE. You can download this by Arduino.cc site. Download the last version of software, and install on your computer. The Arduino IDE is Multiplatform, and open. After this you can add the Arduino MKR1000 board by using the board manager.
Search Arduino MKR1000 on Board Manager panel (Tools -> Board -> Board Manager). You must install SAMD 32-bits ARM Cortex-M0+.
If when you put the Arduino MKR1000 and don’t see the shield in Arduino IDE, you can see my tutorials. If the Arduino MKR1000 board not work, you can begin with anything more simple.
Step 4: Download Cayenne Arduino library
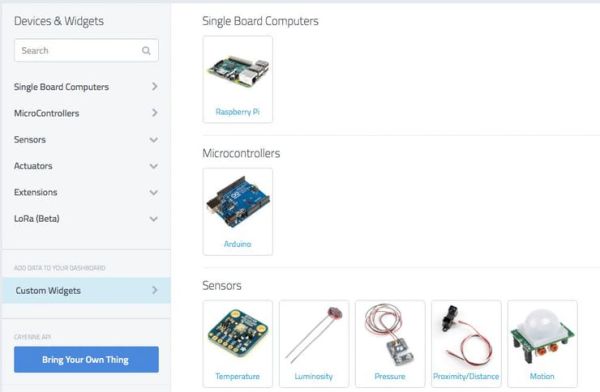
The guys of Cayenne have written the Arduino code for you. Yes! You can download the library, and put this code in your sketch. For this reason you can modify only the code variable that interest you. Download the Cayenne library by using this Github link https://github.com/myDevicesIoT/Cayenne-Arduino-Library/tree/feature/mkr1000-support.
Download the library, and put the folder in Arduino -> Library. The name of folder is Cayenne.
Also you must install the WiFi 101 Shield. You add this library by using the library manager. Click Sketch –> Include library –> Library manager. In the Library manager search WiFi101, and install the library. Now reload the Arduino IDE.
Step 5: Connect the Arduino MKR1000 to your computer

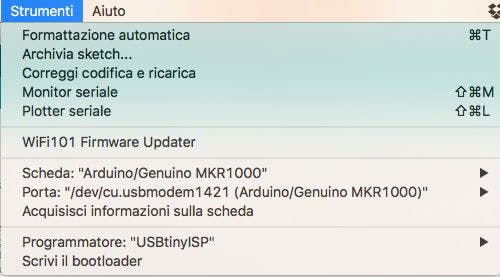
Now you can connect your Arduino MKR1000 to your Arduino IDE.
In the Arduino IDE go to Tools –> Board and select Arduino MKR1000, if you don’t see the Arduino MKR1000 try to install the board by clicking Tools –> Boards –> Boards manager. Type Arduino MKR1000 and install the board.
After connect the board to USB computer.
If you don’t see the board in the ports, try to double click on reset button after usb connections.
Do you have an Arduino UNO? You can connect Arduino UNO to internet by using a WiFi shield, Ethernet shield, or ESP8266.
Step 6: Upload the code on Arduino MKR1000
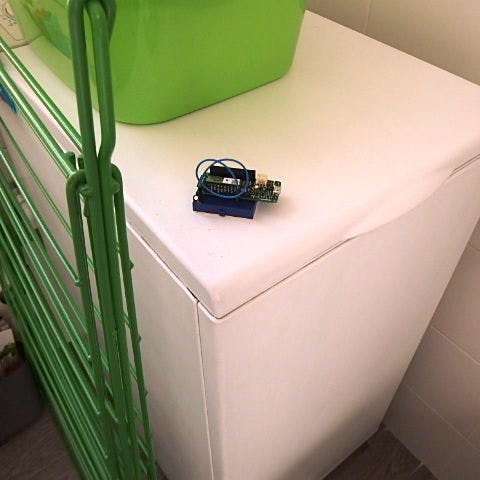
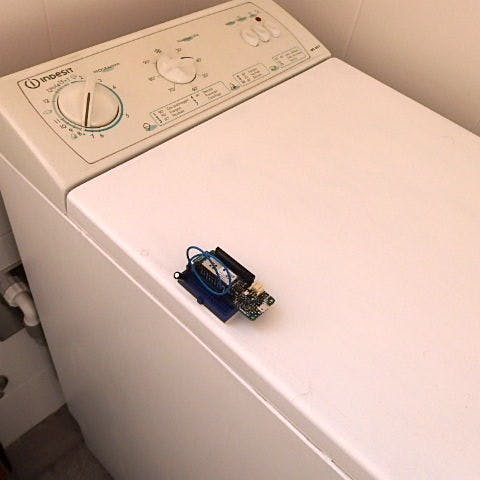
Every project have a “core”. This is the essential part of project. The CODE!
Open my Github page and download the code. Copy this code in your Arduino IDE and upload the code to your Arduino MKR1000 board.
This is the GitHub link: https://github.com/masteruan/ArdMKR1000WM/tree/master
Put the Arduino MKR1000 on your Washing Machine.
The Arduino code connects the board to internet, and loads the Cayenne library. After, every 30 seconds, controls the tilt switch sensor. If the washing machine starts, and moves the sensor, the sensor value begins on. The first step has been enabled. The system controls for ever the sensor. If it has gone 30 seconds without moving, then the second trig has been enabled.
Step 7: Add Arduino MKR100 to your devices
Now you can add your Arduino MKR1000 to your devices.
In the Arduino code, you must fill the Auth Token code, SSID and Password. The SSID is the name of your WiFi Internet connection, the password is your WPA/WEP Internet password. The token is the code that open the connection to your Arduino MKR100 and your Cayenne Dashboard.
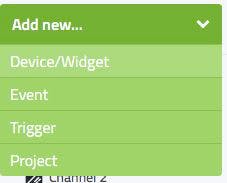
For obtain the token code you can connect to your Cayenne Dashboard. In your dashboard, you can create your board by clicking Add new… After you can select and after select Arduino Uno and WiFi 101 Shield.
Copy your Token and put it on your Arduino Code.
Step 8: Trig your input to emails
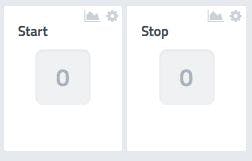
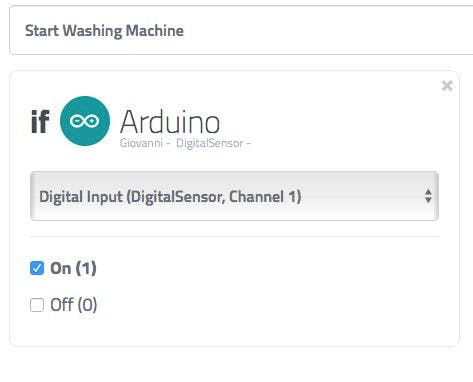
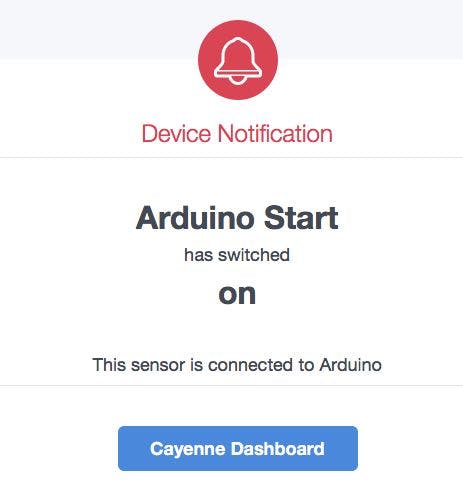
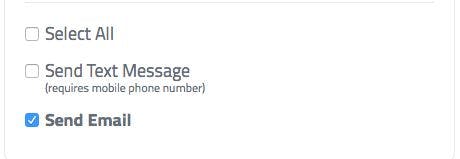
Now you can trigger the input to your emails. When the Arduino MKR1000read an input from tilt sensor, sends a mail to your address. After 30 secondsif Arduino not read other input, puts ON the Virtual PIN number 2 and send a mail that alert you “The Washing machine has been terminated”.
Schematics
Code
Source : Make SMART Your Washing Machine

