Introduction:
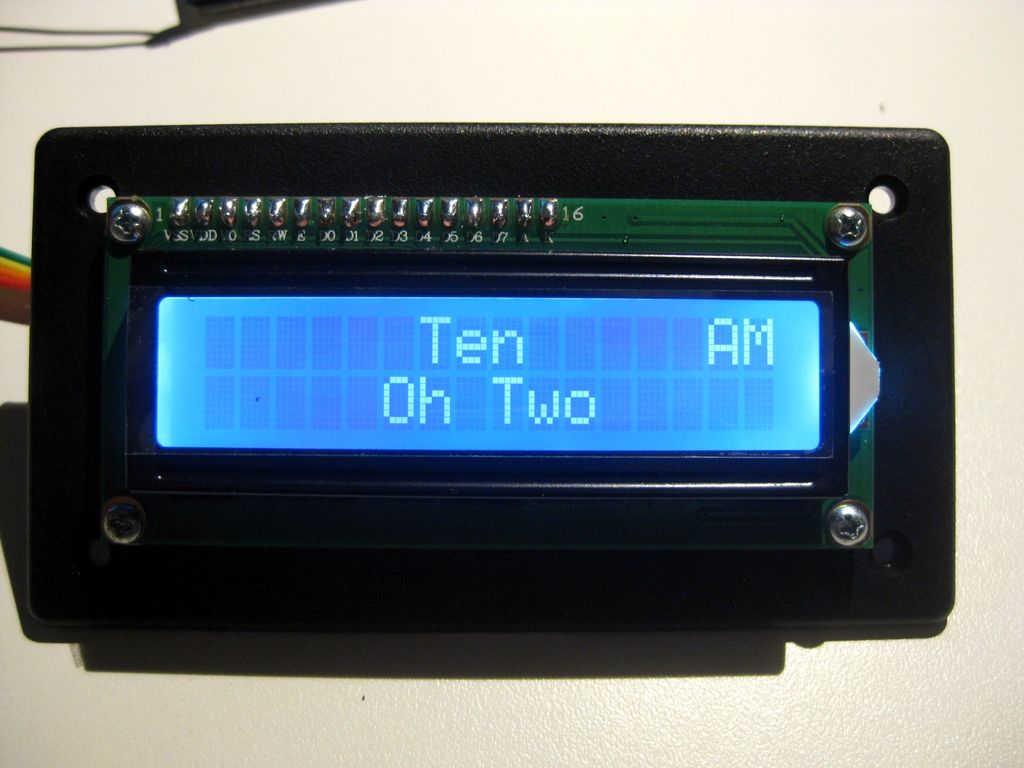
This Instructable is about making a 16 character by 2 line LCD Word Clock with DST switch.
The pictures show how some of the times will read out.
I have made a few of these for family and friends already and they have been quite well received probably because of their uniqueness. I have even made a few of these for myself which are now in use.
Step 1: Parts
Parts:
1602 16×2 LCD LCD module @ $3.00 on eBay
IIC/I2C Interface Serial Interface For Arduino 1602 LCD @ $2.00 on eBay
DS3231 AT24C32 Precision RTC Module @ $3.00 on eBay
Anarduino An Arduino Compatible 24 DIP model kit @$5.40 on eBay
BreadBoard P.S. Breadboard Power Supply @$1.50 on eBay
Module Wiring Dupont Wire Connector Cables 20cm (female-female) @$1.50 on eBay
Mini SPDT Switch @ 50 cents
2.1mm DC Pwr Jack @ 50 cents
#2 hardware I use ½ inch bolts to mount parts on case. Check out jameco.com
10K Ohm Resistor 1/8W or 1/4W
Molex Header Item G18974 at Electronic Goldmine @$2.00 / 10
Case enclosure MB-132 at allelectronics.com @$3.00
Arduino UNO Used to program ATMEGA328P chip and clock module
Shipping is not included in the above price approximations… some are free shipping and others cost. Everything should run about $35 if you had none of it except the UNO to begin with.
Step 2: Construction
Initial preparations:
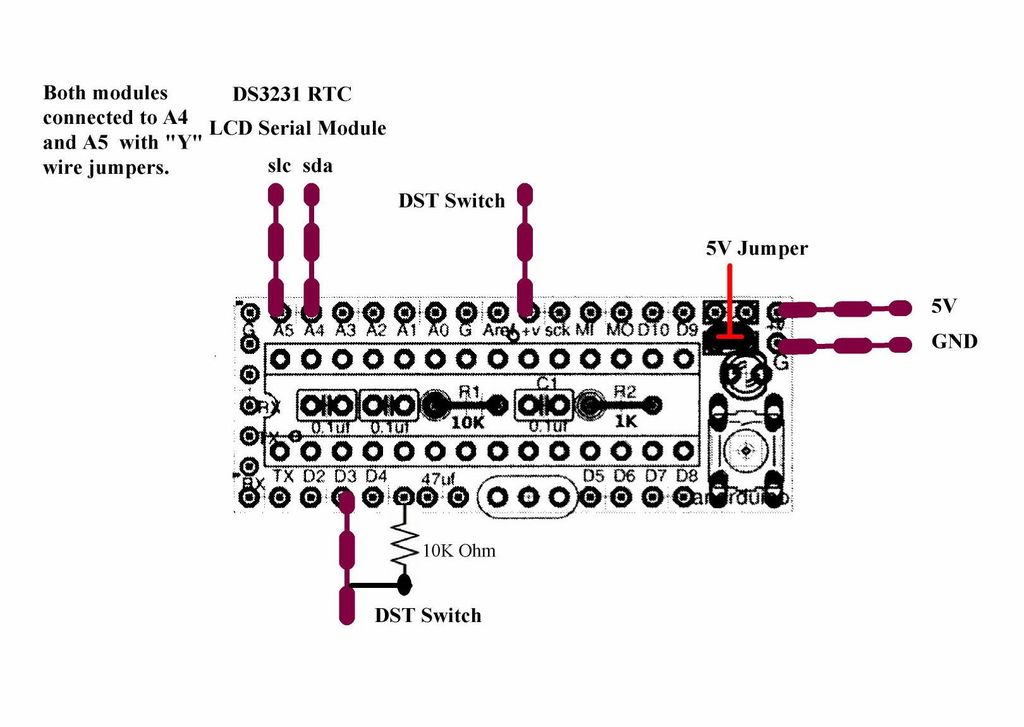
If you are interested in building the clock the way I did, then please refer back to my first Instructable to get the bread board power supply ready for the project and to my second Instructable “Kitchen Sink Clock” to get the info needed about working with the Anarduino Kit and programming the ATMEGA328P and the Precision RTC module using the INO file provided with this Instructable.
For more detail: LCD Word Clock using Arduino


