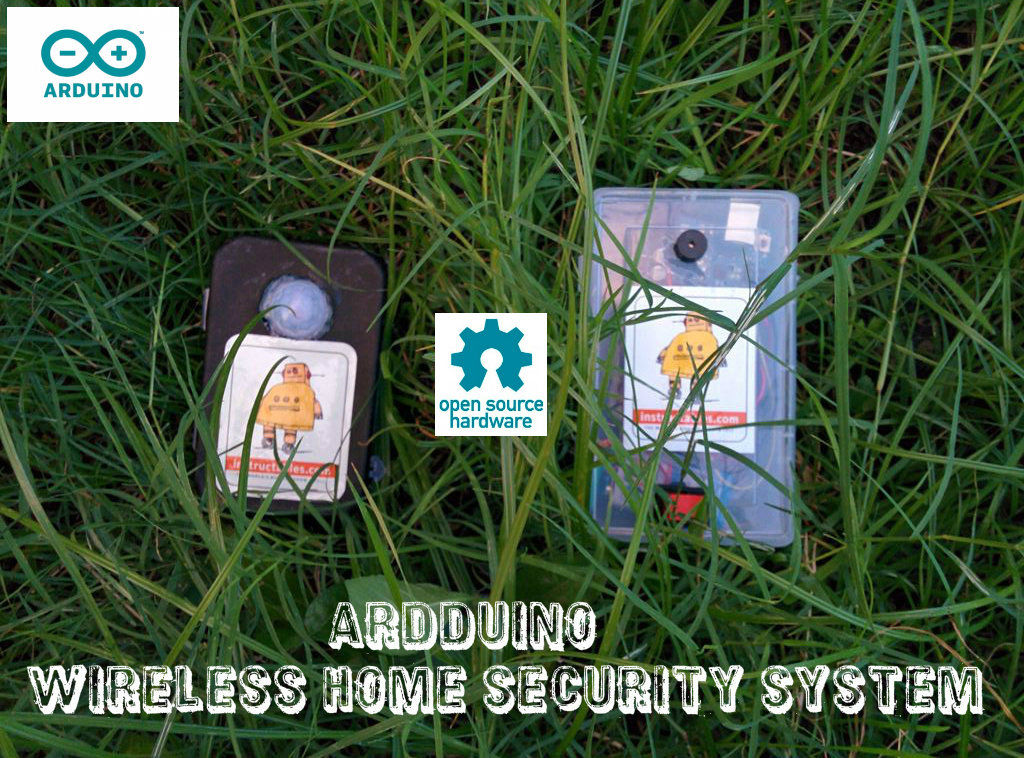
In this project I will discuss how you can make a cheap wireless home security system.Though during starting of this project the main objective was only for security alarm but later I found this device can be used to solve several problems.These are the few practical problems which I have faced in the past :
1. Few years ago my friend’s new bike was stolen from the parking premises of our apartment.
2. Mangoes are stolen from our garden.
3. One of my friend always worried for his new born baby when sleeping on a bed but no one is there to monitor him.
By modifying few things in my device you can solve all these problems very easily.
My device uses a PIR motion sensor to detect the human motion and this information is transmitted without wire by using a RF transmitter-receiver module to give some sort of alert.I choose a RF module for wire less communication because compared to the existing wireless systems like blue tooth,XBee or WiFi ,it is user friendly and very cheap.You can get it from eBay @ less than $ 2.
You could use IR, but that has a limited range and can only work within a line of sight of the receiver.But using the cheap RF module we can communicate within the range of around 100m.
At the end I will give you few tips to reduce the power consumption.
I divide the entire project in to 3 major parts;
1.TRANSMITTER : To sense the human motion and transmit the data to receiver
2. RECEIVER : Receive the data from transmitter and activate alarm system and camera or sending a sms etc
3.SOFTWARE : That operates the entire hardware used in this project.

Step 1: PARTS AND TOOLS REQUIRED
1. ARDUINO UNO/ARDUINO MINI/ARDUINO NANO or similar board (Tx)
2. ARDUINO UNO /ARDUINO MINI/ARDUINO NANO or similar board (Rx)
3. RF Transmitter and Receiver Module (433 MHZ)
4. PIR sensor
4. 9V battery ( 2 nos) and connectors
5. Buzzer
6. LED
7. Resistor (220 ohm)
8. Bread Board
9. Jumper Wires
10. perforated Board
11. Header connectors
12.Switches
13. Project Enclosure
14. Black Paper
15. Scotch Mounting Pad
TOOLS REQUIRED :
1.Hobby Knife
2.Glue Gun
3.Soldering Iron
4.Wire cutter /Stripper
5.Tin Snips
You can buy the items very cheaply from eBay .These are links from where I have bought my parts.
Arduino Nano from eBay
Arduino Pro Mini from eBay
RF Transmitter and Receiver Module from eBay
PIR Sensor from eBay
Step 2: TRANSMITTER
The transmitter is consists of
1. PIR sensor to detect the human motion
2.Arduino to process the data from PIR sensor
3. RF transmitter to transmit the data to the receiver
Passive infrared sensors work by measuring incoming infrared from human or animal. They do not emit energy themselves, which is why they are called “passive”. Humans and animals both release infrared energy. Passive infrared sensors(sometimes called pyro electric detectors) detect this energy and give a signal to the ARDUINO.
For working of the PIR sensor you can click here
For transmitter I used a Arduino Nano board to reduced the cost. Of course your Arduino Uno also works fine.You can also use a Arduino mini Pro which cheaper than nano.As now I do not have a FTDI module to program the mini board I choose the nano board.
Before going to make the entire transmitter module check the PIR sensor and have a fun.
Connect the PIR sensor
PIR Pin Arduino Pin
vcc —–> 5v
GND . ……> GND
Out ……..> D2
You can also refer the fritzing schematic.
Before uploading the code set the correct board and serial port in the Arduino IDE. Then upload the sketch given bellow.
In the software part I attached the pics for setting the board and serial port .Just check it.
When there is motion in front of the sensor the LED will glow.You can see the message also by opening your serial monitor.
Step 3: Connect The RF Transmitter
In the previous step you confirmed that your PIR sensor is working fine.Now lets add the RF transmitter to the board.
The RF transmitter has 3 pins( VCC, GND, and Data).
Connect the VCC pin to the 5V pin of the Arduino board that you are using (In my case it is Nano).
Connect the GND to the GND of the Arduino board.
Connect the data pin to the pin number 12 of the Arduino board.

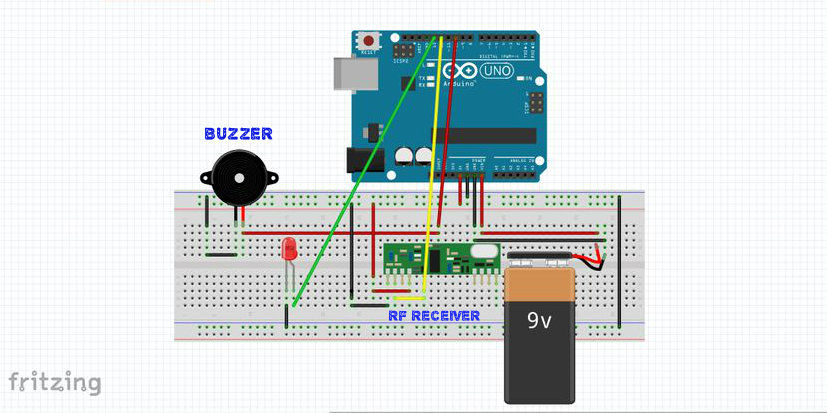
Step 4: RECEIVER
The Receiver is consists of
1. RF Receiver module to receive data from transmitter
2. Arduino to process the data from RF Tx and give an out put (alarm,sms,email etc)
3. Out Put : buzzer
Connect the VCC pin to the 5V pin of the Arduino board that you are using (In my case it is Uno).
Connect the GND to the GND of the Arduino board.
Connect the data pin to the pin number 12 of the Arduino board.
Refer the above schematics for connection
Step 5: SOFTWARE
The software is wholly depends on a virtual wire library.So first download it. Click here to download.
After downloading extract the folder and then place it in the Arduino library folder.
Software for Transmitter:
Before going to upload the sketch to the transmitter board, you have to set few things in the IDE
1.Board -> Arduino Nano (what board you have used)
2.Serial Port -> COM XX (check the com port in which your device is connected )
See the above picture for clear understanding.
After setting the above things,down the code wireless_tx and upload it.
Software for Receiver :
Similar to the above set the following for receiver board
1.Board -> Arduino UNO (what board you have used)
2.Serial Port -> COM XX (check the com port in which your device is connected)
See the above picture for clear understanding.
After setting the above things,down the code wireless_rx and upload it.
Note : The tone generation code is taken from MAKE PROJECTS
Step 6: BREAD BOARD TEST
After uploading the code to both transmitter and receiver board ,now it is time to check whether every thing works correctly or not.
Remove the Usb cable from both the board
Provide external power (battery ) to the both the board.( positive terminal goes to Vin )
Then shake your hand in front of the PIR sensor.
If the buzzer in the receiver board starts to make noise then every thing works fine.
Now it is time to make a portable device for practical use.In the next two steps I will show you how to make a beautiful gadget for your home security.
For more detail: ARDUINO WIRELESS HOME SECURITY SYSTEM
