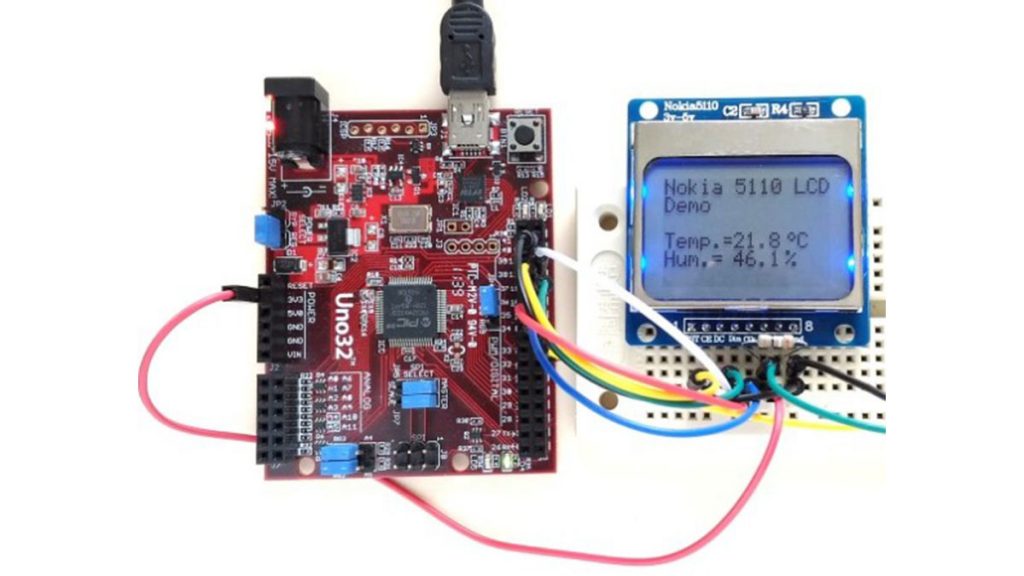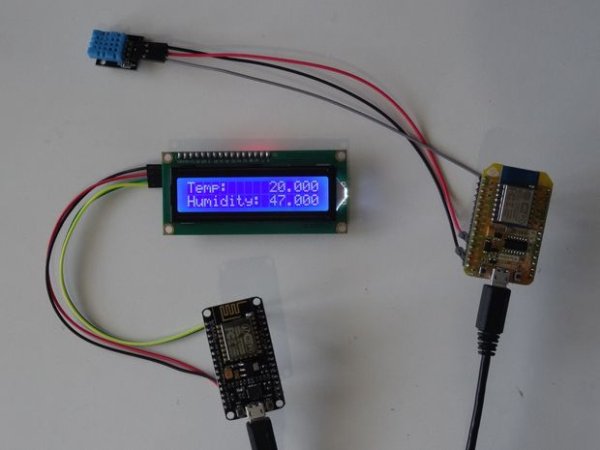
Remote WiFi DHT11 Temperature an Humidity Display
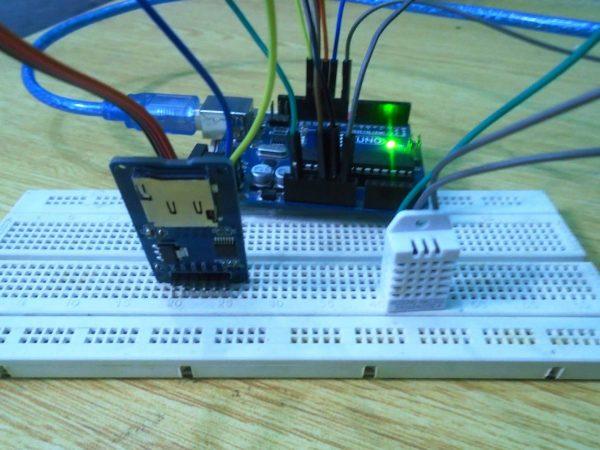
ESP8266 modules are great low cost stand alone controllers with built in Wi-Fi, and I already made a simple Blink instructable with ESP8266 NodeMCU module. The advantage of the ESP8266 over Arduino and other controllers is the builtin Wi-Fi. In this Instructable I will show you how with the help of Visuino you can use […]
Remote WiFi DHT11 Temperature an Humidity Display Continue Reading