code

Arduino Button Mouse Control

Arduino Bouton De La Souris De Contrôle De Code

With the Mouse library, an Arduino Leonardo, Micro, or Due can manipulate the onscreen cursor of a computer. This specific instance involves the use of five pushbuttons to control the movement of the cursor on the screen. Four buttons control direction (up, down, left, right) and one activates a left mouse click. Cursor movement on […]

Arduino Bouton De La Souris De Contrôle De Code Continue Reading

Arduino Row column Scanning to control an 8x8 LED Matrix

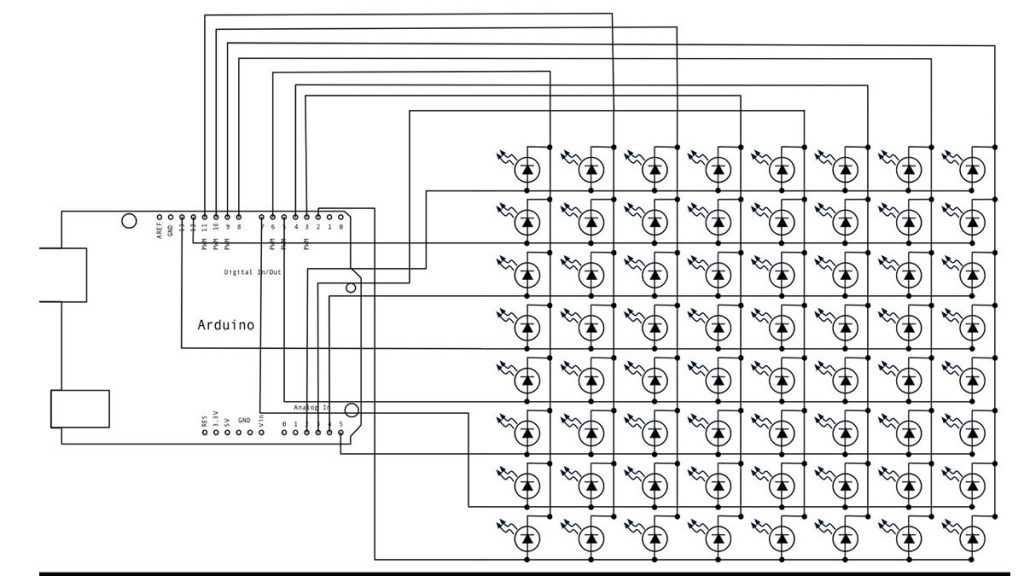
Arduino Row-column Scanning to control an 8×8 LED Matrix Code

LED displays are commonly packaged as arrays of LEDs organized in rows with shared positive terminals and columns with shared negative terminals, or vice versa. Here is a standard illustration, along with its diagram: These exhibits can be very useful. To control a matrix, you connect its rows and columns to your microcontroller. The columns

Arduino Row-column Scanning to control an 8×8 LED Matrix Code Continue Reading

Arduino Keyboard and Mouse Control 1

Arduino Clavier et de la Souris de Contrôle de Code

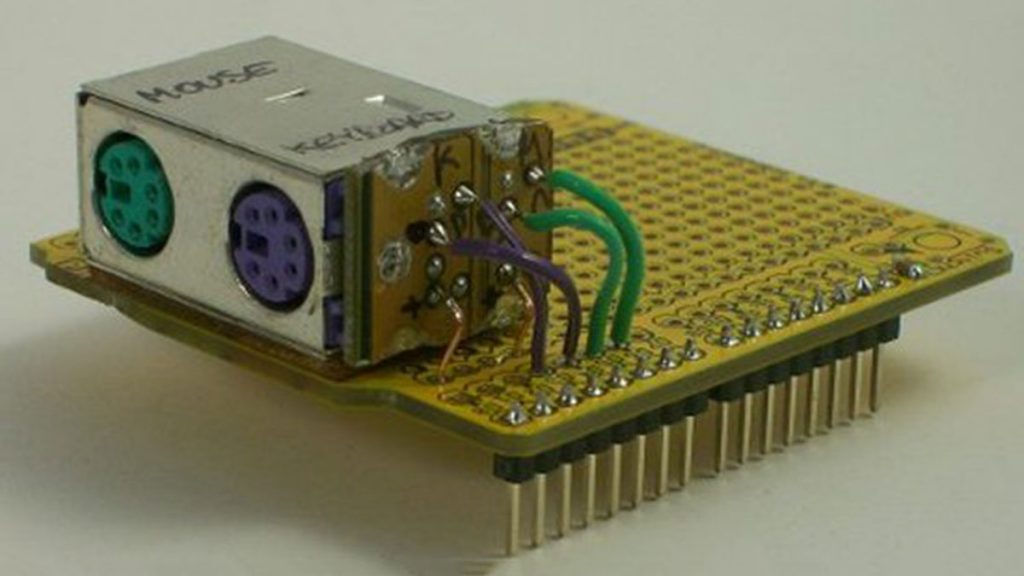
This example illustrates the use of the Mouse and keyboard libraries together. Five momentary switches act as directional buttons for your cursor. When a button is pressed, the cursor on your screen will move, and a keypress will be sent to the computer. Once you have the Leonardo programmed and wired up, open up your

Arduino Clavier et de la Souris de Contrôle de Code Continue Reading

Arduino Joystick Mouse Control

Arduino Joystick De Contrôle De La Souris Code

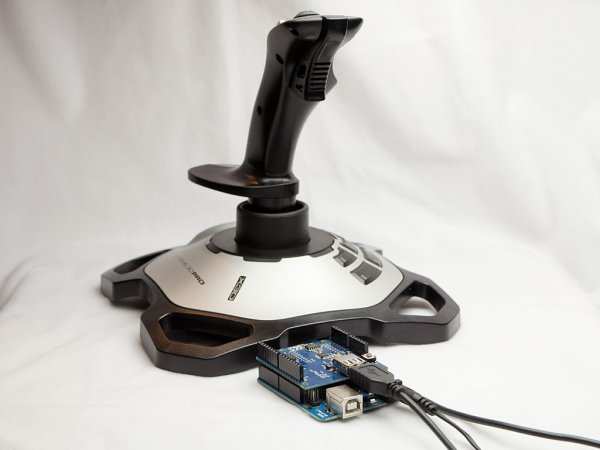
Using the Mouse library, you can controls a computer’s onscreen cursor with an Arduino Leonardo, Micro, or Due. This particular example uses a pushbutton to turn on and off mouse control with a joystick. Cursor movement from the Arduino is always relative. So every time the analog input is read, the cursor’s position is updated

Arduino Joystick De Contrôle De La Souris Code Continue Reading

Arduino Serial Communication 1

Arduino Serial Code De Communication

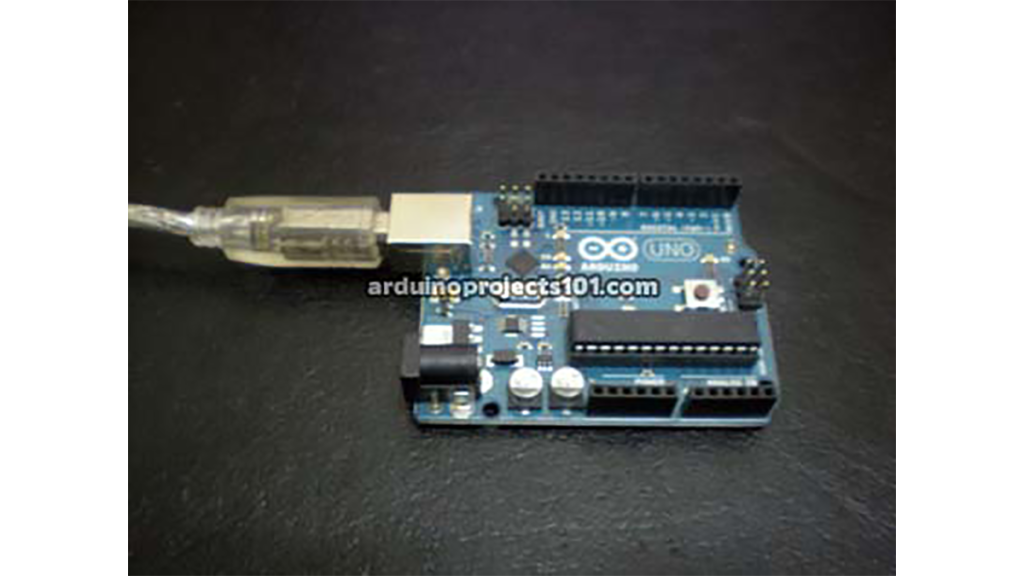
Arduino can send output through serial communication to your computer over USB. The output can be anything such as status, text, sensor reading, value, number etc. You can view the status output by clicking Serial Monitor button at Arduino Environment software. Instruction; 1) Connect your arduino to your computer using USB cable A plug to

Arduino Serial Code De Communication Continue Reading

Rotary Encoder Video Tutorial with Arduino Code

Rotary Encoder Video Tutorial with Arduino Code

Rotary Encoder Tutorial with Arduino Code int pulses, A_SIG=0, B_SIG=1; void setup(){ attachInterrupt(0, A_RISE, RISING); attachInterrupt(1, B_RISE, RISING); Serial.begin(115200); }//setup void loop(){ } void A_RISE(){ detachInterrupt(0); A_SIG=1; if(B_SIG==0) pulses++;//moving forward if(B_SIG==1) pulses–;//moving reverse Serial.println(pulses); attachInterrupt(0, A_FALL, FALLING); } void A_FALL(){ detachInterrupt(0); A_SIG=0; For more detail: Rotary Encoder Video Tutorial with Arduino Code

Rotary Encoder Video Tutorial with Arduino Code Continue Reading

Arduino String Case Change Functions

Arduino Chaîne En Cas De Changement De Fonctions Code

The String case change functions allow you to change the case of a String. They work just as their names imply. toUpperCase() changes the whole string to upper case characters, and toLowerCase() changes the whole String to lower case characters. Only the characters A to Z or a to z are affected. Circuit There is

Arduino Chaîne En Cas De Changement De Fonctions Code Continue Reading

fr_FRFrench
Faire défiler vers le Haut