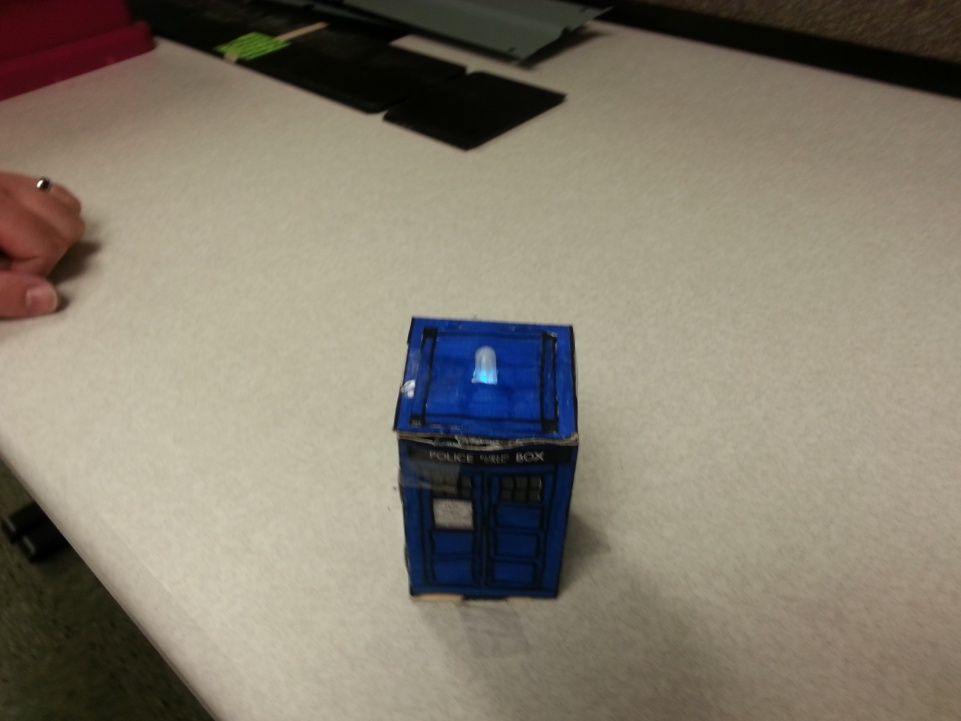
Construct a Tardis that spins and blinks!
Total Build Time:
30 mins
· Coding: 5 mins
· Construction of the Tardis: 20 mins
· littleBits LED and motor assembly: 5 mins
Step 1: Gather all needed parts.
LittleBits:
· (2) Wires
· (2) Power supplies
· (2) 9v Batteries and Connectors
· (1) littleBits Arduino Board
· (1) LED
· (1) DC Motor with the Motormate
Equipment:
· Scissors
· Tape
· Glue
· Construction Paper
· Dome (to diffuse the light at the top) – designed and 3D printed specifically for this project (file attached). You can also use a clear push pin if you’re not able to print the dome.
· Box Cutter
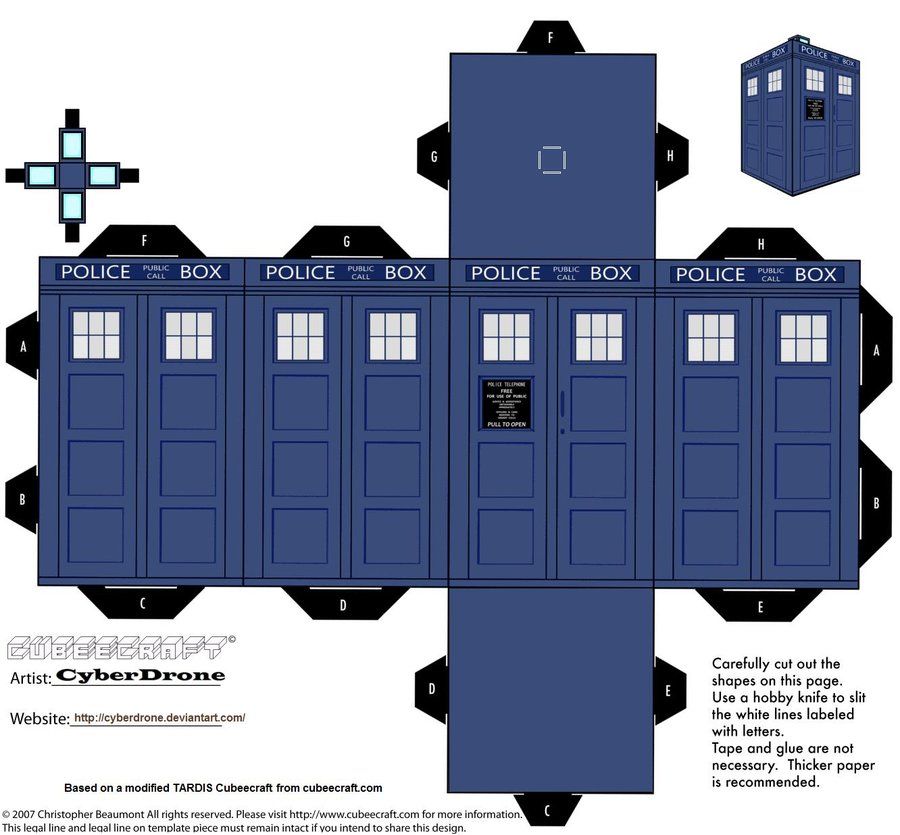
Step 2: Print the Tardis template
We recommend that you enlarge the template before printing; this will give more room for the component for fit together in the box. Glue the printed template to the construction paper. Use the box cutter to cut lines in the template where white lines occur over the black tabs; these are notches where the labeled tabs will enter. After the notches have been cut, cut out the outline of the template pieces.
Step 3: Connect the littleBits
Connect the littleBits parts as seen in the image. The motor and the LED should each have separate power supplies.
Step 4: Program the Arduino board
Program the Arduino board using the blink sketch. Code below
for reference:
int led = 1; // Define the pin the LED is plugged into
void setup() // Initialize setup
{
pinMode(led, OUTPUT); // Define the LED as an output source
}
void loop() // Loops through the sketch
{
digitalWrite(led, LOW); // Turn off the LED
delay(1000); // Delay for 1 seconds
digitalWrite(led, HIGH); // Turn on the LED
For more detail: Filature du Tardis avec le clignotement des LED (Alimenté par littleBits) à l'aide d'Arduino