This tutorial shows how to play MIDI notes from an Arduino.
MIDI, the Musical Instrument Digital Interface, is a useful protocol for controlling synthesizers, sequencers, and other musical devices. MIDI devices are generally grouped in to two broad classes: controllers (i.e. devices that generate MIDI signals based on human actions) and synthesizers (including samplers, sequencers, and so forth). The latter take MIDI data in and make sound, light, or some other effect.
MIDI is a serial protocol that operates at 31,250 bits per second. The Arduino’s built-in serial port (all of them on the Mega as well) can send data at that rate.
MIDI bytes are divided into two types: command bytes et data bytes. Command bytes are always 128 or greater, or 0x80 to 0xFF in hexadecimal. Data bytes are always less than 127, or 0x00 to 0x7F in hex. Commands include things such as note on, note off, pitch bend, and so forth. Data bytes include things like the pitch of the note to play, the velocity, or loudness of the note, and amount of pitch bend, and so forth. For more details, see the MIDI specification, or one of the many MIDI Protocol Guides on the Web.
MIDI data is usually notated in hexadecimal because MIDI banks and instruments are grouped in groups of 16.
For more see this introduction to MIDI or this example.
Circuit
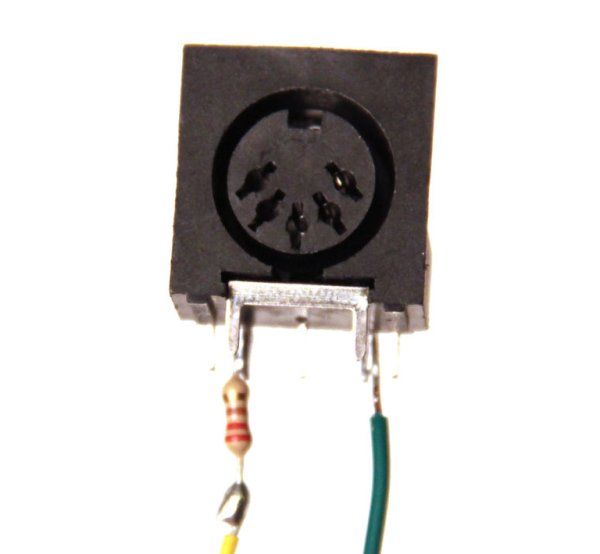
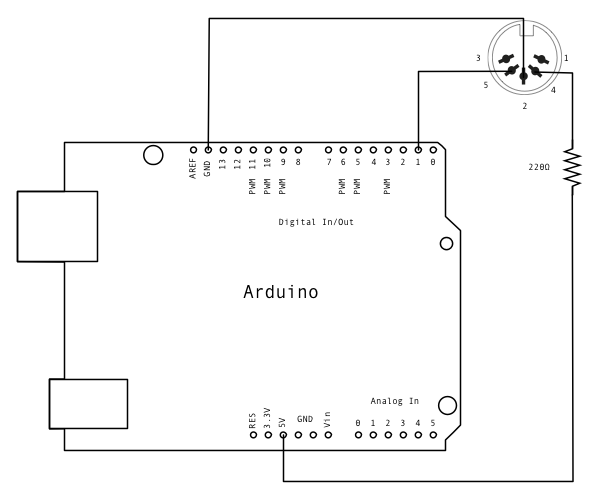
All MIDI connectors are female, by definition of the MIDI spec. Here’s how to wire the connector to the Arduino:
- Arduino digital pin 1 connected to MIDI jack pin 5
- MIDI jack pin 2 connected to ground
- MIDI jack pin 4 connected to +5V through 220-ohm resistor
image developed using Fritzing. For more circuit examples, see the Fritzing project page
Schematic
Code
MIDI note player
This sketch shows how to use the serial transmit pin (pin 1) to send MIDI note data.
If this circuit is connected to a MIDI synth, it will play
the notes F#-0 (0x1E) to F#-5 (0x5A) in sequence.
Hardware Required
- Arduino Board
- (1) MIDI jack
- (1) 220 ohm resistor
- hook-up wire
- MIDI enabled device (optional, for testing)