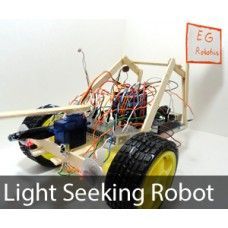
LDR Robot with IR and a Servo
The LDR/IR Robot is designed to seek out light and avoid obstacles. The robot uses the Light Dependent Resistor to seek out light and the Infrared Sensor to detect and avoid objects in its path. The following are instructions with pictures to show exactly how we built our robot. Your robot can be designed the way you desire and in your own order. At the end of this manual you will find some pictures of various robots built with this kit. Use your imagination and make your robot unique. Have fun!
http://egrobotics.com/store/index.php?route=product/product&path=59&product_id=50
You will find that not all parts have to be used.
Components:
1 x Arduino
1 x Battery Holder
1 x Acrylic Chassis
1 x On/Off Switch
2 x Motor Gearbox and Wheel
1 x Power Jack
3 x LDR
1 x IR Receiver
12 x LED
2 x IR LED
14 x Resistor
1 x Servo
4 x NPN Transistor
1 x Ping Pong Ball
4 x Diode
2 x Screw
1 x Bread Board
2 x Velcro
1 x Straw
1 x Wire Pack
The tools used in this project are:
Hot Glue Gun
Scissors
Small Screwdriver
Needle Nose Pliers
Wire Stripper
Sharpie
Electrical Tape
Soldering Iron(can be done without)
Step 1: Components and Tools
http://egrobotics.com/store/index.php?route=product/product&path=59&product_id=50
You will find that not all parts have to be used.
Components:
1 x Arduino
1 x Battery Holder
1 x Acrylic Chassis
1 x On/Off Switch
2 x Motor Gearbox and Wheel
1 x Power Jack
3 x LDR
1 x IR Receiver
12 x LED
2 x IR LED
14 x Resistor
1 x Servo
4 x Transistor
1 x Ping Pong Ball
4 x Diode
2 x Screw
1 x Bread Board
2 x Velcro
1 x Straw
1 x Wire Pack
The tools used in this project are:
Hot Glue Gun
Scissors
Small Screwdriver
Needle Nose Pliers
Wire Stripper
Sharpie
Electrical Tape
Soldering Iron(can be done without)
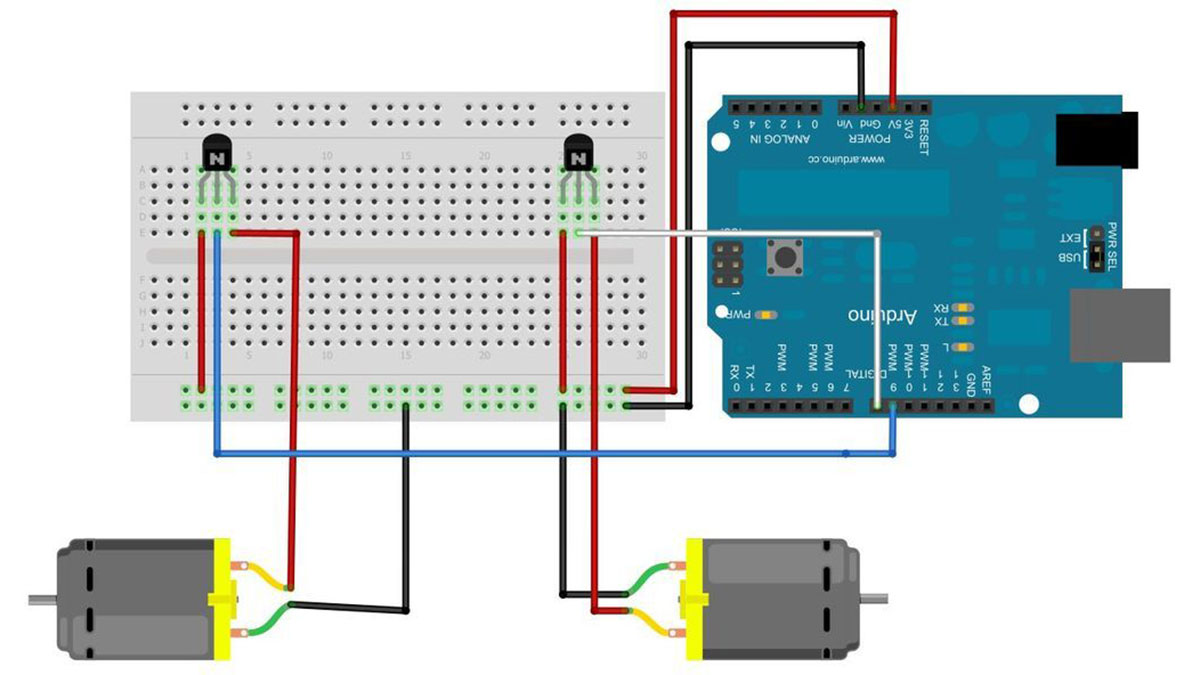
Step 2: Wiring The Motors
The chassis of the robot is not predetermined, make it how you want, the only rule is to make it awesome!
Find the motor, which is already placed within the yellow gearbox, but can be taken out if you so choose for other projects. Attach a pair of the twisted wires to the motor’s metal tabs by first stripping the ends of the wires and then inserting them through the holes in the tabs. Normally this would be done using a soldering gun however it works well to insert the wire through the hole and firmly clamp the wire around it using needle nose pliers. Be careful not to twist the tab on the motor because it might break. Once it is connected firmly, place a drop of hot glue over it to keep it in place.
Step 3: Attaching Gearboxes
Attach the motor-gearbox to the chassis. This can be done using a dab of hot glue on the chassis and then pressing the motor-gearbox into it. Be sure to use just a little bit of hot glue otherwise it might be hard to get off if it needs to be repositioned. Align the two wheels so that it will naturally drive in a straight line. It is alright if it veers to one side a little because it is sensor driven and will auto self-correct.
1 x Battery Holder
1 x Acrylic Chassis
1 x On/Off Switch
2 x Motor Gearbox and Wheel
1 x Power Jack
3 x LDR
1 x IR Receiver
12 x LED
2 x IR LED
14 x Resistor
1 x Servo
4 x Transistor
1 x Ping Pong Ball
4 x Diode
2 x Screw
1 x Bread Board
2 x Velcro
1 x Straw
1 x Wire Pack
For more detail: LDR Robot à l'aide d'un Arduino