Arduino Serveur web de Voyants de Contrôle, les Relais, les Servos, etc...

In this project using only an Arduino with an Ethernet shield.
I’ll be controlling one LED and a servo, but you can apply this method to control a DC motors, buzzers, relays, stepper motors, etc..

Overview:

When you upload the the code provided in this tutorials. it creates a webserver in your LAN and you simply use the IP to access that webserver through your browser. After that it shows a webpage similar to that one below. When you press the button “Turn On LED” your url will change to: “http://192.168.1.178/?button1on” the arduino will read that information and It turns the LED On.
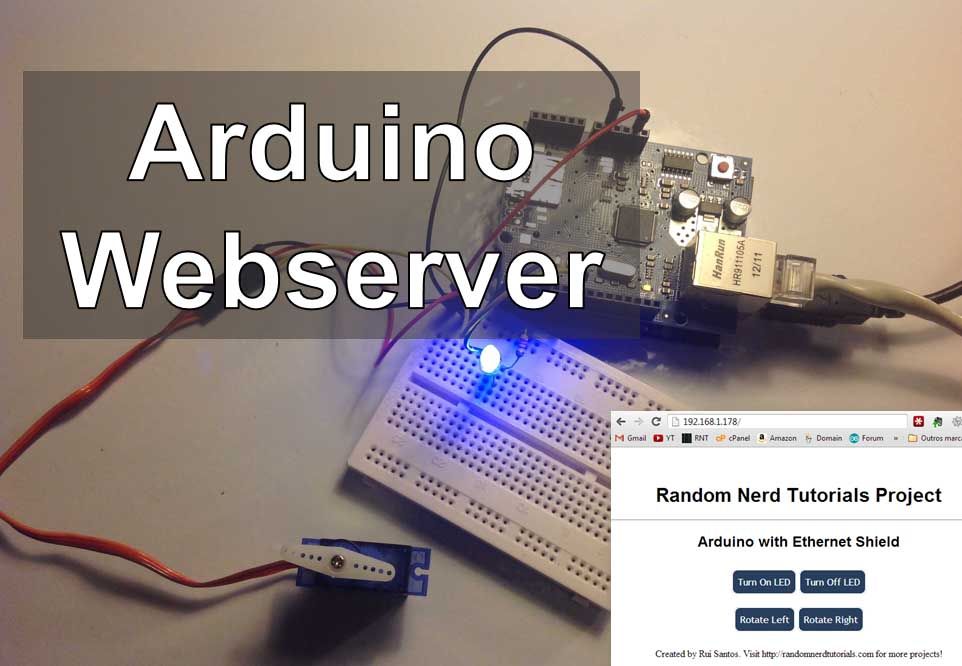
Arduino Webserver Control Lights, Relays, Servos, etc...

By default the IP is “192.168.1.178″. That also can be found on the Arduino code provided.
The Webpage will look like the image on the attachments.

Check this Video tutorial below ! (Includes demonstration)

Step 1: Parts Required

  • 1x Arduino Uno
  • 1x Ethernet Shield (with Wiznet W5100 chip)
  • 1x 220 Ohm Resistor
  • 1x LED
  • 1x Micro Servo Motor
  • 1x Breadboard
  • Jumper Cables

Step 2: Schematics

Simply follow the schematics.

A Propos De L'Auteur

Ibrar Ayyub

Je suis expérimenté, rédacteur technique, titulaire d'une Maîtrise en informatique de BZU Multan, Pakistan à l'Université. Avec un arrière-plan couvrant diverses industries, notamment en matière de domotique et de l'ingénierie, j'ai perfectionné mes compétences dans la rédaction claire et concise du contenu. Compétent en tirant parti de l'infographie et des diagrammes, je m'efforce de simplifier des concepts complexes pour les lecteurs. Ma force réside dans une recherche approfondie et de présenter l'information de façon structurée et logique format.

Suivez-Nous:
LinkedinTwitter

Laisser un Commentaire

Votre adresse e-mail ne sera pas publiée. Les champs obligatoires sont indiqués avec *

fr_FRFrench
Faire défiler vers le Haut