Step 1: Code
Load this into your Arduino:
int speaker = 9; // Hook up speaker to digital pin 9
int sw1 = 15; // Switch hooked to analog pin 1
int sw2 = 16; // Switch hooked to analog pin 2
int sw3 = 17; // Switch hooked to analog pin 3
int valve1;
int valve2;
int valve3;
void c () { // Presets the note “c” to be used later
digitalWrite(speaker, HIGH);
delayMicroseconds(1915);
digitalWrite(speaker, LOW);
delayMicroseconds(1905);
}
void d () {
digitalWrite(speaker, HIGH);
delayMicroseconds(1700);
digitalWrite(speaker, LOW);
delayMicroseconds(1690);
}
void e () {
digitalWrite(speaker, HIGH);
delayMicroseconds(1519);
digitalWrite(speaker, LOW);
delayMicroseconds(1509);
}
void f () {
digitalWrite(speaker, HIGH);
delayMicroseconds(1432);
digitalWrite(speaker, LOW);
delayMicroseconds(1422);
}
void g () {
digitalWrite(speaker, HIGH);
delayMicroseconds(1275);
digitalWrite(speaker, LOW);
delayMicroseconds(1265);
}
void a () {
digitalWrite(speaker, HIGH);
delayMicroseconds(1136);
digitalWrite(speaker, LOW);
delayMicroseconds(1126);
}
void b () {
digitalWrite(speaker, HIGH);
delayMicroseconds(1014);
digitalWrite(speaker, LOW);
delayMicroseconds(1004);
}
void C () {
digitalWrite(speaker, HIGH);
delayMicroseconds(956);
digitalWrite(speaker, LOW);
delayMicroseconds(946);
}
void setup() {
pinMode(speaker, OUTPUT);
pinMode(sw1, INPUT);
digitalWrite(sw1, HIGH);
pinMode(sw2, INPUT);
digitalWrite(sw2, HIGH);
pinMode(sw3, INPUT);
digitalWrite(sw3, HIGH);
// Serial.begin(9600);
}
void loop() {
valve1 = digitalRead(sw1); // Reads switch 1
valve2 = digitalRead(sw2); // Reads switch 2
valve3 = digitalRead(sw3); // Reads switch 3
if ((valve1 == LOW) && (valve2 == LOW) && (valve3 == LOW)) { // If all valves are pressed, then
c(); // It plays a “c”
}
else if ((valve1 == LOW) && (valve2 == HIGH) && (valve3 == LOW)) { // If the first and third valves are pressed, then
d(); // It plays a “d”
}
else if ((valve1 == LOW) && (valve2 == LOW) && (valve3 == HIGH)) { // If the first and second valves are pressed, then
e(); // It plays a “e”
}
else if ((valve1 == LOW) && (valve2 == HIGH) && (valve3 == HIGH)) { // If the first valve is pressed, then
f(); // It plays a “f”
}
else if ((valve1 == HIGH) && (valve2 == HIGH) && (valve3 == HIGH)) { // If no valves are pressed, then
g(); // It plays a “g”
}
else if ((valve1 == HIGH) && (valve2 == HIGH) && (valve3 == LOW)) { // If the third valve is pressed, then
a(); // It plays a “a”
}
else if ((valve1 == HIGH) && (valve2 == LOW) && (valve3 == HIGH)) { // If the second valve is pressed, then
b(); // It plays a “b”
}
else if ((valve1 == HIGH) && (valve2 == LOW) && (valve3 == LOW)) { // If the second and third valves are pressed, then
C(); // It plays a “C”
}
else{
delay(1);
}
}
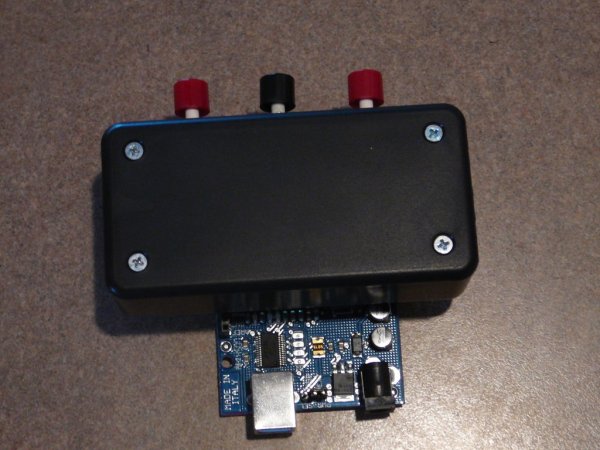
Step 2: Hook it up
Each of the three switches go from ground to analog in 1, 2, and 3. The Piezo goes from digital pin 9 to ground. Make sure to have the switches in the right order in order to have the correct fingerings. Afterwords, download the file and upload it to your Arduino.
For more detail: Arduino Trompette