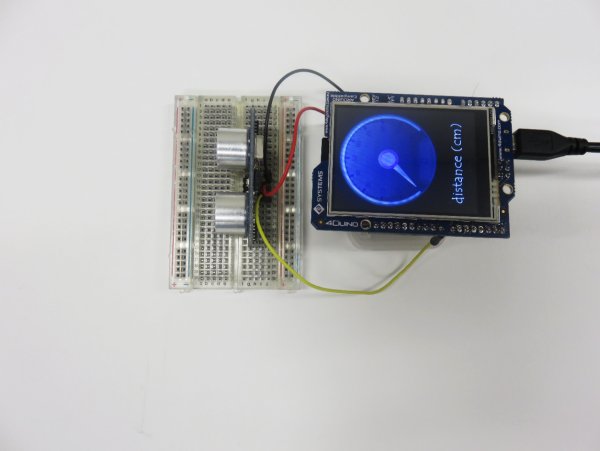
In this project we will measure the distance of the nearby object using TS601-01 Ultrasonic sensor and 4Duino. An ultrasonic sensor has a transmitter (sends ultrasonic signals) and a receiver (receives the ultrasonic signal after it bounced off nearby object). The sensor estimates the distance of the object by transmitting a signal and determining how long the signal took to come back. Ultrasonic Sensor has a wide range of applications such as collision protection, position control, level sensing and so on.
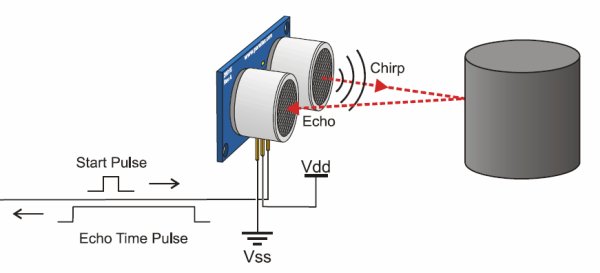
When voltage is applied from the 4Dduino to the signal pin, the sensor emits a burst of ultrasonic from the “trigger” marked T on the ultrasonic sensor. This wave will travel until it hits an object and reflects back into the “echo” or “receiver” marked R on the ultrasonic sensor. Since reflection is used, the sensor is more accurate in detecting flat surfaces.
Meanwhile, the 4Duino “listens” for any pulse in the signal pin, which is achieved on the return of the ultrasonic wave. Hence the Arduino has calculated the time taken for sound to travel to an object, and back.
Using the formula:
Distance = (Time x Speed)/2
where speed is the speed of sound (340m/s). You divide by two, since time is the travel time for forward and back. Also, sound takes 29 microseconds to travel a centimeter. Therefore the distance in centimeters can be found by:
Distance = (Time/29)/2
How it Works
Components
- 4Duino
- TS601-01 Ultrasonic sensor
- Jumper Cables
- Micro USB cable
- µSD card
Implementation
Step 1: Build
Build the circuit as shown in the following diagram and schematic.
Step 2: Program
Workshop 4 – 4Duino Extended Graphics environment is used to program this project.
This project requires the Arduino IDE to be installed as Workshop calls the Arduino IDE for compiling the Arduino sketches. The Arduino IDE however is not required to be opened or modified to program the 4Duino.
Open this file using Workshop 4.
Note: Download the project here.
Step 3: Comms Port
Connect the 4Duino to the PC using µUSB cable.
Then navigate to the Comms tab and select the Comms port to which the 4Duino connected.
Step 4: Compile and Upl0ad
Finally, go back to “Home” tab and now click on the “Comp’nLoad” button.
The Workshop 4 IDE will prompt you to insert a µSD card to the PC in order to save the widget images. Insert µSD card, select the appropriate drive and press button “OK”.
If the µSD card has the widget images you can click button “No Thanks”.
Step 5: Insert µSD card
After uploading the program in to the 4Duino, it will try to mount the µSD card. If the µSD card is not present it will prints an error message. Once µSD card is mounted, you will see the screen displayed in the image on the right.
Read more: 4Duino Capteur à Ultrasons